How to Create Night Vision: A Practical Guide for DIY Enthusiasts
Transforming a regular camera or set of goggles into night vision is absolutely possible using a few key components: an infrared (IR) light source, an IR-sensitive camera sensor or modified webcam, and a dark environment. To create night vision, you essentially need the device to detect and display infrared light, which is invisible to the naked eye but illuminates your surroundings like daylight on your device’s screen. Projects can range from modifying webcams and digital cameras to assembling simple goggles with IR LEDs and filters.
Night vision is invaluable for outdoor exploration, wildlife observation, home security, and a range of DIY projects after dark. While commercial night vision equipment can be expensive, building your own is a cost-effective way to gain the same capabilities and learn practical electronics skills in the process. Understanding the principles behind night vision technology also broadens your technical knowledge.
In this article, you'll learn the core concepts behind night vision, step-by-step instructions for various DIY builds, what equipment and safety considerations are important, a comparison of popular approaches, and answers to your most common questions. By the end, you'll know exactly how to create night vision at home—safely, affordably, and effectively.
Understanding How to Create Night Vision
The Science Behind Night Vision
Night vision works by capturing light outside the range human eyes can see, especially in the infrared (IR) spectrum. Regular cameras are often sensitive to IR light but are fitted with filters that block it out, as IR interferes with natural color balance. Removing or bypassing this filter allows the camera to display a scene lit only by IR, making the invisible visible in low-light conditions.
Infrared illumination is key: IR LEDs or lamps cast light far beyond what visible bulbs provide but with a wavelength our eyes can't pick up. Pairing a sensor that can detect these wavelengths with a proper IR light source is the foundation of DIY night vision. This setup allows you to see clear images even in pitch darkness.
- Infrared (IR) spectrum basics
- Camera sensor sensitivity
- IR illumination vs. visible light
Types of Night Vision Technology
There are two main types of night vision: image intensification (amplifying existing ambient light and near-IR) and thermal imaging (detecting temperature differences). For DIY projects, image intensification is more accessible because it relies on simple electronics and IR illumination rather than expensive thermal sensors.
Thermal night vision allows you to 'see' heat but usually requires special, costly sensors. DIY night vision is more commonly achieved by modifying cameras to pick up IR, making it ideal for hobbyists and home experiments, especially for the DIY night vision goggles project.
Choosing the Right Components for DIY Night Vision
Cameras and Sensors
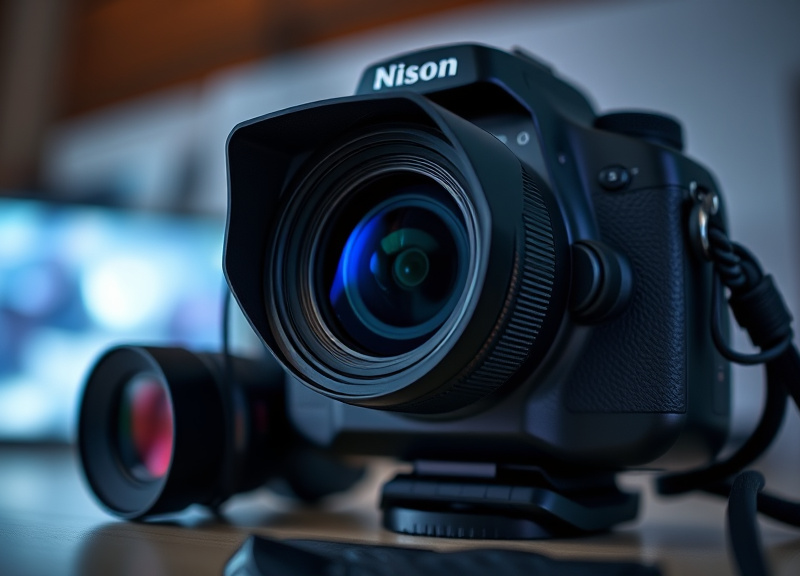
Most digital cameras and webcams come with built-in IR cut filters, which need to be removed to allow IR light through. Webcams are popular for beginners due to their low cost and ease of modification. Inside the camera, the sensor is already sensitive to IR light. Removing the filter dramatically boosts its ability to see in the dark when paired with an infrared light source.
Smartphone cameras are harder to modify, and dedicated video cameras may offer better resolution, but require more technical skill to open and reassemble. Consider balancing your technical comfort level with the desired performance. This is especially relevant for those making DIY night vision goggles.
- Webcams: inexpensive, easy to find
- Action cameras: compact and modifiable
- Dedicated security cameras: often have night vision modes
Infrared Light Sources
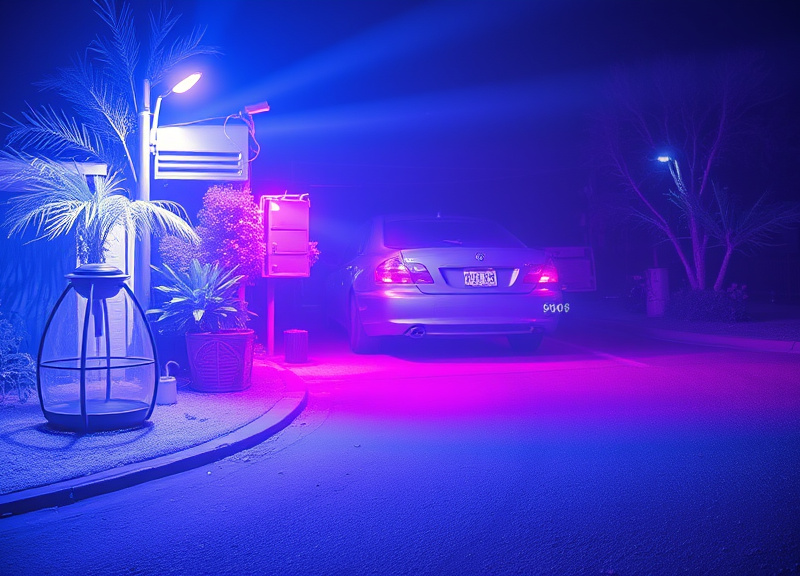
A good IR light source is essential. Most commonly, builders use IR LED arrays emitting at a wavelength around 850nm or 940nm. The 850nm LEDs emit a faint red glow visible at close quarters, but 940nm is nearly invisible. Stronger illumination increases your effective night vision range and image clarity.
LED strips, clusters, or even old TV remote diodes can be adapted for your project, depending on the application and desired reach. Remember that more IR LEDs equals brighter 'night'—for your camera, not your eyes.
- 850nm vs 940nm LEDs
- Power requirements
- Beam pattern: spot vs. flood
Step-by-Step: How to Create Night Vision Devices at Home
Modifying a Webcam for Infrared Vision
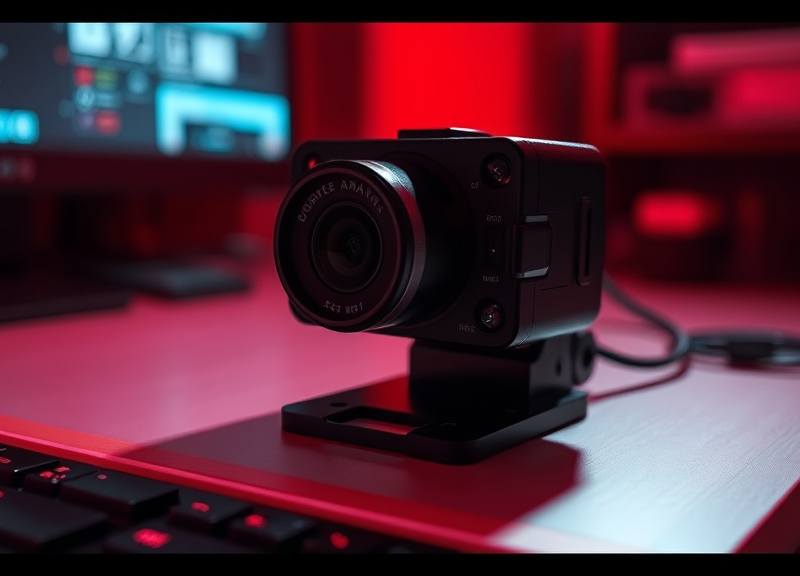
Disassemble your webcam carefully and locate the small IR cut filter (often a slightly red or blue-tinted glass piece). Gently remove it using tweezers or a tiny screwdriver. Replace it with a transparent piece of film or leave the spot open. Reassemble the cam, connect to your computer, and test responsiveness to a TV remote control’s IR output.
Now, set up a bank of IR LEDs aiming in the same direction as your camera lens. Battery-powered IR LED arrays work well for portability. This webcam can now function as the core of a night vision security camera or wildlife observation rig.
- Disassemble webcam carefully
- Remove IR cut filter
- Reassemble and test IR sensitivity
- Add external IR light source
For more on this, see our related guide: How Do Night Vision Devices Work: The Science Behind Seeing in the Dark.
Building DIY Night Vision Goggles
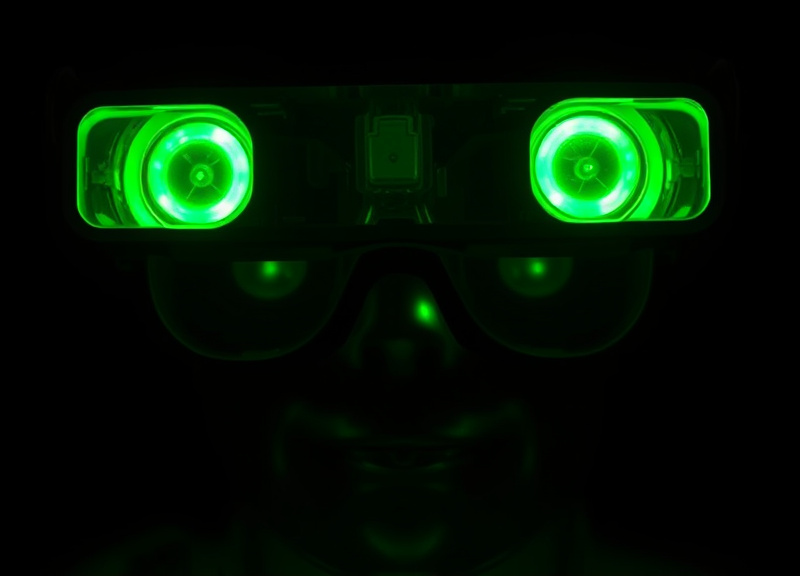
Start with a pair of cheap goggles or VR headset frames and mount two small IR-sensitive cameras in place of the lenses. Connect both cameras to a video display (e.g., a small set of LCD screens placed before your eyes or a single, panoramic display). Attach an IR LED strip around the frame perimeter facing forward.
For power, a rechargeable battery bank can supply the IR LEDs and displays. Experiment to tune the balance of weight, comfort, and field of view. DIY night vision goggles are fun to build and work surprisingly well for night navigation or games.
- Choose goggle frame
- Mount IR cameras
- Install front-facing IR LEDs
- Wire to portable battery and small screens
Safety Tips for DIY Night Vision Projects
Electrical Safety and Handling
Powering multiple IR LEDs draws more current than you might expect, particularly with larger arrays. Always use proper resistors to prevent overheating or burning out the diodes. Double-check all connections for shorts before powering up. Use heat shrink tubing or electrical tape to insulate exposed wires.
If you're soldering, work in a well-ventilated area. Battery packs should be sourced from reputable brands to avoid leaks or failure. Never work on live circuits.
- Insulate all connections
- Double-check battery polarity
- Stay under max current ratings
Eye and Skin Protection
Even though IR lights appear dim, concentrated IR can harm your retina over prolonged exposure at close range. Never look directly into powerful IR LEDs when powered on. If handling laser-based sources, always wear proper safety goggles designed for IR wavelengths.
Most project builds are safe for incidental exposure, but always err on the side of caution, especially with children or pets around.
- Don’t look into IR LEDs or lasers
- Wear eye protection if using lasers
- Keep finished devices away from kids
Testing and Using Your DIY Night Vision Device
Calibrating and Troubleshooting
After assembly, test your device in a darkened room by shining an IR remote at the camera. The scene should appear clearly on your display if the filter was removed properly and illumination is adequate. Adjust IR LED placement and check for reflections or glare.
If images appear washed out or too dim, verify power supply strength and all connections. Swap different LED wavelengths if needed to suit your camera’s IR sensitivity.
- Check for clear image response to IR remote
- Reposition LEDs for even coverage
- Use more LEDs for greater range
For more on this, see our related guide: Why Is Night Vision Green? The Science Behind Green Night Vision Technology.
Real-World Applications
DIY night vision goggles aren’t just for fun—they can be used as backup security cameras, for wildlife monitoring, night fishing, or astronomy. Their discreet IR illumination means you won’t disturb animals or attract unwanted attention.
For best results, experiment with placement of both camera and lights, and adapt the housing for comfort if you plan to wear them for long periods.
- Home security
- Wildlife observation
- Nighttime navigation
- Participatory science projects
Upgrades and Advanced Night Vision Techniques
Adding Digital Enhancements
Integrating simple image processing—such as contrast enhancement, motion detection, or remote streaming—can dramatically improve your night vision device’s utility. Raspberry Pi or similar microcomputers can process video in real time, alert you to detected movement, or control when IR LEDs are active.
You can also add on/off or brightness adjustment switches for your IR lights, or connect to a smartphone via Wi-Fi for portable viewing and recording.
- Use Raspberry Pi for digital processing
- Add motion sensors or automated triggers
- Remote streaming via Wi-Fi
For more technical background and the history of night vision systems, refer to this comprehensive Night vision device overview. Night vision device overview.
Thermal Imaging Alternatives
While true thermal imaging is not feasible for most DIY budgets, microbolometer-based sensors are becoming more affordable. These pick up heat signatures rather than reflected light and work even without IR illumination. For hobbyists, some smartphone add-on modules now enable basic thermal vision, though their sensitivity remains limited versus professional options.
Using these alongside your infrared project can help you compare different ways night vision works for various tasks.
- Seek affordable thermal camera modules
- Compare thermal vs IR light-based results
DIY Night Vision Methods Compared
Below is a quick comparison of the most popular approaches to building DIY night vision devices, highlighting ease of build, cost, performance, and recommended uses.
| Method | Ease of Build | Approximate Cost | Performance | Best For |
|---|---|---|---|---|
| Webcam IR Mod | Beginner | $10-$30 | Good for stationary | Home security, streaming |
| DIY Night Vision Goggles | Intermediate | $40-$100 | Wearable, immersive | Exploration, games |
| Raspberry Pi Camera + IR | Intermediate | $60-$120 | High flexibility | Automation, remote monitoring |
| Smartphone Thermal Module | Advanced | $150-$300 | Thermal, no IR needed | Heat leaks, outdoor scouting |
| Old Camcorder w/ IR Lamp | Beginner | $30-$80 | High sensitivity | Wildlife monitoring |
Frequently Asked Questions
Is it legal to use homemade night vision devices?
In most countries, personal DIY night vision devices are legal, provided they're not used for prohibited activities like hunting or surveillance without consent. Always check your local laws regarding night vision usage and privacy.
Do IR LEDs used for night vision harm your eyes?
Properly configured IR LEDs are generally safe, but avoid staring directly into them for extended periods and never use high-powered IR lasers, as invisible beams can damage your retinas without you noticing.
How far can I see with a DIY night vision setup?
Typical range is 10–30 meters (30–100 feet) for modest IR LED arrays and webcams. More LEDs and better lenses extend this distance, but results depend on your camera’s IR sensitivity and environmental conditions.
Can I convert any camera into night vision?
Most digital cameras can be made sensitive to IR by removing the IR cut filter, but some sealed models are very difficult or impossible to modify. Choose webcams, action cams, or older cameras for easier conversions.
What’s the difference between night vision and thermal imaging?
Night vision amplifies visible and near-infrared light, revealing objects illuminated by IR sources. Thermal imaging detects heat energy, creating pictures based on temperature differences. DIY projects typically use IR-based night vision due to cost.
Key Takeaways
- DIY night vision is accessible with simple IR LED and camera mods.
- Removing an IR filter turns many webcams into night vision devices.
- Safety is vital—avoid eye exposure to IR and insulate electrical work.
- Creative upgrades can expand your device’s function and range.
Conclusion
Creating night vision technology yourself is a mix of practical ingenuity and scientific understanding. The main steps center on making a sensor capable of seeing infrared light and pairing it with a reliable IR illumination source. By understanding the physical principles, the types of available cameras, and the mechanics of working safely with electronics, you can confidently assemble a device for hands-on results. The satisfaction comes not just from saving money compared to commercial products, but also from the insight and customization opportunities these projects provide.
If you’re just starting out, modifying a basic webcam or assembling simple DIY night vision goggles is the perfect entry point. Experimentation is key—try different LED wavelengths, play with camera angles, and test in various environments to see what works best for your needs. Advanced enthusiasts may explore digital enhancements, automation, or even hybrid setups involving both IR cameras and thermal modules. The spectrum of options allows everyone, regardless of budget or technical skill, to engage with and benefit from this technology.
Now that you know how to create night vision and the steps involved, grab a spare camera, a few IR LEDs, and try a basic build. Remember to prioritize safety, work methodically, and enjoy the process of innovation. Whether your goal is nighttime wildlife study, enhanced security, or just a fun DIY challenge, there's a night vision approach that’s right for you.


4 Comments