How to Make Night Vision Binoculars: Step-by-Step DIY Guide for Clear Night Viewing
Building your own night vision binoculars is entirely achievable with the right tools, basic electronic components, and some patience. By combining readily available optics with infrared illumination and digital capture technology, you’ll create binoculars capable of revealing hidden nighttime details. Whether you want to observe wildlife, enhance security, or stargaze without spending a fortune, making night vision binoculars empowers you to see clearly in the dark for a fraction of the commercial price.
Night vision isn’t just for high-tech professionals—it’s accessible to any hands-on enthusiast willing to tinker. Commercial night vision devices can be expensive, but DIY options let hobbyists explore similar technology by harnessing modern digital cameras, infrared LEDs, and clever housing solutions. Not only does this process save money, but it also provides valuable insight into the technology that powers everything from security cameras to military optics.
This article will walk you through every step of building your custom night vision binoculars. We’ll explore the science behind night vision, break down the essential components, provide detailed assembly instructions, compare common build approaches, answer frequently asked questions, and highlight ideal use cases. By the end, you’ll be able to confidently create your own DIY night vision system for personal adventures or home projects.
Understanding Night Vision Technology Before You Start
How Night Vision Works
Night vision binoculars operate by amplifying available ambient light or by detecting infrared light, which is invisible to the naked eye. Most DIY builds use digital cameras that sense near-infrared light: when you pair them with a strong source of infrared illumination, the sensors can reveal objects in environments that would otherwise be pitch black.
Unlike military-grade systems that rely on costly image intensifier tubes, DIY models typically use affordable digital solutions. The core idea is simple: photons from a dark environment are captured and converted into an image you can see, with infrared LEDs acting as a flashlight that’s only visible to your device.
- Most digital cameras need their IR filter removed for best sensitivity
- Infrared LEDs are commonly rated at 850nm or 940nm wavelength
Types of Night Vision: Analog vs. Digital Approaches
There are two main routes for building night vision binoculars: analog and digital. Analog systems are rarely built at home because they require rare, expensive image intensifier tubes. The digital approach, by contrast, utilizes camera modules together with screen displays, making it far more accessible for DIY enthusiasts.
Digital builds are not only easier to source and assemble, but they can also record images or video, a significant advantage. The trade-off is that digital systems may have more delay and require internal power supplies.
Essential Components for Making Night Vision Binoculars
Key Parts and Tools You’ll Need
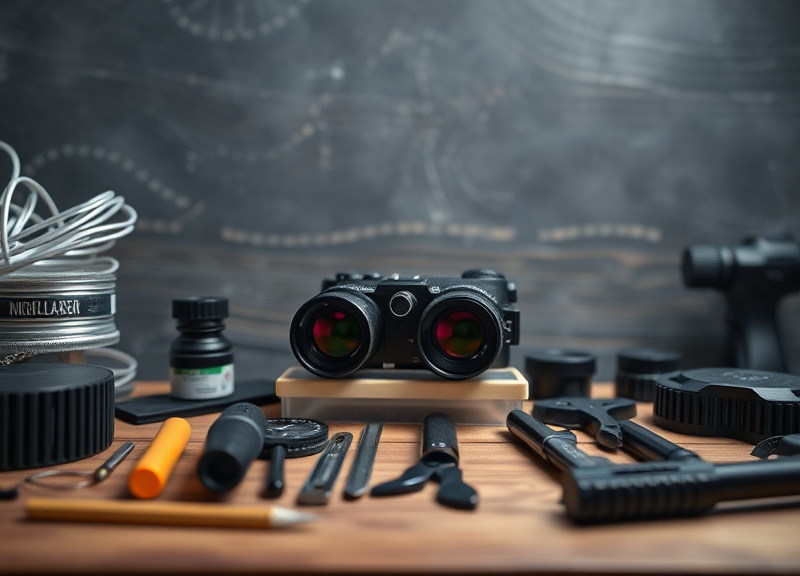
To build effective night vision binoculars, you’ll need two matched objective lenses (repurposed from old binoculars or bought separately), affordable camera modules (such as Raspberry Pi cameras with IR capability), one or two LCD screens (0.96” or 2” sizes work well), a bank of infrared LEDs, and a sturdy enclosure. Don’t forget battery packs and wiring tools.
It’s important to select components designed for night or low-light functions. Cameras should have their IR-cut filters removed, and your IR LEDs should offer enough reach for the distances you want to observe. Support items like soldering irons, pliers, and a 3D-printer (optional) can also be helpful.
- Objective lenses (2x)
- IR-sensitive camera modules (2x)
- Infrared LED array
- Small LCD displays (2x)
- Battery pack (USB or 18650 cells)
- Protective enclosure, glue, and tape
Choosing the Right Infrared Illumination
Infrared illumination is the heart of any DIY night vision setup. The wavelength you choose—typically 850nm or 940nm—affects visibility. 850nm LEDs are brighter but can sometimes be faintly seen by people or animals, while 940nm is fully covert but slightly dimmer to many camera sensors.
Use at least 3 to 6 high-power IR LEDs for acceptable range, mounting them directly in front of your camera modules. Battery choice also affects run time—opt for rechargeable lithium cells if you want maximum field time for your DIY night vision goggles.
Step-By-Step Instructions to Assemble Night Vision Binoculars
Preparing and Wiring the Electronics
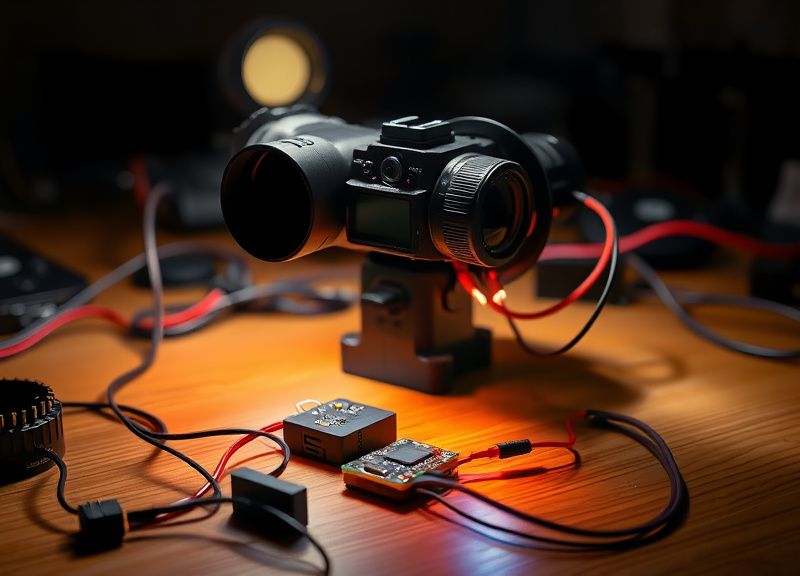
Begin by removing the IR-cut filter from each camera module to maximize light sensitivity. Next, solder your infrared LEDs to a switchable circuit, connecting them to your power source with attention to voltage and polarity. Connect your camera modules to their respective screens using the supplied ribbon cables or soldered leads.
Carefully test each camera and LED by powering them up and verifying live video on the LCD screens. Troubleshoot connection issues and adjust wiring as needed. Safety tip: always disconnect batteries while soldering to avoid accidents.
- Remove IR-cut filter for improved IR performance
- Use heat shrink tubing to insulate exposed wires
- Keep camera/LED wiring as short as possible to lessen signal loss
Mounting the Components and Final Assembly
Secure each camera and lens in the front section of your enclosure, aligning them for binocular viewing. Affix each LCD screen and control buttons at the eyepiece end so you can see both images simultaneously. Mount your IR LEDs outward-facing near the lenses for maximum coverage.
Glue, tape, or 3D-print brackets to immobilize all elements inside your chosen housing. Make sure to create battery compartments and cooling vents if needed. Test final assembly in low-light conditions, making real-time adjustments to focus and IR range as needed.
- Align lenses for parallel viewing angles
- Reinforce lid seams against light leaks
- Drill external ports for easy charging or upgrades
Tips for Optimizing DIY Night Vision Binoculars
Adjusting for Clarity, Focus, and Range
Manual focus matters—once assembled, tweak each lens or move the camera module slightly for the sharpest nighttime image. If you use variable zoom lenses, calibrate both sides so the field of vision aligns. Adding a simple gasket around the eyepiece can stop stray light from affecting your eyes at night.
Upgrade to larger-diameter objective lenses if you need more incoming light, especially for longer-range viewing. This tweak particularly benefits secondary setups like DIY night vision goggles for broader field applications.
- Fine-tune camera focus by slightly rotating the lens
- Avoid pointing directly at bright artificial lights
Boosting Battery Life and Power Efficiency
Long runtime is crucial for practical night vision. Opt for efficient LED drivers and rechargeable lithium-ion batteries, such as 18650 cells or power banks. Place a power switch on the outside of your housing for easy nighttime operation and to avoid waste.
Minimize unnecessary screen brightness on your LCD displays to preserve power. Consider compact, energy-saving screens to reduce current draw without sacrificing visibility.
- Use low-power screens to extend battery life
- Bring spare batteries for field use
Comparing Different DIY Night Vision Binoculars Approaches
Smartphone Modifications vs. Full Custom Builds
One popular method for DIY night vision goggles is adapting old smartphones by removing the IR filter and using specific camera apps. This shortcut leverages built-in screens and batteries, saving time and money. However, it cannot match the flexibility or ergonomic quality of a dedicated custom build.
Custom builds offer superior control over optics and modular upgrades, supporting stronger IR arrays and dual-eye viewing. For consistent nighttime tasks like wildlife watching, a purpose-built unit is usually the better long-term investment.
Prebuilt Kits vs. Scratch-Built Designs
Several online retailers now sell DIY night vision kits with pre-labeled parts and instructions, making assembly simple for beginners. Kits are ideal for getting started and often include features like built-in recorders and adjustable focus.
Scratch-built options allow complete customization but require more time, effort, and electronics skill. If you have a specific use case, building from scratch provides unique flexibility for your homemade night vision binoculars.
- Kits save assembly time, great for first-time builders
- Custom builds suit specialized needs and upgrades
Best Uses and Safety Considerations for Homemade Night Vision Binoculars
Ideal Applications: From Backyard to Backcountry
Homemade night vision binoculars are surprisingly versatile—from wildlife observation and nocturnal birding to navigation during power outages. They can also aid in amateur astronomy or night fishing. While they might not match commercial models’ range or image clarity, their effectiveness for close- to medium-range exploration can be remarkable.
For added functionality, some users adapt their setup into head-mounted DIY night vision goggles—especially useful for hands-free tasks during night hikes or search and rescue training.
- Wildlife spotting
- Nighttime navigation
- Amateur astronomy
- Perimeter and home security
For a comprehensive background and deeper technical details, you can read more on night vision technology at Wikipedia. more on night vision technology.
Safety Tips and Legal Considerations
Always avoid aiming infrared LEDs at eyes at close range, as high-intensity IR can pose risks not visible to you. Comply with local laws regarding use of IR and night vision technology, as some regions restrict hunting or surveillance with such devices.
Use non-reflective, dark-colored housings to avoid attention, and label your device clearly if using it near the public. Responsible operation helps ensure a safe and enjoyable DIY night vision experience.
- Check regulations if using for hunting or surveillance
- Never shine IR sources at people or animals’ faces
DIY Night Vision Binoculars Build Comparison
Let’s compare the most popular approaches for making DIY night vision binoculars to help you choose the best method for your goals, skills, and budget.
| Build Type | Ease of Assembly | Cost | Effectiveness | Customizability |
|---|---|---|---|---|
| Smartphone-Based | Very Easy | Low | Good | Limited |
| Prebuilt DIY Kit | Easy | Moderate | Good | Moderate |
| Raspberry Pi Custom | Moderate | Moderate-High | Excellent | High |
| Scratch Built (Electronics) | Challenging | Varies | Excellent | Very High |
| 3D-Printed Custom | Moderate | High | Excellent | Very High |
Frequently Asked Questions
Can I use my old binoculars to make night vision binoculars?
Yes! Repurposing the objective lenses from old binoculars works well as part of your build. You’ll still need to add digital camera modules, displays, and IR illumination to complete the setup.
How much does it cost to build DIY night vision goggles?
Costs vary widely. Smartphone-based builds can be under $50, while custom designs with quality optics and electronics might cost $100–$250. Your final price depends on the components you choose and whether you already own some parts.
What’s the range of homemade night vision binoculars?
Typical DIY night vision binoculars using IR LEDs and digital sensors have clear vision out to 20–60 meters, with detail level depending on IR power and lens size. Larger IR arrays and premium optics can modestly extend this range.
Is it legal to use DIY night vision binoculars?
In most countries, using DIY night vision for personal activities such as wildlife observation or astronomy is legal. Restrictions may apply if used for hunting, surveillance, or in sensitive areas, so always check your local regulations first.
Can I record images or video with my DIY night vision setup?
Yes, many digital camera modules and prebuilt kits support photo and video recording, especially those based on Raspberry Pi or similar platforms. This feature is handy for research, education, or simply documenting nighttime adventures.
Key Takeaways
- DIY night vision binoculars are achievable with affordable digital components.
- Choosing the right IR illumination and optics is crucial for performance.
- Different build methods suit various budgets and skill levels.
- Safety and legal considerations should always be kept in mind.
Conclusion
Building your own night vision binoculars blends creativity, technical skill, and a passion for nighttime discovery into a rewarding DIY project. The main keyword, how to make night vision binoculars, centers on understanding fundamental optical principles, selecting the right digital components, and learning to assemble and optimize them for best performance. The process cultivates a hands-on appreciation for both technology and the wonders of the night world while saving you substantial money compared to high-end commercial gear.
As you embark on this project, consider your primary goal: for simple backyard wildlife watching or navigation, a smartphone-based or kit-built model may suffice. Those looking for enhanced range, dual-eye viewing, or physical durability should pursue custom Raspberry Pi or scratch-built options, as described earlier in the comparison table. Incorporate quality lenses, powerful infrared LEDs, and refined construction techniques to gain best results for DIY night vision goggles or binoculars.
No matter your approach, always prioritize safety and experiment carefully in controlled environments before taking your custom night vision binoculars into the field. Share your successes, and continue refining your design as your technical skill grows. The journey is as rewarding as the destination—once you see your first clear image in total darkness, you’ll be hooked. Gather your parts, plan your method, and confidently begin turning night into day with your own hands.



One Comment