How to Make Night Vision Binoculars: A Practical DIY Guide
Creating night vision binoculars at home involves assembling a few key components such as infrared LEDs, a low-light camera sensor, and optics, combined to amplify available light for night viewing. By integrating these parts with a display or eyepiece, you can build functional binoculars capable of enhancing vision in darkness.
Night vision technology typically relies on infrared illumination and sensitive image intensifiers to convert faint light into visible images. DIY night vision binoculars are useful for astronomy, wildlife observation, or security purposes when purchasing commercial units is cost-prohibitive or unavailable.
This article explains the essential components required for making night vision binoculars, how to source parts, step-by-step assembly instructions, and calibration details to maximize image clarity. We’ll also cover safety precautions and troubleshooting advice to help you build reliable night vision optics.
Understanding Night Vision Technology and Binocular Components
How Night Vision Works
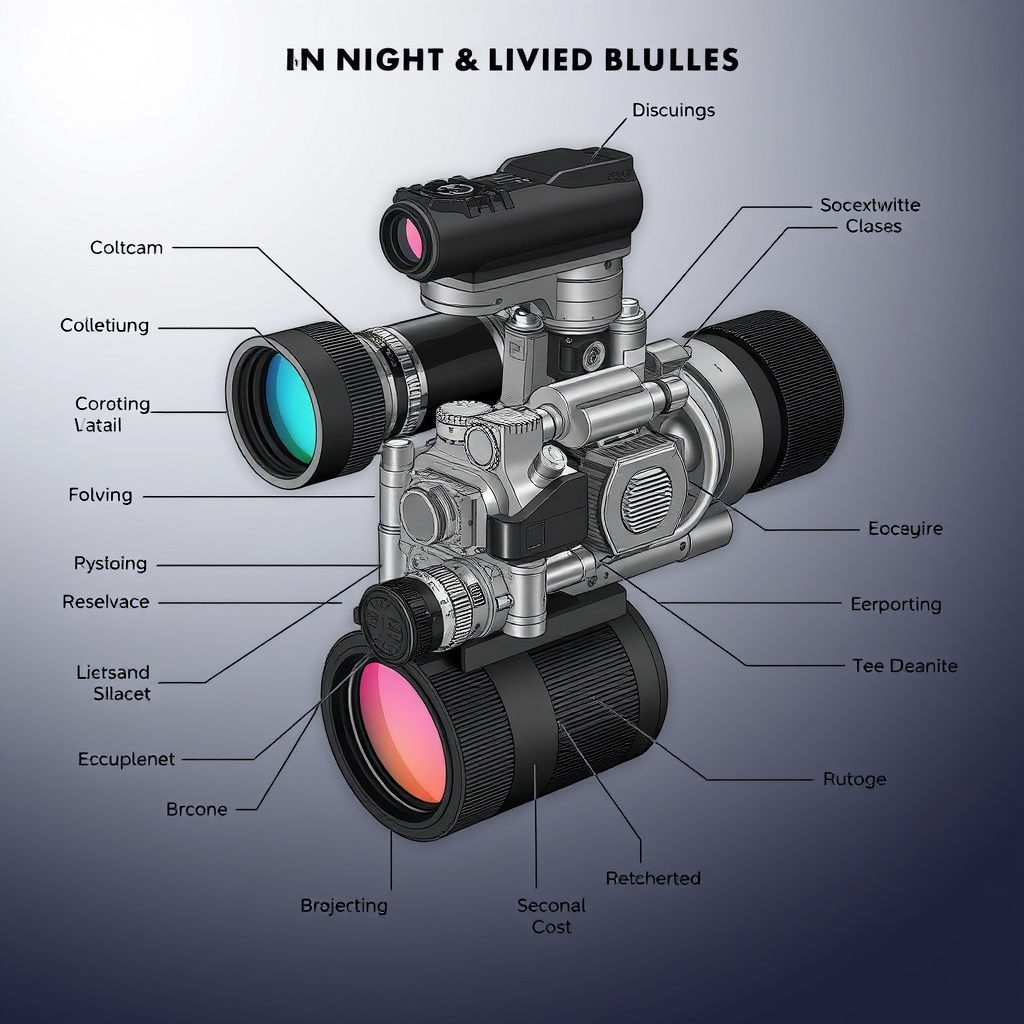
Night vision binoculars amplify available light, including infrared light invisible to the human eye, using an image intensifier tube or a digital sensor sensitive to low light. The intensified image is then projected onto an eyepiece or display for clear viewing.
Infrared LEDs provide active illumination in complete darkness, while the optics focus incoming light onto the sensor. The image intensifier or sensor converts photons to electrons, amplifies them, then produces a visible image to the viewer.
Key Binocular Components
The essential parts include a low-light CMOS or CCD sensor, infrared LED arrays, objective lenses to gather light, eyepieces for viewing, and a power source such as batteries. Additional components like microcontrollers can process and enhance the image digitally.
A sturdy housing holds all elements aligned properly while protecting sensitive parts. Proper optics ensure light gathers efficiently and the binocular provides the desired magnification.
- Low-light camera sensor
- Infrared LED illuminators
- Objective and eyepiece lenses
- Power supply (batteries)
- Housing to mount components
Selecting and Sourcing Materials for Homemade Night Vision Binoculars
Choosing the Right Camera Sensor
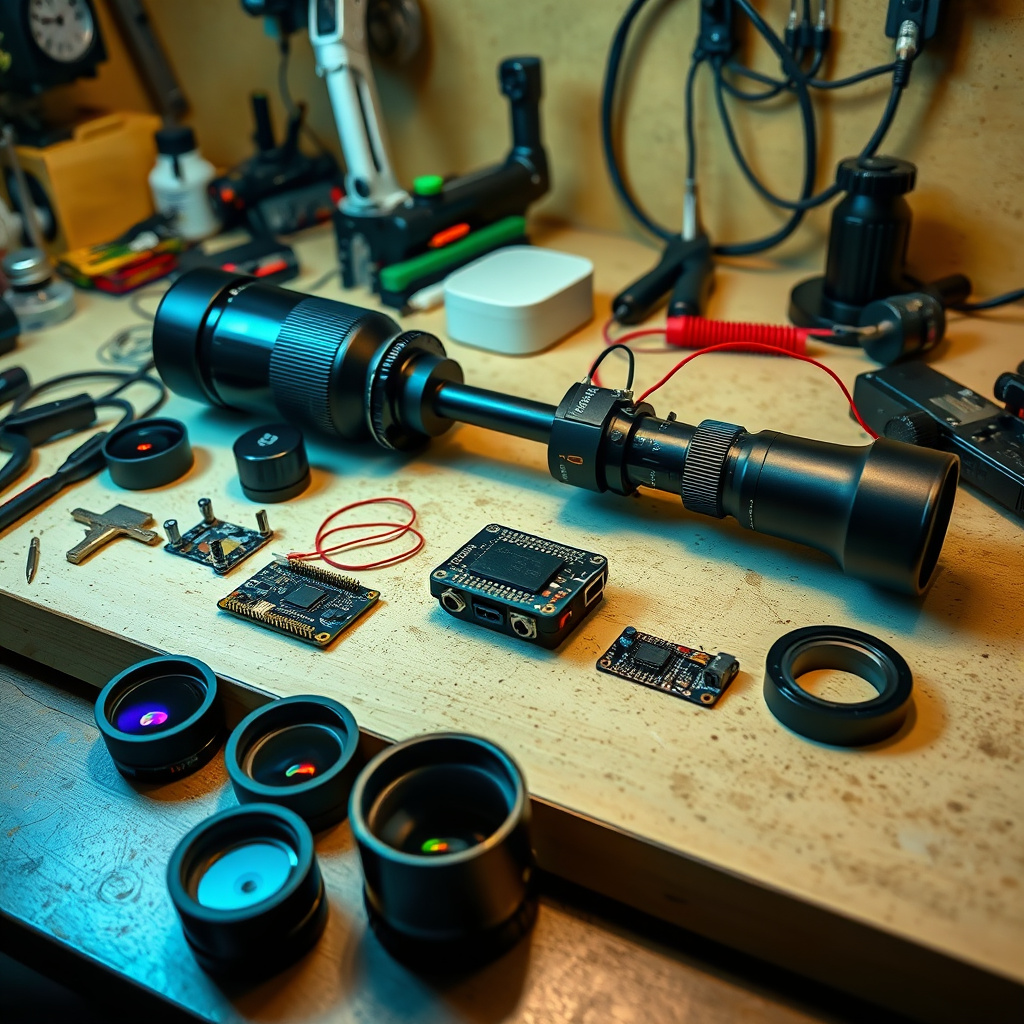
For night vision, pick a camera sensor with high sensitivity to low light, such as a monochrome CMOS sensor used in security cameras or webcams modified for infrared sensitivity. These sensors can detect faint light better than standard RGB sensors.
Sensors that support infrared wavelengths ensure clearer images when paired with infrared LEDs. Check sensor specifications for low lux rating, which indicates good performance in darkness.
- Monochrome CMOS or CCD sensors
- Low lux rating sensors (< 0.01 lux preferred)
- IR-sensitive sensor options
Infrared LEDs and Optics Selection
Select infrared LEDs operating around 850nm wavelength as they are widely used and offer a balance between invisibility and illumination power. Ensure enough LEDs are used to cover the binocular's field of view.
For optics, salvaged lenses from old binoculars or camera lenses can work. Lenses with large aperture and appropriate focal length enhance light-gathering, critical for night vision effectiveness.
- 850nm infrared LEDs with suitable power
- Wide aperture objective lenses
- Eyepieces matched to magnification needs
Step-by-Step Assembly Process for Night Vision Binoculars
Mounting Sensors and Infrared LEDs
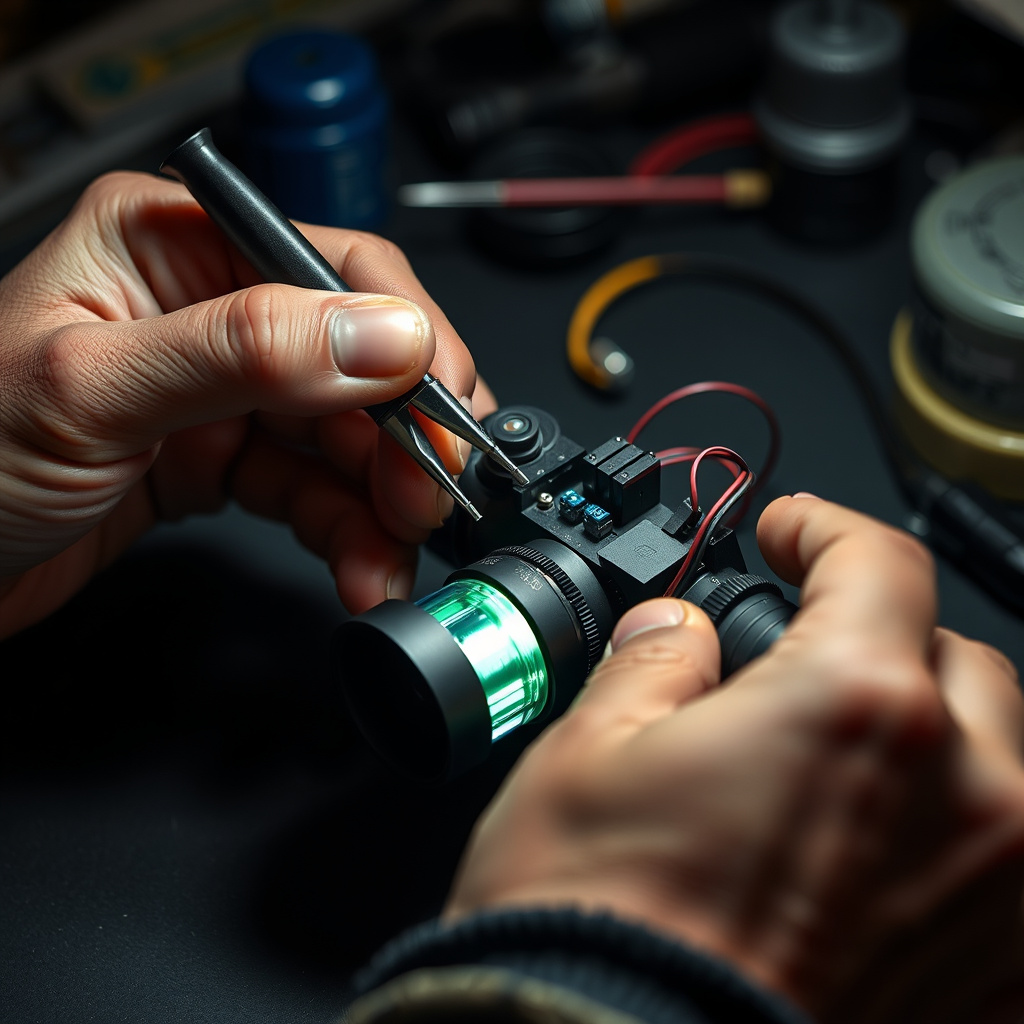
Begin by securely mounting the camera sensors behind the objective lenses. Position infrared LEDs around the objective lens perimeter to evenly illuminate the target area without reflections disturbing the image.
Use a prototype board to connect LEDs and sensors to the power supply and any control electronics. Check LED wiring polarity and sensor interface connections carefully to avoid damage.
- Align sensor with optics focal plane
- Distribute LEDs evenly around lens
- Connect all components to power with correct polarity
For more on this, see our related guide: How to Make Night Vision Binoculars: Step-by-Step DIY Guide for Clear Night Viewing.
Assembling the Optical and Viewing System
Attach eyepieces in line with sensors ensuring comfortable eye relief distance for users. Housing should maintain precise alignment between objective lenses, sensors, and eyepieces to avoid blurry images.
The housing can be custom made with 3D printing or adapted from existing binocular shells. Check all connections are firm and that controls for power or image adjustments are accessible.
- Align eyepieces for clear view
- Secure all components firmly inside housing
- Include power switch and adjustment controls
Calibrating and Testing Your Homemade Night Vision Device
Initial Calibration and Focus Adjustment
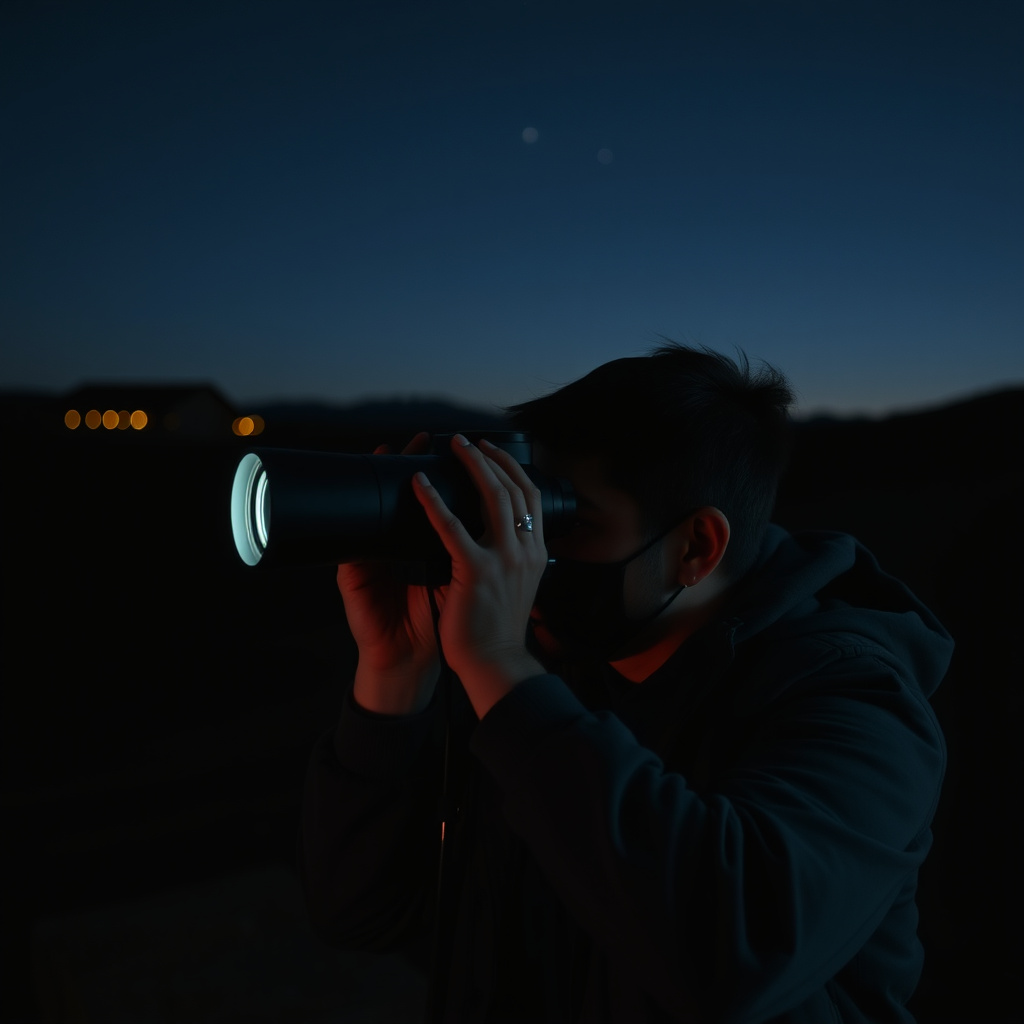
Power on the binoculars and adjust the focus on the objective and eyepiece lenses while observing dimly lit objects. Fine-tuning lens distances will clarify the image and optimize magnification.
Test under low-light conditions to confirm proper infrared illumination and sensor response. Make minor alignment corrections if the image appears distorted or edges are blurry.
- Adjust objective lens focus
- Fine-tune eyepiece alignment
- Verify even IR illumination
Troubleshooting Common Issues
If the image is too dark, increase the number of LEDs or check battery voltage. Grainy or noisy images often indicate sensor sensitivity limits or poor optics quality.
Interference patterns might arise from LED reflections; adding diffusers or adjusting LED angles can reduce this. Loose wiring or shaky housing leads to unstable images and should be reinforced.
- Increase LED brightness or quantity
- Improve optics cleanliness or quality
- Secure internal components firmly
Safety and Legal Considerations for Building Night Vision Binoculars
Infrared Safety Guidelines
Infrared LEDs can emit invisible radiation that might cause eye damage if viewed directly at close range. Never look directly into active infrared illuminators during testing or operation.
Limit usage duration and maintain safe distances. Use LED power levels within manufacturer recommendations to avoid overheating and hazardous exposure.
- Avoid direct IR LED eye exposure
- Use protective eyewear if needed
- Operate at recommended voltage and current levels
For more on this, see our related guide: How Much Do Night Vision Binoculars Cost? A Complete Pricing Guide.
Legal Restrictions on Night Vision Devices
Some countries regulate possession or use of night vision devices, especially for hunting or surveillance. Verify local laws to avoid fines or confiscation.
Using night vision binoculars for privacy intrusion or restricted activities may violate laws. Always use homemade devices responsibly and ethically.
- Check local laws on night vision equipment
- Avoid illicit surveillance or hunting use
- Use devices in compliant locations only
Enhancing Performance and Adding Features to Your DIY Night Vision Binoculars
Adding Digital Image Processing
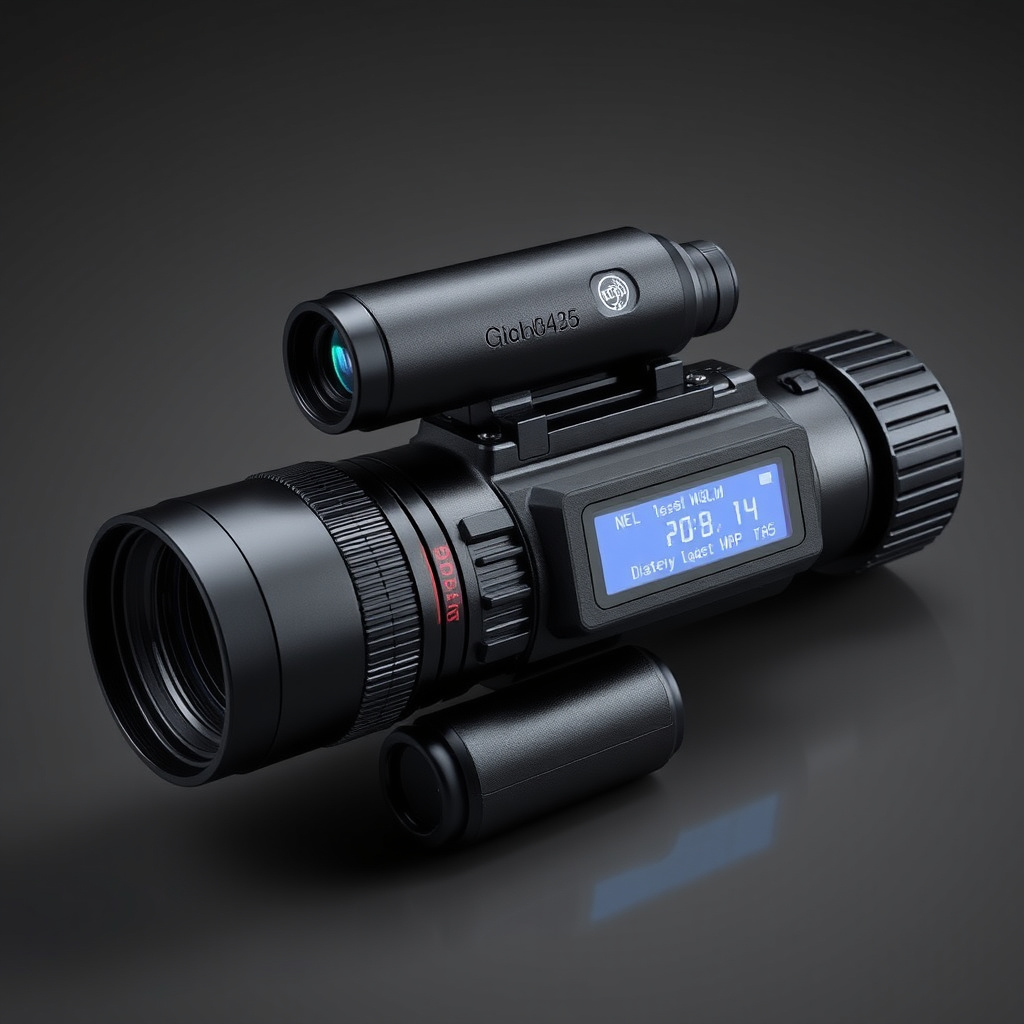
Integrating a microcontroller or small processor allows real-time digital enhancement, noise reduction, and video recording capabilities. This upgrade offers clearer images and additional utility.
Software adjustments like contrast improvement or edge sharpening can be applied on the fly, compensating for hardware limitations in the homemade sensor.
- Use microcontroller with camera interface
- Implement software noise filters
- Add video output or recording
For a detailed explanation of how night vision technology works, see this night vision technology overview. night vision technology overview.
Portable Power and Ergonomics
Incorporate rechargeable battery packs to extend operation time and reduce weight. Ergonomic grips and adjustable straps improve comfort for prolonged use.
Compact designs with lightweight materials make carrying easier during nighttime outdoor activities.
- Use lithium-ion rechargeable batteries
- Add cushioned grips and straps
- Design compact and lightweight housing
Night Vision Binoculars DIY vs Commercial Options Comparison
Here’s a comparison between homemade night vision binoculars and commercial models to highlight differences in cost, complexity, and performance.
| Category | Cost | Image Quality | Ease of Assembly | Durability | Functionality |
|---|---|---|---|---|---|
| Basic DIY Night Vision Binoculars | Low ($50-$150) | Moderate | Moderate | Moderate | Night viewing, no advanced features |
| Advanced DIY with Digital Processing | Moderate ($150-$300) | Good | Challenging | Moderate | Night viewing with recording and enhancement |
| Entry-Level Commercial Binoculars | High ($300-$700) | Good | N/A | High | Reliable night vision, easy to use |
| Professional Military Grade | Very High ($4000+) | Excellent | N/A | Very High | Multiple modes, long range, durable |
| Infrared Digital Scopes Adapted as Binoculars | Moderate ($400-$1000) | Good | Moderate | High | Digital image processing, zoom |
Frequently Asked Questions
Can I use smartphone cameras to make night vision binoculars?
Smartphone cameras alone lack sufficient infrared sensitivity and optics for effective night vision. However, modifying an external low-light camera module connected to a smartphone can work with added infrared illumination.
What power source is best for DIY night vision devices?
Rechargeable lithium-ion batteries are ideal due to their high capacity and light weight. Ensure voltage and current ratings match IR LEDs and camera sensors for safe operation.
Are there alternatives to infrared LEDs for illumination?
Thermal imaging sensors used in advanced night vision don’t require IR illumination, but these components are complex and costly compared to infrared LED-based systems for DIY builds.
How do I prevent infrared LED reflections from causing image noise?
Use angled LED placement, shields, or diffusers to minimize direct IR light reflecting back into the sensor, which can cause white spots or flare in the image.
Is night vision illegal to own?
Ownership laws vary by country and state. In many places, owning night vision devices is legal, but using them for hunting or surveillance may be regulated. Always check local regulations.
Key Takeaways
- DIY night vision binoculars require infrared LEDs, low-light sensors, and precision optics.
- Selecting IR-sensitive sensors and proper lenses is essential for clear nighttime images.
- Assembly involves careful alignment of components and secure housing construction.
- Legal and safety precautions must be observed when building and using night vision devices.
Conclusion
Building your own night vision binoculars can be a rewarding project that blends electronics, optics, and mechanical assembly. Success depends on choosing components that deliver good low-light sensitivity, effective infrared illumination, and sturdy housing to hold everything aligned. Thoughtful calibration ensures the image is sharp and clear, making your device practical for nighttime use. Understanding the functions of each part helps you troubleshoot and optimize performance as you go. The main keyword appears once here reflecting back on the core project focus.
For those aiming at simpler, affordable solutions, basic DIY night vision binoculars with monochrome CMOS sensors and standard 850nm infrared LEDs provide significant nighttime image enhancement. More advanced hobbyists might opt for digital image processing upgrades to reduce noise and add features like video recording. Purchasing commercial night vision binoculars provides reliability and ease but at a higher cost. If you prefer a DIY approach with functionality somewhat close to entry-level commercial options, advanced homemade designs can be a satisfying middle ground.
Before starting your build, check local laws governing night vision device ownership and use. Begin sourcing components and designing your housing carefully. Test frequently during assembly to detect issues early. With patience, a modest budget, and attention to detail, you can create a custom night vision binocular tailored to your needs. For practical guidance on the technology, consider reviewing detailed references as you progress.