How Much Sunlight Does an Outdoor Solar Security Camera Need for Reliable Performance?
Most outdoor solar security cameras require at least 4 to 6 hours of direct sunlight per day to remain fully charged and operate efficiently. This sunlight exposure ensures their batteries store enough energy to power cameras through cloudy days and at night, when surveillance matters most. Camera specifications, battery capacity, and your local climate can influence the exact sunlight requirement, so understanding your device’s needs is essential.
Knowing how much sunlight your outdoor solar security camera needs is crucial because solar panels don’t generate consistent power under shade, cloud cover, or poor placement. Insufficient sunlight may result in shorter recording times, lagged notifications, or complete loss of function, reducing the effectiveness of your security setup. These cameras are designed for ease of installation, but proper positioning is critical for continuous surveillance.
This guide demystifies how much sunlight is truly necessary, what factors can affect solar camera charging, and real-world examples to help you optimize your system. We’ll also share troubleshooting advice, solar-powered security camera installation tips, and recommendations for maximizing performance in less-than-ideal conditions.
Sunlight Requirements for Outdoor Solar Security Cameras
Optimal Daily Sunlight Exposure
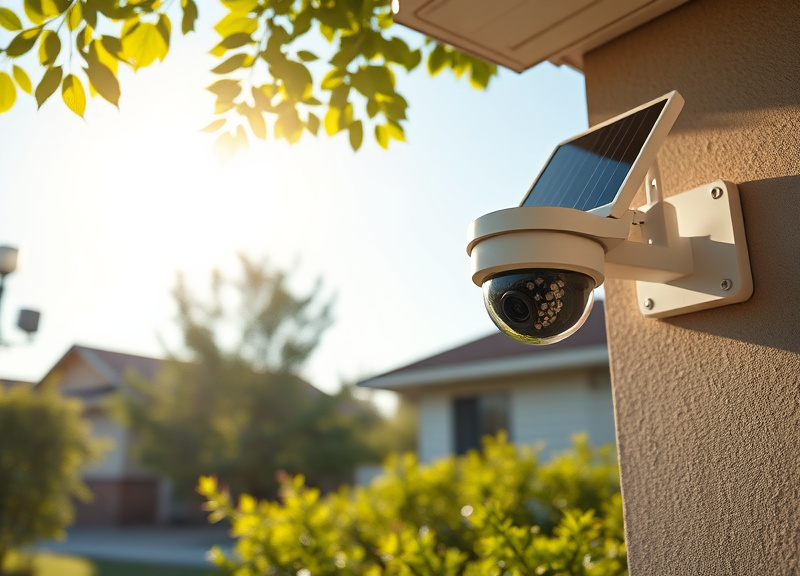
Most outdoor solar security cameras require about 4 to 6 hours of direct, unobstructed sunlight each day to maintain a full charge. This period covers the minimum energy needed to power the camera, recharge the battery, and ensure nighttime operation. Cameras in frequently overcast or shaded sites may need even more exposure.
Panel efficiency, battery storage, and camera usage patterns (continuous or motion-triggered recording) also influence sunlight needs. Higher resolution cameras or those with features like night vision may require a bit more sunlight, especially in seasons with shorter days.
- 4–6 hours: Standard requirement for most models
- More hours needed in cloudy or shaded areas
- Panel angle and location affect efficiency
Factors That Can Reduce Charging Efficiency
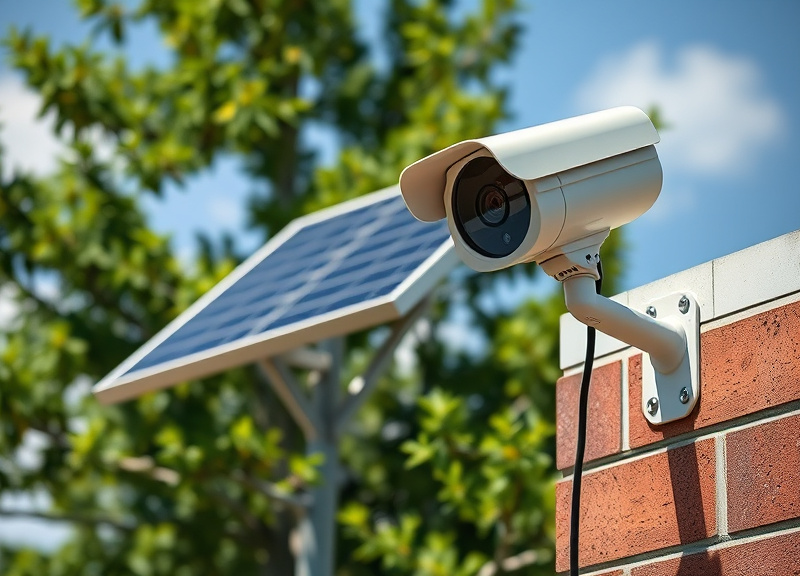
Several elements can reduce the effective charging your solar panel receives, such as tree cover, nearby structures casting shade, or panel soiling from dust and debris. This diminished exposure can lead to power shortfalls, particularly in winter or heavy overcast regions.
Careful placement is essential. Repositioning the mounting or trimming obstructing foliage can make a significant difference, as can regular cleaning of the panel’s surface.
- Shade from trees, roofs, or fences
- Dirt, pollen, or snow buildup
- Seasonal changes in sun angle
How Solar Panels Power Security Cameras
Energy Storage and Consumption Explained
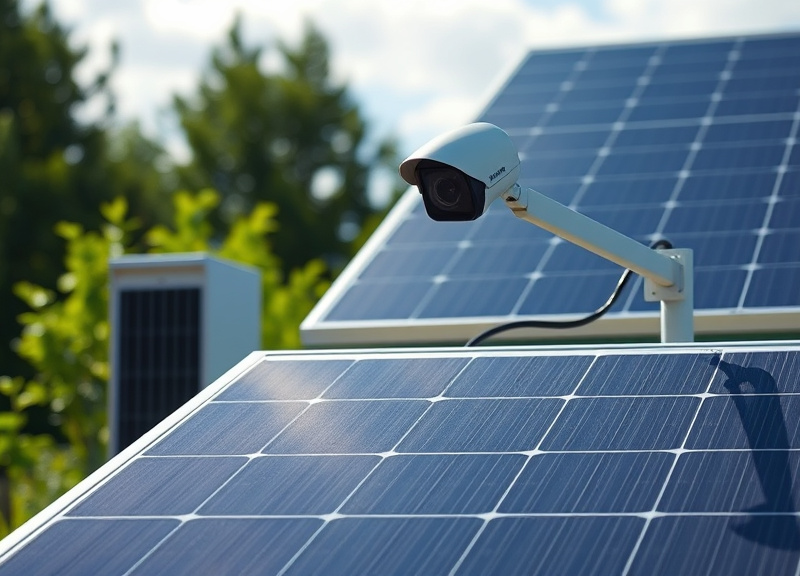
A solar security camera’s panel collects energy during daylight hours, which is then stored in an onboard lithium-ion battery. The camera draws from this battery as needed, particularly at night or during cloudy weather. This design allows reliable operation as long as the battery receives sufficient charge.
High-traffic cameras or those with power-intensive features consume more energy, making sunlight exposure critical. Some models optimize by entering low-power standby or limiting recordings in low light to preserve battery life.
- Day: Solar panel charges battery
- Night/Clouds: Battery powers camera
- Extra features increase power demand
Panel Specifications and Compatibility
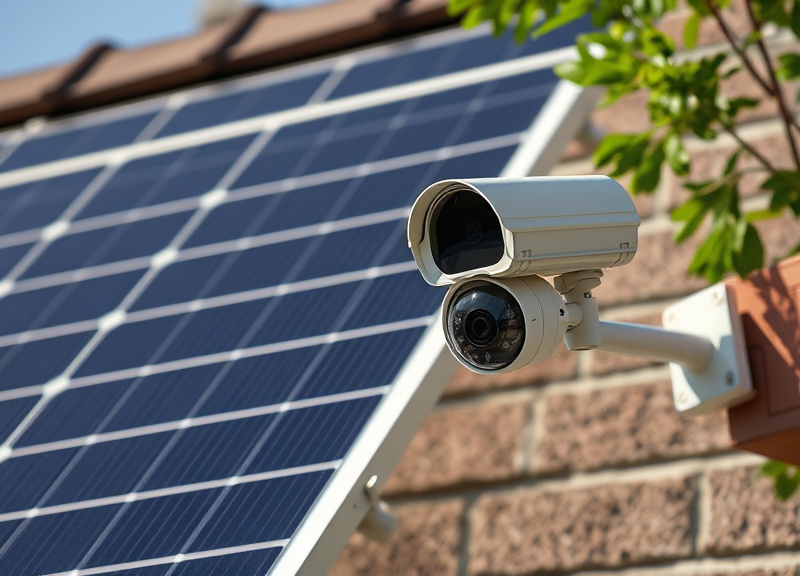
Not all solar panels are identical—wattage and efficiency ratings impact how quickly energy is harvested. Most outdoor security cameras are bundled with panels suitable for their daily needs, but upgrades are available for challenging locations.
Always confirm voltage and connector compatibility before swapping or supplementing a panel, as overloaded or mismatched connections can damage both the camera and battery.
Placement and Installation Techniques for Maximum Sunlight
Choosing the Best Location
To maximize charging, install your camera’s panel facing true south (northern hemisphere) or true north (southern hemisphere), at an angle equal to your local latitude. Avoid installing near overhangs, dense foliage, or tall fences that might shade the panel, especially during winter months when sunlight is weakest.
If a spot receives only partial sunlight, observe the area over a few days to determine the hours of direct exposure. Consider moving the panel seasonally for the most solar gain.
- Face panel towards the equator
- Install at noon for best alignment
- Check for seasonal shade patterns
Installation Tips for Tough Locations
When direct sunlight is limited, choose solar-powered security cameras with larger or bypass panels. Some models allow extended cable runs, letting you mount the camera in shade but place the solar panel in a sunny spot. External batteries can also provide buffer storage.
Inspect connections for weatherproofing, and consider anti-theft mounts to deter tampering with outdoor units.
- Use extension cables to relocate panels
- Add backup battery banks for cloudy climates
- Secure mounts against wind and theft
Solar-Powered Security Camera Installation Tips
Panel Maintenance and Seasonal Adjustments
Regularly clean the solar panel surface using a soft brush or damp cloth to remove dust, leaves, and bird droppings. Clean panels can generate up to 15% more power compared to dirty ones, especially in dry or pollen-heavy climates.
Consider adjusting the panel’s tilt twice yearly to match seasonal sun angles—steeper in winter, flatter in summer for year-round charging consistency.
- Bi-monthly panel cleaning recommended
- Adjust tilt in spring and fall
- Check mounts after storms or snow
Monitoring and Troubleshooting Battery Levels
Most cameras offer battery status readings in their mobile apps or web interfaces. Set reminders to check levels weekly, especially if motion events spike or weather conditions change.
If you see frequent power drops or recharge issues, first inspect for new shadows or panel grime, then confirm all wiring remains tight and weather-sealed.
- Watch for low battery notifications
- Track sun hours versus battery usage
- Investigate sudden power loss promptly
Adapting to Challenging Climates and Locations
Performance in Cloudy or Shaded Regions
Living in cloudy or tree-lined areas? Select cameras with oversized solar panels or high-capacity backup batteries. Even then, daily charging may be reduced by 30–50% during winter, so target the sunniest possible spot, or consider supplementing with periodic USB charging if mains access exists.
Choose solar security models that explicitly advertise cold-weather or low-light efficiency for best reliability year-round.
- Upgrade to higher-capacity solar kits
- Supplement charging in winter months
- Review manufacturer specs for low-light
Extreme Heat and Battery Longevity
While sunlight is crucial, extreme heat can degrade lithium batteries faster. Install the panel with a small air gap for cooling, avoid black mounting surfaces, and check manufacturer temperature ratings. In desert regions, shade the camera body itself, but not the solar panel.
Replace batteries proactively every 2–4 years for top performance in high-sun environments.
- Keep panels ventilated in summer
- Avoid heat traps behind panels
- Monitor battery lifespan
How to Select the Right Solar Security Camera for Your Needs
Matching Panel Size and Camera Features
Evaluate your location’s average daily sunlight and select a camera with a solar panel and battery sized for at least 30% more than your estimated usage. Features like continuous recording, two-way talk, and integrated spotlights use more power and benefit from larger or more efficient panels.
When in doubt, consult the manufacturer’s usability maps or customer reviews from users in similar climates.
- Higher resolution requires more power
- Two-way audio increases drain
- Look for modular panel options
For more background on how solar security cameras work and tips for optimizing installation, review this comprehensive Wikipedia article on solar-powered security cameras. Wikipedia article on solar-powered security cameras.
Assessing Warranty and Support Options
Prefer models with long-term product warranties (2 years or more) and reliable customer support. Outdoor gear often endures harsher conditions than expected, and panel, battery, or mounting failures do occur.
Manufacturers with proven track records in weatherproofing and responsive technical support can save time and frustration if issues emerge.
- Look for 2-year+ panel/camera warranties
- Check reviews for customer service reputation
Outdoor Solar Security Camera Sunlight & Panel Comparison
Here’s a head-to-head comparison of common solar security camera categories, covering daily sunlight needs, average panel size, and performance in varied climates.
| Category | Sunlight Needed (hours/day) | Panel Size (Watt) | Battery Capacity (mAh) | Climate Suitability |
|---|---|---|---|---|
| Entry-level HD camera | 4-5 | 2-3 | 4000-5200 | Best for mild climates; limited in shade |
| Mid-range with motion alerts | 5-6 | 3-5 | 5200-7000 | Performs well in moderate sun/partial shade |
| High-resolution w/ night vision | 6+ | 5-7 | 7000-10400 | Needs maximum sun; best for open locations |
| Dual-panel setup | 3-4 | 2 x 5W | 10400+ | Good for cloudier regions; stable performance |
| Low-light optimized model | 4-7 | 5 | 7000+ | Adaptable to variable weather; best if winter is cloudy |
Frequently Asked Questions
Can a solar security camera work in full shade?
A solar security camera will not operate reliably in full shade because its panel can’t generate enough energy. Supplemental wired charging or relocating the panel to a sunnier area is necessary in these conditions.
Is morning or afternoon sun better for charging?
Both morning and afternoon sun will charge a panel, but midday sun is strongest and most consistent. Position your camera and panel to capture the longest period of direct midday sunshine for best charging.
How do I know if my camera is getting enough sunlight?
Check the battery status in your camera’s app. A battery that remains above 75% most days indicates sufficient sunlight. If the battery drains below 30% often, increase the sun exposure or relocate the system.
What happens to the camera during cloudy or rainy days?
On days without sun, the camera relies on its internal battery, which stores power charged during previous sunny days. Long periods of bad weather may require periodic charging via USB if battery reserves drop.
Can I add a bigger solar panel to an existing camera?
Yes, provided the panel’s voltage and connector match the camera’s requirements. Larger panels charge batteries faster and are helpful in cloudy climates, but always check compatibility to prevent device damage.
Key Takeaways
- Most outdoor solar security cameras need 4–6 hours of direct sunlight daily.
- Panel placement and maintenance greatly impact charging efficiency.
- Climate and camera features determine actual sunlight and battery needs.
- Careful installation and model selection ensure 24/7 surveillance year-round.
Conclusion
If you want uninterrupted, reliable coverage with an outdoor solar security camera, direct and sufficient sunlight exposure is non-negotiable. While most cameras are engineered to thrive on 4–6 hours of strong sunlight daily, their real-world effectiveness is defined by multiple interlocking factors: panel location, shadowing, local climate, feature set, and ongoing maintenance. Begin by observing your property’s sun patterns, then pick the right equipment to match both your geography and security needs.
For homeowners in temperate climates with open skies, standard package cameras with included panels generally suffice when properly set up. In treed, cloudy, or winter-prone regions, opt for systems with upgradable solar panels, higher-capacity batteries, or even dual-panel solutions for stability. Those seeking advanced features like high-resolution video or night vision should over-specify panel and battery capacity to account for higher energy draw. Our comparison section helps you match specific models and solar-powered security camera installation tips to your unique setup.
Ultimately, solar power makes security more flexible and eco-friendly—but only if you optimize installation and remain vigilant about care. If sunlight on your property is limited, supplement with periodic USB charging or consider hybrid solar/wired models. For most, however, a careful combination of the right camera, an optimally placed panel, and regular upkeep will deliver around-the-clock protection, naturally powered by the sun.


4 Comments