How to Mount Security Camera: Step-by-Step Guide for Maximum Coverage
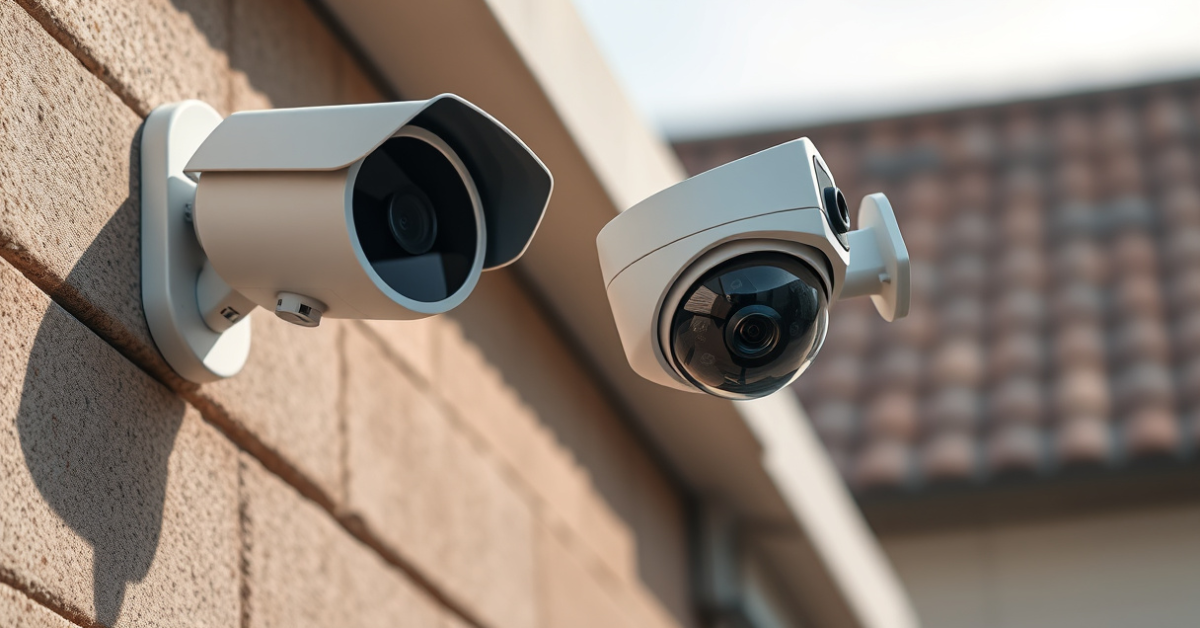
Drilling pilot holes, securing mounting brackets, and angling your lens for an unobstructed view—these are the basics of how to mount security camera units for effective surveillance. Mount your camera at a height of 8 to 10 feet, bolt it securely to a stud or masonry, and ensure its field of vision covers entry points with minimal blind spots. Use weatherproof hardware for outdoor cameras and run power or Ethernet cables along planned routes to avoid signal loss.
Successfully mounting a security camera is essential for deterring intruders, monitoring deliveries, and ensuring your family’s peace of mind. Poorly positioned or loosely attached cameras can fail when you need them most, leading to missed footage or easy tampering. That’s why methodical placement and installation are crucial.
In this guide, you’ll get step-by-step instructions for mounting wired and wireless security cameras inside and outside your property. We’ll cover choosing the best location, drilling techniques, dealing with cables, and fine-tuning your angles. Plus, we’ll compare mounting options and answer common questions to save you from installation headaches.
Choosing the Best Location to Mount Security Camera
Assessing Entry Points and Vulnerable Areas
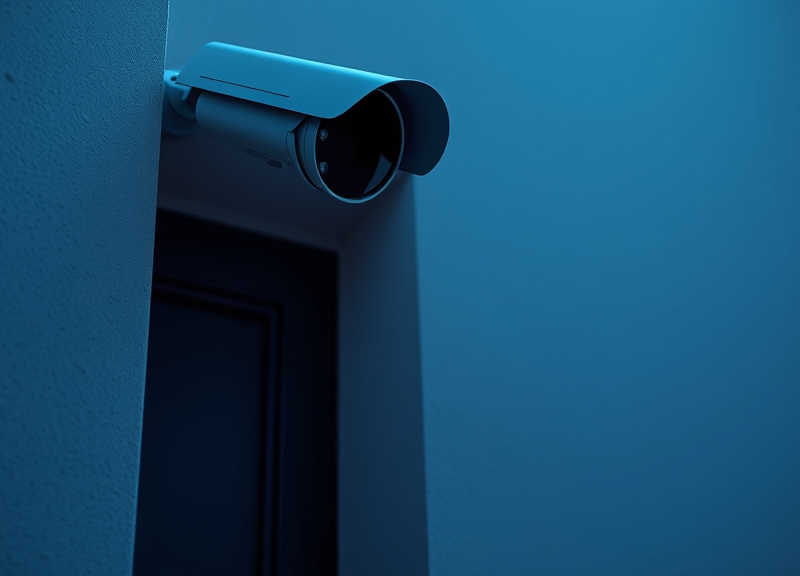
Map your property’s entrances, including doors, windows, garage entries, and side gates. Cameras should cover these spots directly for real-time evidence of any suspicious activity. For businesses, prioritize high-traffic zones and loading docks.
The best place to install security cameras is where they can see approach paths, deter intruders, and face minimal physical obstructions such as trees or overhangs. Avoid locations where sunlight directly hits the lens, to minimize glare.
- Front door and main entryway
- Driveway or garage entrance
- First-floor windows
- Backyard gates
Considering Indoor vs. Outdoor Mounting Options
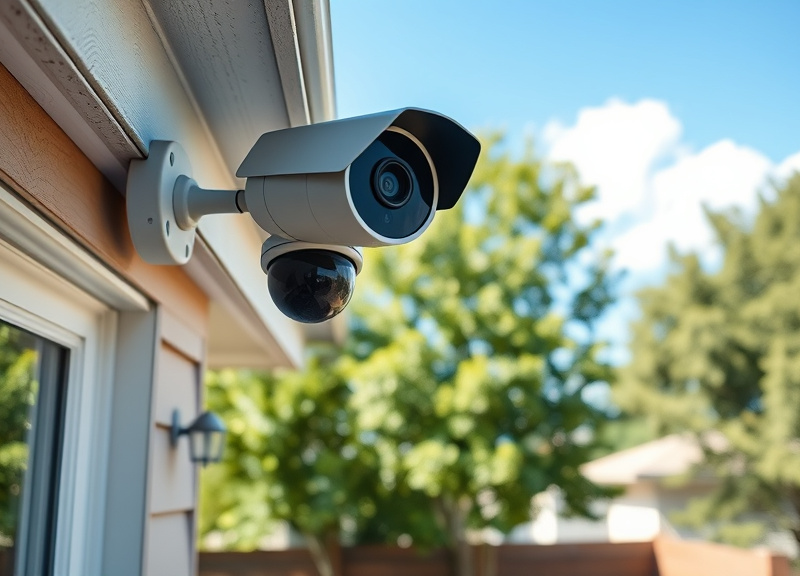
Outdoor cameras require sturdy, weather-resistant mounts, while indoor cameras can rely on lighter hardware and strategic corner placement. Choose a height of 8–10 feet outside to keep cameras out of reach but within a clear view range.
Cameras indoors are often best placed in major hallways or rooms with valuables. Make sure you account for privacy laws and avoid bedrooms or bathrooms.
How to Mount Security Camera: Tools and Materials Needed
Gathering the Proper Tools
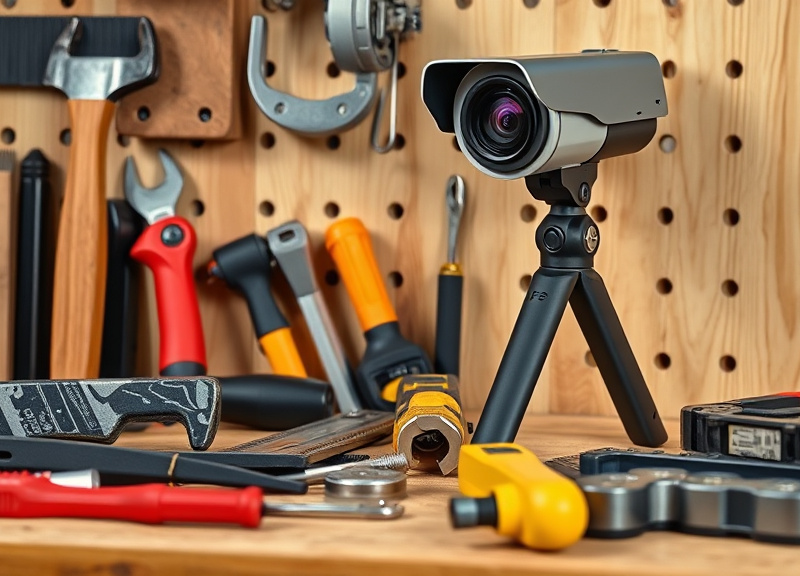
A drill with masonry or wood bits, screwdrivers, and a level are essential for any security camera installation. For wireless models, consider extra batteries and a stud finder. Wired setups often also need cable clips or conduit.
Using the correct tools not only ensures a quick installation but also enhances overall camera stability. Avoid makeshift solutions: mismatched hardware can compromise weatherproofing or allow the camera to sag over time.
- Drill and drill bits
- Mounting screws and wall anchors
- Level and measuring tape
- Screwdriver
- Stud finder for drywall
Choosing Compatible Mounting Hardware
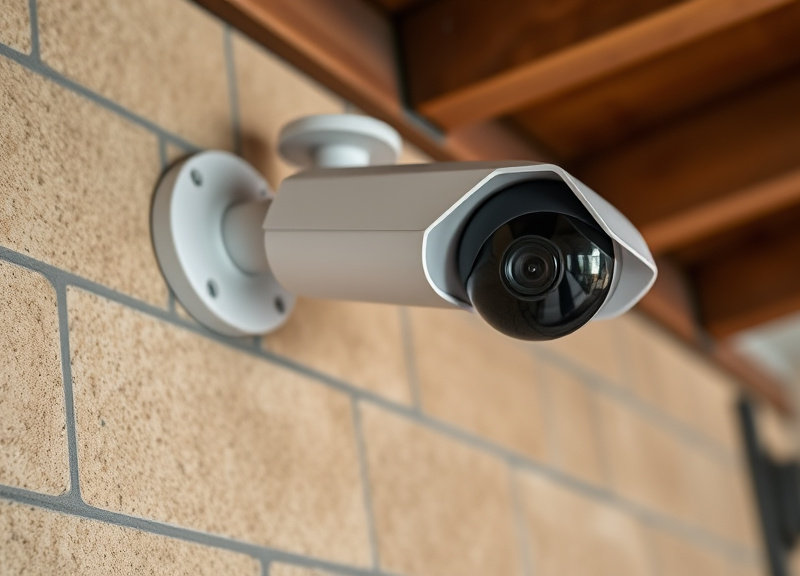
Most security cameras include hardware, but masonry anchors or heavy-duty bolts may be needed for difficult surfaces. Check the manufacturer's instructions for maximum weight tolerance and recommended fasteners.
Weatherproof brackets and stainless steel screws are vital for outdoor usage, protecting your installation from rust and corrosion. Use flexible mounts for angled walls, soffits, or non-traditional surfaces.
Wired vs. Wireless Security Camera Mounting Techniques
Installing Wired Security Cameras
Wired setups begin with planning the cable route from the camera to your DVR or NVR, drilling holes as needed. Attach the mounting bracket firmly, feed cables through weatherproof grommets, and connect all wires before tightening the camera in place.
Ensure all cables are secured with clips and avoid running them outdoors unless rated for direct exposure. Test your feed before permanently sealing any junction box covers.
- Route Ethernet or coaxial cables first
- Seal entry points against moisture
- Label cables for easier troubleshooting
For more on this, see our related guide: How Much Sunlight Does an Outdoor Solar Security Camera Need for Reliable Performance?.
Installing Wireless Security Cameras
Select a location within strong Wi-Fi range or close to the base station. Wireless cameras still need mounting using supplied brackets, but power options differ—some use batteries, while others require a nearby outlet.
If using batteries, ensure easy access for replacements. Sync the camera with your security system before finalizing position and angle.
- Test signal strength before mounting
- Check outlet proximity for powered models
The Best Place to Install Security Cameras for Maximum Effectiveness
Optimizing Field of View and Angle
Mount the camera so its lens covers the full width of an approach path or interior entry. Use the live view function to adjust tilt and pan before tightening all screws.
Wide-angle lenses (90°–130°) can monitor whole driveways or large rooms. Avoid pointing directly at bright light sources to prevent overexposure.
Avoiding Common Mounting Mistakes
Don’t point cameras directly into walls, bushes, or at reflective surfaces—these can skew motion detection and reduce image clarity. Weather protection is critical for both camera and cabling outdoors.
The best place to install security cameras often balances a discreet position with optimal visibility for deterrence. Reassess positioning seasonally, as foliage or snow accumulation can obstruct views.
- Test for glare or night vision obstructions
- Double-check mount stability after storms
- Review footage for blind spots regularly
Cable Management and Power Supply Solutions
Hiding and Securing Cables
Use cable conduits or raceways along walls and under eaves to protect wiring from weather, animals, and tampering. Secure all cable runs with appropriate clips, leaving slack for any moving parts or pan/tilt adjustments.
In attic or basement installations, use cable staples at regular intervals. Avoid running power cables parallel to data lines to prevent signal interference.
- Plastic cable covers for outdoor runs
- Weatherproof junction boxes at entry points
For more on this, see our related guide: How to Hide a Security Camera in a Window Without Obstructing the View.
Powering Wired and Wireless Models
Wired cameras usually have a dedicated power adapter or may use Power over Ethernet (PoE) for single-cable simplicity. Choose outlets on surge-protected circuits to avoid damage during storms.
For wireless cameras, replace or recharge batteries regularly, or use solar adapters if available. Confirm that power cables are hidden for both aesthetics and security.
- PoE injectors for long wired cable runs
- Use GFCI outlets for extra outdoor protection
Weatherproofing and Maintenance for Long-Term Reliability
Protecting Your Camera from the Elements
Position cameras under eaves or awnings when possible to shield from rain and snow. Apply silicone sealant around wall entry points for cables, and use UV-stabilized mounts and covers.
Select IP66-rated (or higher) hardware for exposure to dust and water jets. Frequently wipe camera lenses and check for insect nests or debris buildup which can obscure footage.
- Install sun hoods for glare reduction
- Seasonal cleaning with soft cloth
- Inspect for rust or corrosion biannually
For more on best practices and compliance for surveillance placement, see these official Security camera guidelines. Security camera guidelines.
Routine Inspection and Firmware Updates
Regularly review footage for any drop in video quality. Update camera firmware via the manufacturer’s app or interface to patch security vulnerabilities and add features.
Schedule maintenance checks every six months, especially after storms. Confirm date/time accuracy for reliable incident logs.
- Backup video files
- Test night vision capabilities
Security Camera Mounting Methods Comparison
The table below compares common mounting methods for security cameras based on installation care, security, and weather resistance.
| Category | Installation Difficulty | Stability | Weatherproof | Ideal Placement |
|---|---|---|---|---|
| Wall Mount (Masonry) | Moderate | High | Excellent | Outdoor perimeter |
| Wall Mount (Drywall/Stud) | Easy | Medium | Good | Indoor common areas |
| Soffit/Eave Mount | Moderate | High | Excellent | Overhangs and entryways |
| Pole Mount | Difficult | High | Excellent | Parking lots, driveways |
| Ceiling Mount | Easy | Medium | Fair | Hallways, covered patios |
Frequently Asked Questions
What is the ideal height to mount a security camera?
Mount security cameras at 8–10 feet high, which is out of easy reach but still offers a clear view of faces and activity. This height balances security and image clarity while making tampering difficult.
Do I need special tools to mount security cameras outdoors?
You’ll need a power drill, masonry bits for brick or concrete, stainless steel screws, weatherproof mounting hardware, and silicone sealant to protect cable entry points from moisture and pests.
How can I hide or protect security camera wires?
Run wires through cable conduits, raceways, or behind siding to protect from weather and tampering. Use cable clips or staples to keep lines neat and secure against surfaces both indoors and outdoors.
Can I mount a security camera without drilling holes?
Some cameras use strong adhesive mounts or clamp-on brackets for non-permanent installs. However, drilling provides superior stability, especially for outdoor or high-value placements that need maximum security.
Where should I avoid mounting security cameras?
Avoid spots facing direct sunlight, behind glass, or near obstructions like overgrown shrubs. Steer clear of sensitive areas, such as bedrooms or neighbor’s property, to respect privacy laws and prevent legal issues.
Key Takeaways
- Choose high-traffic, vulnerable areas for maximum camera coverage.
- Match mounting hardware to surface type and weather conditions.
- Secure cables and power sources for safety and tamper resistance.
- Regular maintenance ensures optimal image quality and equipment lifespan.
Conclusion
Mastering how to mount security camera systems is not just about which tools you use or where you drill holes; it’s a combination of strategic planning, technical execution, and ongoing maintenance. By carefully selecting camera positions, aligning field of vision to vulnerable areas, and using the right mounting and cable solutions, you ensure your investment delivers reliable surveillance. A well-mounted camera serves as both a deterrent and a crucial source of evidence when needed, amplifying the effectiveness of any security system you install.
For most homeowners, wall or soffit mounts on outdoor eaves safeguard entrances, while ceiling mounts work well inside hallways and communal areas. Businesses may also benefit from pole mounts in expansive lots or driveways. Prioritize stability, weatherproofing, and optimal field of view when picking the best mounting style for your property. Remember to check mounting points and clean lenses after adverse weather or periodically as part of your maintenance routine.
Whether you’re installing a single wireless unit or a network of PoE-powered cameras, follow structured steps to plan location, manage cables, and weatherproof all components. Don’t hesitate to consult professional installers for challenging placements. For continued peace of mind, periodically review recorded footage and stay informed about the latest firmware updates. Secure, well-mounted cameras offer safety, evidence, and confidence—starting with a meticulous installation process you can trust.