How to Make Night Vision Goggles: DIY Guide for Beginners
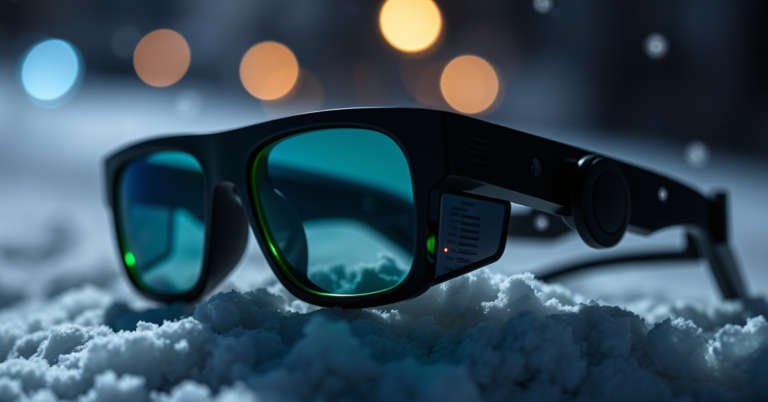
Making night vision goggles at home involves combining infrared LED illuminators with image enhancing components to view in near darkness. You can build a basic setup using a modified infrared camera sensor, an IR light source, and eyepieces to assemble functional DIY night vision goggles.
Night vision goggles amplify available light or use infrared illumination invisible to the naked eye, allowing users to see in low-light or dark environments. While professional-grade goggles are costly, creating your own offers an affordable way to experience night vision technology for outdoor, educational, or experimental applications.
This article covers the core components needed, important design considerations, and step-by-step instructions to build night vision goggles. We'll also discuss safety tips, how to optimize image clarity, and current affordable alternatives to DIY options.
Understanding Essential Components in Night Vision Goggles
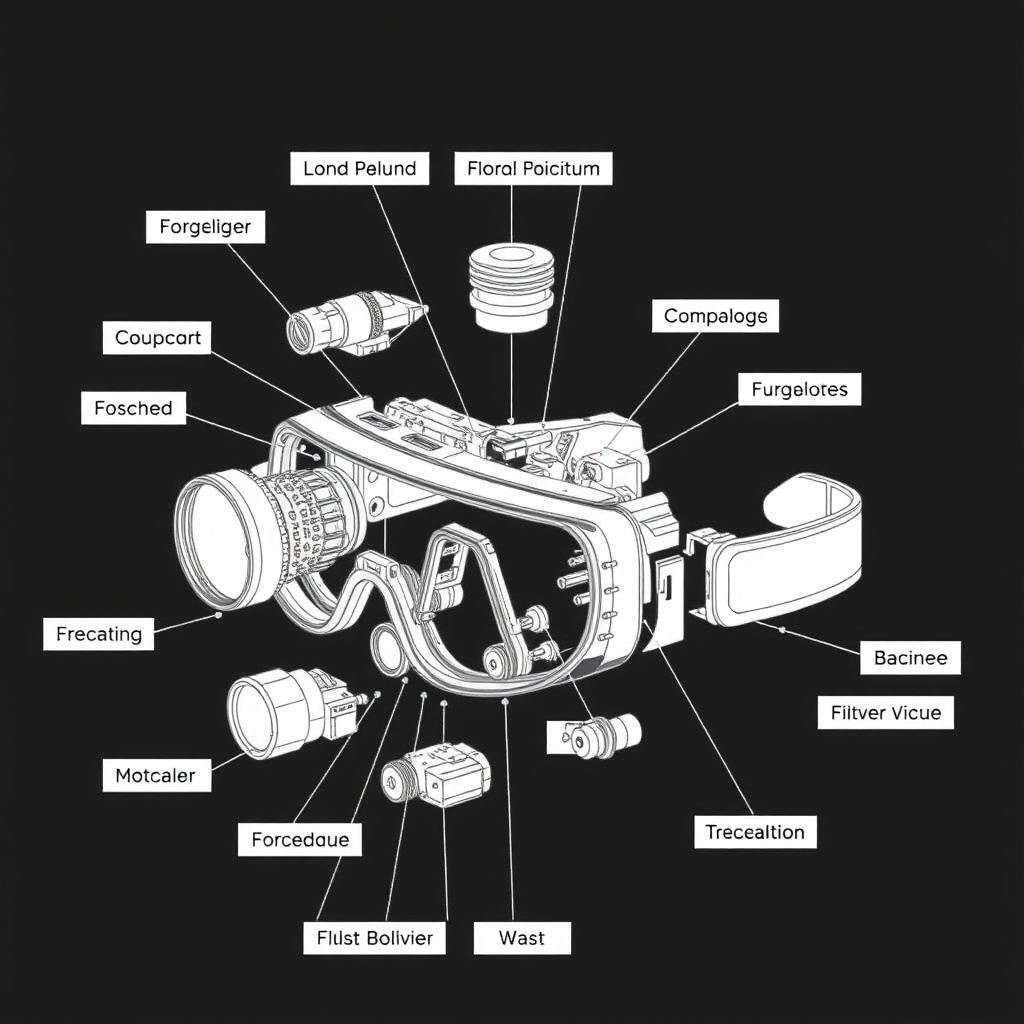
Image Sensor and Amplification
The heart of night vision goggles is the image sensor that captures available or infrared light and converts it into an electronic signal. A common approach for DIY goggles is using a low-light CMOS or CCD camera module with infrared sensitivity, often sourced from old webcams modified to remove IR filters.
After capturing the image, the signal must be amplified to produce a visible display. This involves video processing circuitry that enhances brightness and contrast, allowing you to see clearer images even in near-total darkness.
- Infrared sensitive CMOS or CCD camera module
- Removal of IR cut filter for better sensitivity
- Signal amplification circuitry for brightness enhancement
- Video output interface to eyepieces or screens
Infrared Illumination and Eyepieces
Since there is often insufficient ambient infrared light, your goggles require an IR LED illuminator that emits light invisible to the naked eye but detectable by your camera sensor. Properly positioned IR LEDs improve image clarity at night without revealing your position.
Eyepieces focus the enhanced video image toward your eyes. Options include small LCD screens inside the goggles or optical lenses paired with microdisplays. Resolution and field of view depend heavily on the quality of eyepieces used.
- Infrared LEDs with wavelengths around 850nm to 940nm
- Proper LED placement for even illumination
- LCD or OLED microdisplay for image viewing
- Optical lenses for adjusting focus and field of view
Gathering Materials and Tools for Your DIY Night Vision Device

Selecting Affordable Cameras and IR LEDs
Many cheap CMOS cameras intended for security or webcam use can serve as image sensors once modified. Look for modules with documented IR sensitivity or remove physical IR filters yourself. IR LEDs can be bought in packs from electronics retailers, focusing on 850nm or 940nm models depending on desired invisibility versus range.
Check your camera’s voltage and output type to match with power supplies and display devices. Getting a low-power design will improve battery life for portable use.
- Security or webcam CMOS camera with IR filter removed
- 850nm or 940nm infrared LEDs in adequate quantities
- Power source: rechargeable battery pack or AA batteries
- Microcontroller or video amplifier circuit components
Tools and Assembly Supplies
You’ll need basic soldering tools, a multimeter for testing connections, a hot glue gun or adhesive for assembling parts, and enclosures to mount components securely. Also consider wiring, connectors, and possibly 3D-printed or repurposed housings to shape your goggles.
Accurate measurements and insulation of wires prevent shorts and improve durability. Proper labeling during assembly simplifies troubleshooting later.
- Soldering iron and solder wire
- Multimeter for electrical testing
- Wire cutters, strippers, and pliers
- Enclosure materials or 3D printing filament
Building and Testing Your Own Night Vision Goggles
Step-by-Step Assembly Process
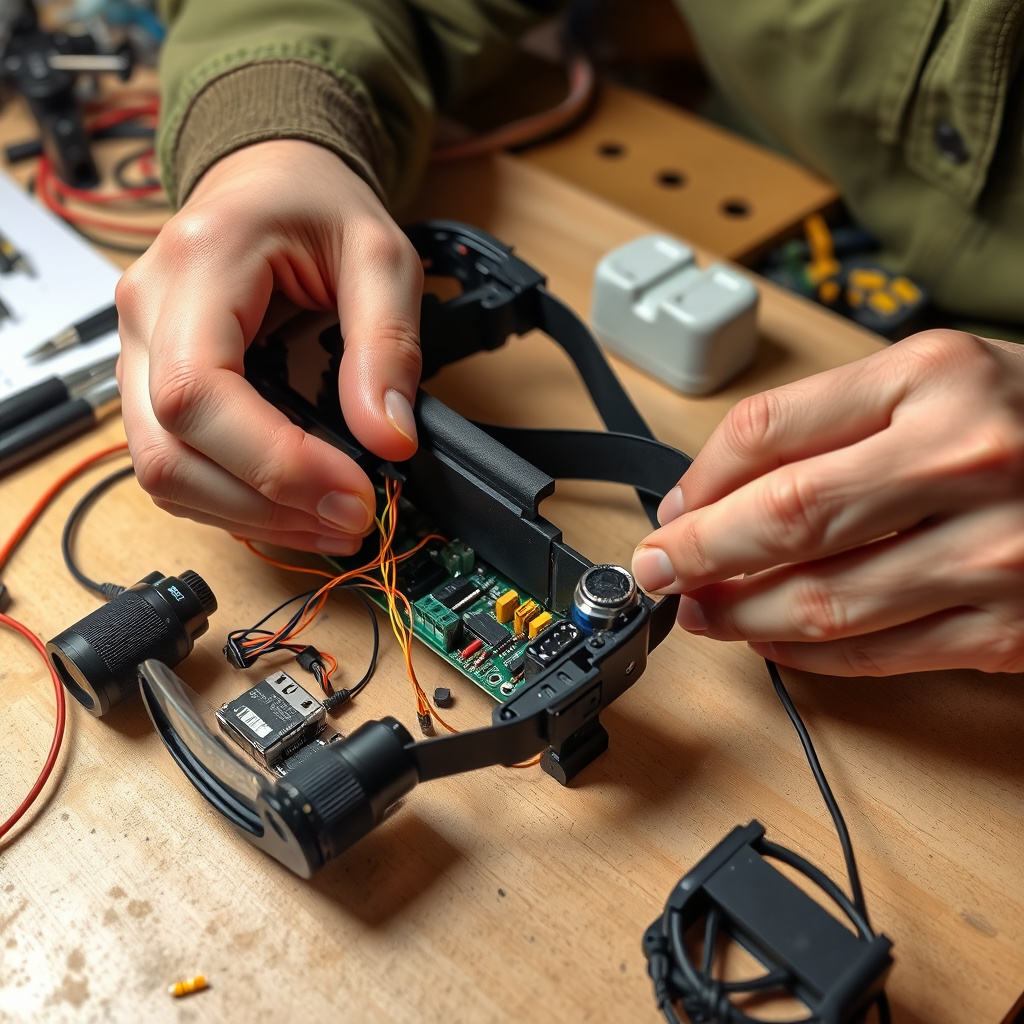
Start by modifying the camera sensor to enhance infrared sensitivity, often by removing the built-in IR cut filter carefully. Next, connect the camera to the video amplifier or microcontroller board configured to boost the captured signal.
Install the infrared LEDs in front of the camera lens for consistent illumination, ensuring proper wiring to your power source. Mount an eyepiece or display module aligned with the camera’s video output for viewing. Secure all components within a protective housing that’s comfortable to wear.
- Remove IR filter from camera sensor if necessary
- Connect camera to amplification and display circuit
- Attach infrared LED array powered by batteries
- Assemble ergonomic housing with eyepiece
For more on this, see our related guide: How to Make Night Vision Goggles: A Step-by-Step Guide.
Testing and Adjustments
Test your goggles in a dark environment by powering the IR LEDs and observing the display through the eyepiece. Check for image clarity, brightness, and focus. Adjust LED brightness or camera exposure settings to optimize visibility without excessive power consumption.
Ensure all electrical connections are stable and insulated. Consider adding a dimmer for the IR LEDs or a simple on-off switch for convenience.
- Test in total darkness to evaluate image quality
- Adjust focus on eyepiece lenses
- Fine-tune IR LED intensity for balance
- Inspect wiring for secure connections
Design Considerations and Safety Precautions
Ergonomics and Field of View
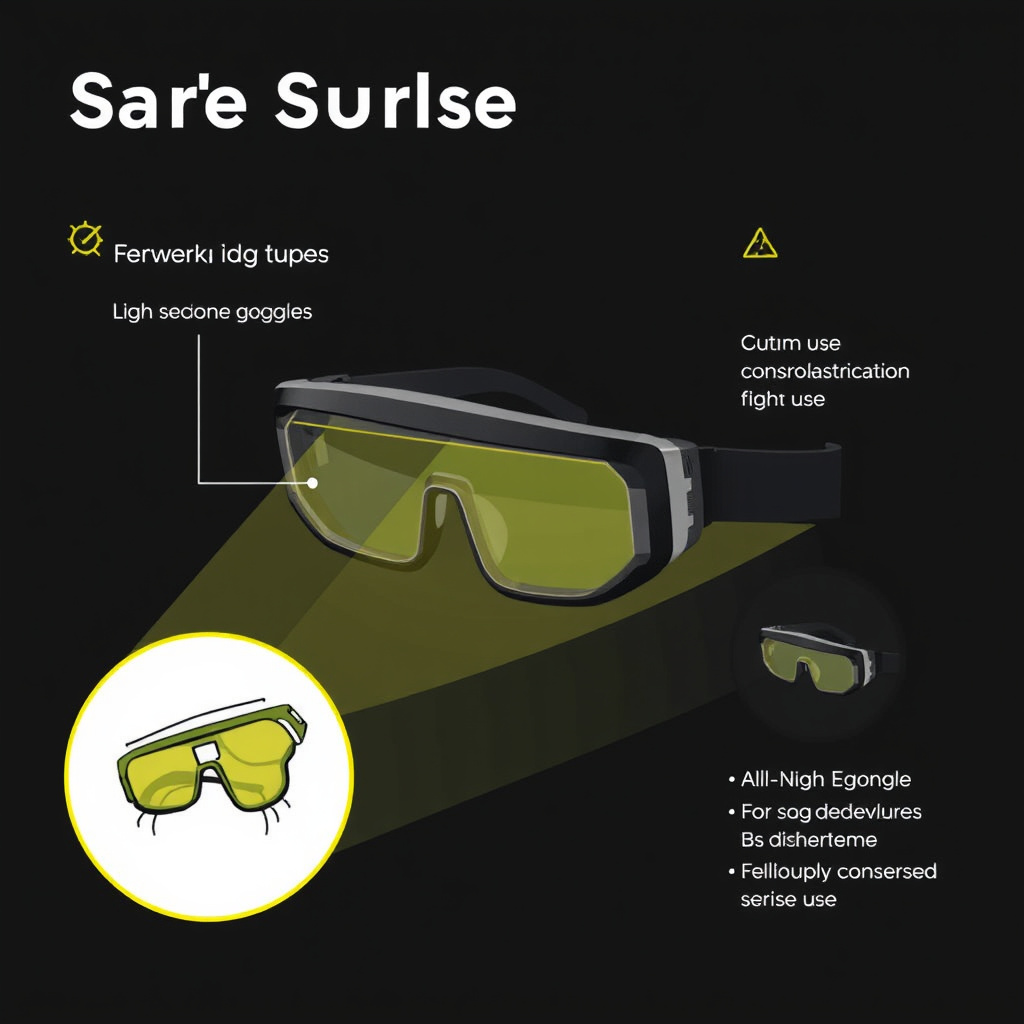
Comfort is important for prolonged wear. Design lightweight housing and use padded straps to reduce fatigue. A wider field of view provides a better user experience but may require more complex lenses or displays.
Consider the operational distance and ambient lighting conditions when choosing components. Too narrow a field can hamper situational awareness, especially outdoors.
- Lightweight materials for housing
- Adjustable straps for head fitting
- Eyepieces offering at least 40° field of view
- Balanced weight to avoid neck strain
Electrical and Eye Safety
Use IR LEDs within safe exposure limits to avoid eye discomfort. High power IR can damage retina cells if used improperly. Include current regulators and fuses to prevent electrical hazards.
Avoid pointing your DIY night vision device at direct bright light sources that can damage the sensor. Always verify that the voltage and wiring conform to recommended specifications.
- Observe IR LED eye safety guidelines
- Incorporate voltage and current regulators
- Isolate wires to prevent short circuits
- Use protective coatings on lenses and circuits
Enhancing Performance and Troubleshooting
Improving Image Quality
Adding infrared bandpass filters reduces visible light interference, improving contrast. Adjustable camera exposure and gain settings allow fine tuning for different lighting conditions. External lens upgrades can improve focus and clarity.
Software enhancements through programmable microcontrollers can add image processing like noise reduction or edge enhancement, common in advanced DIY night vision devices.
- Infrared bandpass filters to block visible light
- Adjustable camera exposure settings
- Lens upgrades for sharper focus
- Optional image processing via microcontrollers
For more on this, see our related guide: How to Make Night Vision Glasses: A Step-by-Step DIY Guide.
Common Issues and Fixes
If images appear blurry or too dark, check lens cleanliness and confirm IR LEDs are operating correctly. Flickering or unstable images often come from poor power supply stability or loose wiring connections.
Address overheating by proper ventilation design. Replace any damaged camera sensor parts with compatible modules. Testing with a multimeter helps trace electrical faults quickly.
- Clean lenses to maintain image clarity
- Secure and re-solder loose wires
- Use regulated power supplies
- Add ventilation to prevent heat buildup
Comparing DIY Night Vision Goggles to Commercial Alternatives
Cost and Accessibility
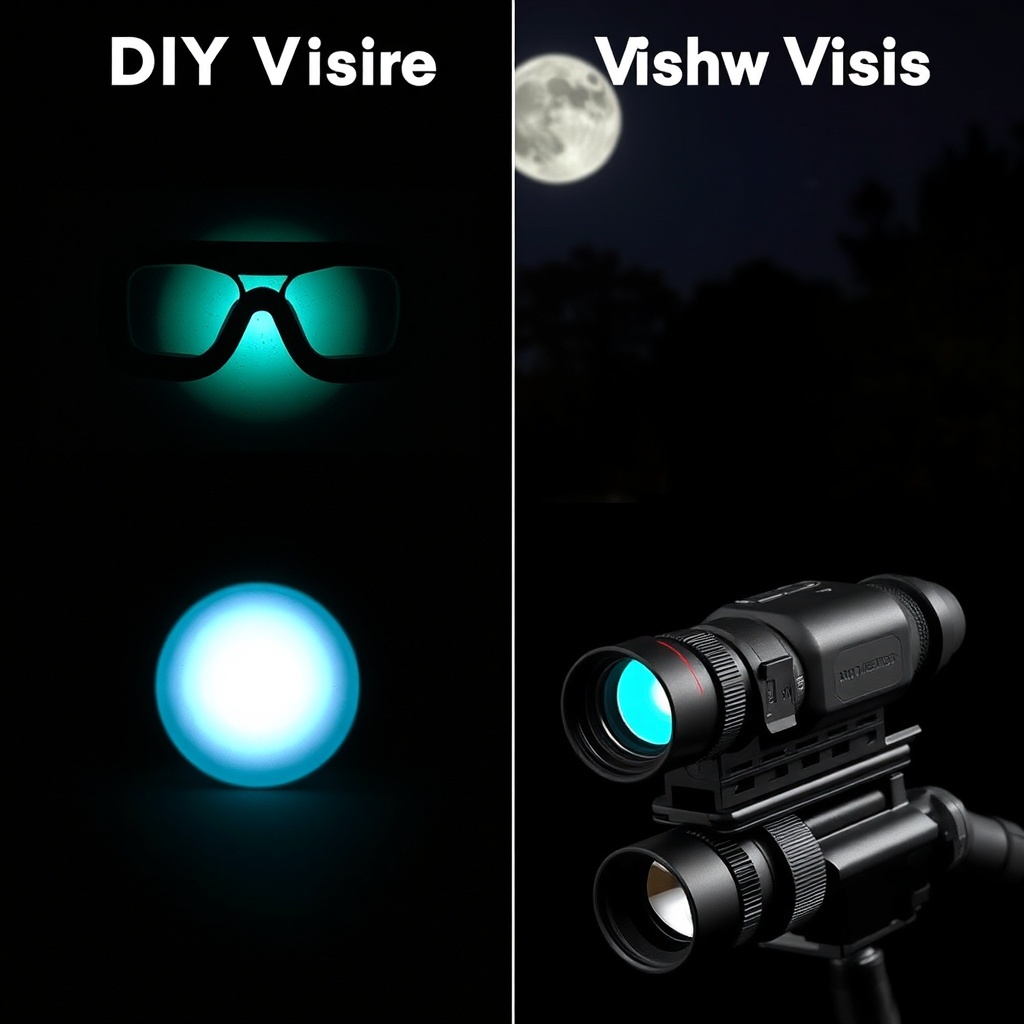
DIY night vision goggles typically cost a fraction of commercial units, making them accessible to hobbyists and students. However, they may lack durability, image quality, and advanced features.
Commercial night vision goggles are designed with high-performance sensors, sealed housings, and reliable power systems, but the cost can be prohibitive for casual use.
For a deeper understanding of night vision device types and their underlying technology, consult the Night vision technology Wikipedia article. Night vision technology Wikipedia article.
Performance and Durability
Commercial devices provide clearer images, wider fields of view, and longer battery lives. They also withstand harsher environmental conditions. DIY models may suffer from noise, limited night vision range, and fragile construction.
Upgrading your DIY goggles incrementally can narrow the performance gap but will increase complexity and cost.
Night Vision Goggles Category Comparison
Below is a comparison of different night vision goggle categories, highlighting features, costs, and typical uses.
| Category | Cost Range | Image Quality | Battery Life | Durability | Ideal Use |
|---|---|---|---|---|---|
| DIY Night Vision Goggles | $50-$200 | Low to medium | 2-6 hours | Fragile | Hobby, learning |
| Entry-Level Commercial | $400-$1000 | Medium | 6-10 hours | Moderate | Casual outdoor use |
| Mid-Range Commercial | $1000-$3000 | High | 8-12 hours | Robust | Law enforcement, hunting |
| High-End Military Grade | $3000+ | Very high | 10+ hours | Very robust | Military, professional surveillance |
Frequently Asked Questions
Can I use a regular webcam to make night vision goggles?
A regular webcam usually has an IR filter blocking infrared light. You can remove this filter, but sensitivity and image quality might be limited compared to cameras specifically designed for low-light or infrared use.
Are DIY night vision goggles safe to use at night?
Yes, provided you use infrared LEDs within safe power limits and avoid exposing eyes to intense direct IR light. Following proper assembly and electrical safety steps minimizes risks.
How far can DIY night vision goggles see in the dark?
Typical DIY goggles equipped with standard IR LEDs can provide visibility up to about 10-20 meters in very dark environments, depending on LED strength and sensor quality.
What power supply is best for DIY night vision goggles?
Rechargeable lithium-ion or alkaline battery packs are popular choices, offering portability and stable voltage. Power consumption depends on your IR LED array and electronic components.
Can I add color to night vision goggles I make myself?
Most DIY night vision goggles produce monochrome images because infrared cameras sense light outside the visible spectrum. Adding color generally requires complex processing beyond typical DIY setups.
Key Takeaways
- DIY night vision goggles rely on infrared-sensitive cameras and IR LED illumination.
- Careful selection of components and assembly techniques improves image clarity and safety.
- While affordable, DIY goggles have performance limits compared to commercial options.
- Testing and adjustments are vital to create usable night vision devices.
Conclusion
Constructing your own night vision goggles requires balancing cost, performance, and safety. By thoroughly understanding essential components like the image sensor and infrared illumination, you can build functional goggles that provide a fascinating glimpse into infrared vision. The process highlights fundamental optics and electronics skills useful beyond this project.
For those focused on hobby and educational use, simple CMOS cameras paired with IR LED arrays offer affordable and accessible night vision experiences. If better image quality and durability are priorities, considering entry-level commercial goggles or more advanced DIY enhancements like microdisplays or image processing modules can bridge the gap. Always prioritize safe IR intensity and secure construction.
Starting with a basic setup and iteratively improving your night vision goggles is an effective approach. Gather parts, follow tested assembly steps, and perform careful testing under low-light conditions. This hands-on project opens opportunities to learn practical electronics while exploring infrared optics. For additional technical insights about night vision technology and its applications, explore the detailed information offered in the linked resource.