How to Turn On Holosun Red Dot Sights: Quick Start Guide for Shooters
To turn on a Holosun red dot sight, simply press either the ‘+’ or ‘–’ button located on the side or top of your optic—one press is all it takes for most models to instantly activate the reticle. As soon as you see the crisp dot appear on the lens, your Holosun is ready to go. Whether you’re fielding a new 507C, 510C, or another popular Holosun model, this basic activation method is universal across virtually all their red dot products.
Knowing exactly how to turn on your Holosun red dot saves precious time in high-stress moments and ensures you never head to the range or out hunting with your optic off. Some models even power up automatically with motion—understanding both manual and automatic on functions means your sight works when you need it most.
In this article, we’ll start with step-by-step activation instructions, look at powering and brightness controls, troubleshoot common startup issues, and explain how auto-on features work. We’ll also compare major Holosun models for activation differences, answer frequently asked questions, and provide tips to keep your optic powered and reliable.
Step-by-Step: How to Turn On Holosun Red Dot Sights
Locating the Power Buttons
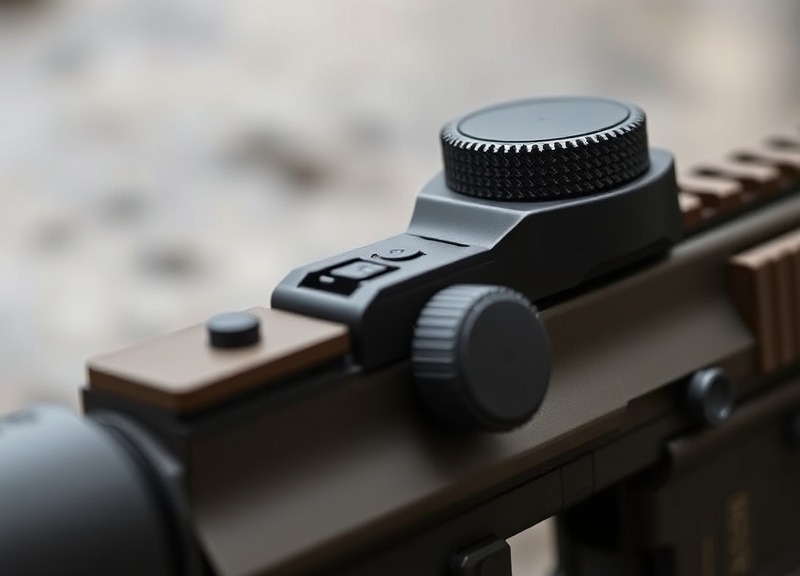
Most Holosun red dot sights feature two small rubber buttons labeled ‘+’ and ‘–’ on the left side, right side, or top of the optic body. These are slightly raised for tactile feedback, easily found by touch even with gloves. Familiarizing yourself with their layout is essential, as different Holosun models may vary in button placement. On pistol-mounted models like the 507C, they’re often on the side, while larger reflex models like the 510C have controls on the base or rear.
Take a moment to check your specific model’s control position before use. Some models group the buttons together, while others separate them slightly. This placement won’t impact function but helps with muscle memory and fast activation in the field.
Powering On: Manual Activation Process
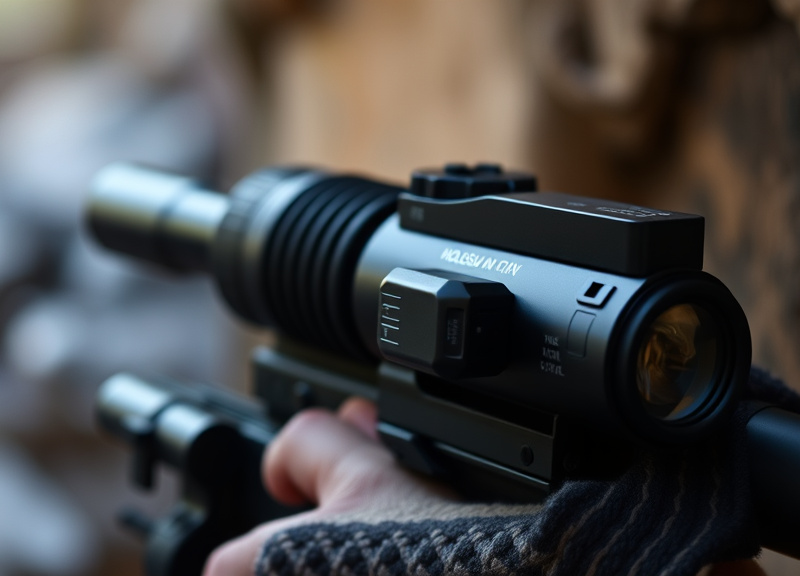
To manually turn on your Holosun red dot, press either the ‘+’ or ‘–’ button once firmly. You’ll see the red (or green, on some models) dot illuminate instantly. This quick-start feature covers the vast majority of Holosun red dots. The reticle will remain on until powered off or if the auto-off timer is triggered.
If your sight doesn’t activate with a single press, check the battery compartment for proper installation or swap in a new CR1632 cell. Remember, Holosun red dot instructions recommend manual checks to confirm the optic is operational before heading out.
Understanding Holosun’s Auto-On and Sleep Modes
Auto-Wake Feature Explained
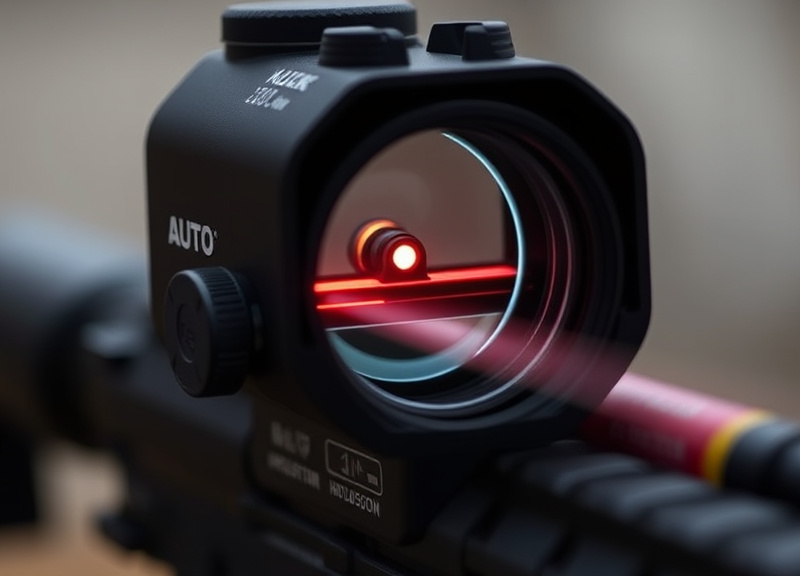
Many Holosun sights feature an ‘Auto Wake’ function, which automatically turns the reticle on when motion is detected. If your sight has entered sleep mode after a period of inactivity (default is 10 minutes), simply pick up or move the firearm—the optic instantly springs to life. This helps conserve battery life without sacrificing readiness.
Not all models include auto-on, so check your user manual to verify if your optic supports motion activation. For Holosun red dot instructions on enabling or disabling this feature, consult the specific manual corresponding to your model.
Sleep Timer and Custom Settings
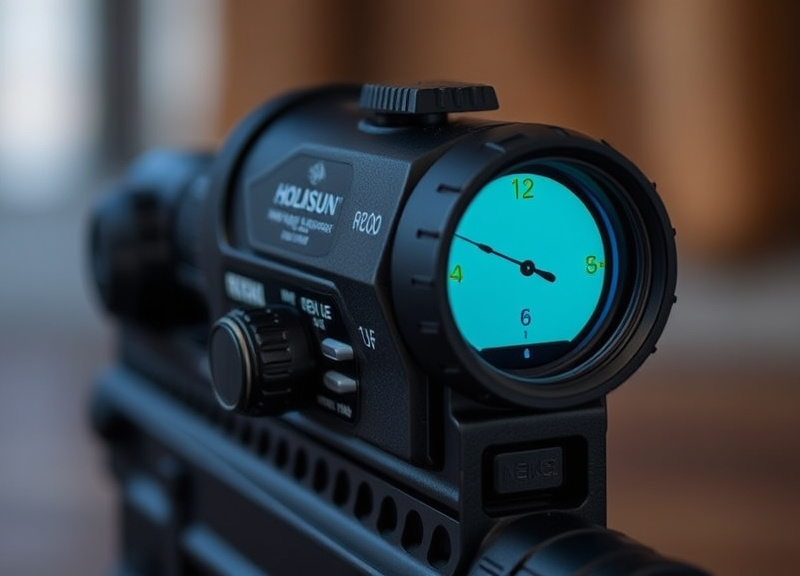
Adjustable sleep timers let you set how long the sight waits before entering power-saving mode—ranges typically include 10 minutes, 1 hour, or disabled. To modify the timer, hold both the ‘+’ and ‘–’ buttons simultaneously for several seconds, then cycle through timer durations by pressing the ‘+’ button.
Selecting the right sleep duration balances everyday readiness versus maximum battery saving, allowing personalization for different shooting scenarios.
- Short timer: better battery preservation
- Long timer: immediate response in high-stress situations
Battery Management and Power Off Methods
Changing the Battery Safely
Most Holosun red dots use a CR1632 or CR2032 lithium coin cell, accessible via a side tray or removable cap. Always power off the sight before changing the battery to avoid electrical glitches.
Once the battery is replaced, test by turning the optic on before field use. Follow Holosun red dot instructions regarding orientation and placement for your specific model.
- Use high-quality name-brand cells (Energizer, Panasonic)
- Carry a spare battery for critical applications
For more on this, see our related guide: How to Use a Red Dot on a Pistol: A Practical Guide for Beginners.
Manual Power Off Procedures
Powering off is just as simple as powering on: press and hold either the ‘+’ or ‘–’ button for three seconds. The reticle will vanish, confirming shutdown. Holosun includes this to prevent accidental battery drain if you want to disable the optic manually.
Some advanced models also feature automatic shutdown after extended periods of inactivity. Always check for power-off confirmation before storing your firearm.
Adjusting Brightness and Reticle Settings
Brightness Control and Settings
Adjust the reticle brightness with the ‘+’ and ‘–’ buttons; each press cycles through 10 daylight settings and 2 night vision settings on most models. You’ll notice the dot clearly adjust from subtle to high visibility as you cycle.
Keeping brightness lower prolongs battery life, while maxing out ensures the dot remains visible in harsh sunlight. Experiment to find the optimal setting for your eyes and conditions.
Changing Reticle Style (on Select Models)
Some Holosun red dots, such as the 507C and 510C, allow users to switch between dot-only, ring-only, or circle-dot reticles. To cycle styles, hold the ‘–’ button for three seconds until the reticle changes. This flexibility supports different shooting applications—from speed shooting to precision aiming.
Refer to your model’s Holosun red dot instructions for exact details on reticle switching, as not all units include this feature.
- Dot-only: fast target acquisition
- Ring or circle-dot: enhanced accuracy
Troubleshooting: When Your Holosun Red Dot Won’t Turn On
Common Power Issues and Fixes
If your Holosun red dot fails to turn on, start by checking the battery—dead or incorrectly installed cells are by far the most common culprits. Inspect the battery tray for proper polarity (plus/minus sides) and look for corrosion, dirt, or debris.
Replacing the battery with a fresh CR1632, ensuring correct orientation, typically resolves power-up failures. If this doesn’t work, try resetting the sight or consult Holosun red dot instructions for advanced troubleshooting.
- Check polarity (+/- on tray and battery)
- Inspect for dirt or moisture
- Try new, name-brand battery
Factory Resetting Your Red Dot
Some Holosun optics allow for a simple factory reset—hold both ‘+’ and ‘–’ buttons for 10 seconds to restore default settings (dot brightness, sleep timer, etc). This can solve software glitches impacting power or reticle appearance.
Always double-check your battery life and consult Holosun red dot instructions specific to your model for reset details, as not all units support this feature.
How to Turn On Holosun Red Dot: Model Differences
Button Placement by Model
Button positions vary: the 507C and 407C models place controls on the optic side, the 510C has buttons in the rear, and the micro 407K/507K line put tiny controls on top. These layout changes slightly alter feel and speed of activation.
Despite these physical differences, the startup procedure—pressing either power button once to activate—is consistent across all Holosun red dot models.
For more technical insight into red dot sights and their operation, consult this comprehensive Holosun product overview. Holosun product overview.
Solar Charging Variants
Several Holosun models are equipped with ‘Solar Failsafe’ cells. These allow the red dot to power on via ambient light even when the battery is low or missing. Solar operation activates automatically under sufficient light and supplements main battery life.
While solar-only startup isn’t reliable in darkness, it provides extra peace of mind if batteries fail in daylight situations. Review Holosun red dot instructions for solar feature details on your specific optic.
- Solar Failsafe is standard on 510C, 507C, AEMS, and some 407 models
Popular Holosun Red Dot Model Comparison
Holosun offers a range of red dot sights with varied activation features and form factors. The table below highlights key differences relevant to turning on and operating each optic.
| Model | Button Placement | Auto-On/Shake Awake | Solar Failsafe | Battery Type |
|---|---|---|---|---|
| 407K | Top | No | No | CR1632 |
| 507C | Side | Yes | Yes | CR1632 |
| 510C | Rear | Yes | Yes | CR2032 |
| AEMS | Side | Yes | Yes | CR2032 |
| 407C | Side | No | Yes | CR2032 |
Frequently Asked Questions
Can I turn on my Holosun red dot using the solar panel alone?
The solar panel powers the red dot under bright light if the battery is depleted but cannot be used to manually turn on the sight in darkness. Always keep a fresh battery installed for reliable operation in all conditions.
Why won’t my Holosun red dot turn on after storing it for a long period?
Extended storage can drain the battery or allow moisture to ingress. Replace the battery with a new CR1632 or CR2032, clean the contacts, and check for corrosion. If issues persist, try a factory reset according to your sight’s manual.
How do I know if my Holosun red dot is powered on?
Look for the illuminated reticle through the optic window. You may need to adjust brightness settings if ambient light is bright. Some models briefly flash the reticle when first powered on as confirmation.
Do all Holosun red dot sights have auto-on (Shake Awake) features?
No, only select Holosun models (like the 507C, 510C, and AEMS) feature Shake Awake motion activation. Entry-level models such as 407K may require manual On/Off operation only, as indicated in the user instructions.
Is it possible to leave my Holosun red dot on overnight without draining the battery?
Holosun’s auto-sleep and Shake Awake technology efficiently preserve battery life if left on. For maximum longevity, use sleep timers or power off manually before storage.
Key Takeaways
- Turning on Holosun red dots is a one-button process.
- Know your model’s button layout and power features.
- Auto-on and solar backup add versatility to select models.
- Proper battery care ensures your red dot is always ready.
Conclusion
Understanding how to turn on your Holosun red dot sight is vital for readiness and effective shooting, whether in competitive, defensive, or recreational scenarios. Relying on a consistent method—pressing the ‘+’ or ‘–’ button once—allows you to activate virtually any Holosun optic instantly, while being mindful of each model’s unique features ensures you never miss a beat. Embracing built-in technologies like auto-wake or solar failsafe further reduces the risk of losing your reticle when it counts.
For those wanting maximum confidence in their setup, the 507C and 510C offer the best mix of easy activation, auto-on capability, and solar backup for peace of mind. Shooters focusing on compact carry may prefer the 407K, while the AEMS provides advanced features in a rifle-ready chassis. Evaluate your shooting environment, weapon platform, and personal preference before deciding, then practice activating and adjusting your sight until it becomes second nature.
Above all, remember that building muscle memory around powering on and checking your Holosun red dot is as important as any marksmanship skill. Take a few minutes before each range outing or hunt to verify the optic’s functionality. Regularly inspect batteries, familiarize yourself with controls, and update your habits as needed. With these straightforward steps, your red dot will be ready whenever you need it most.