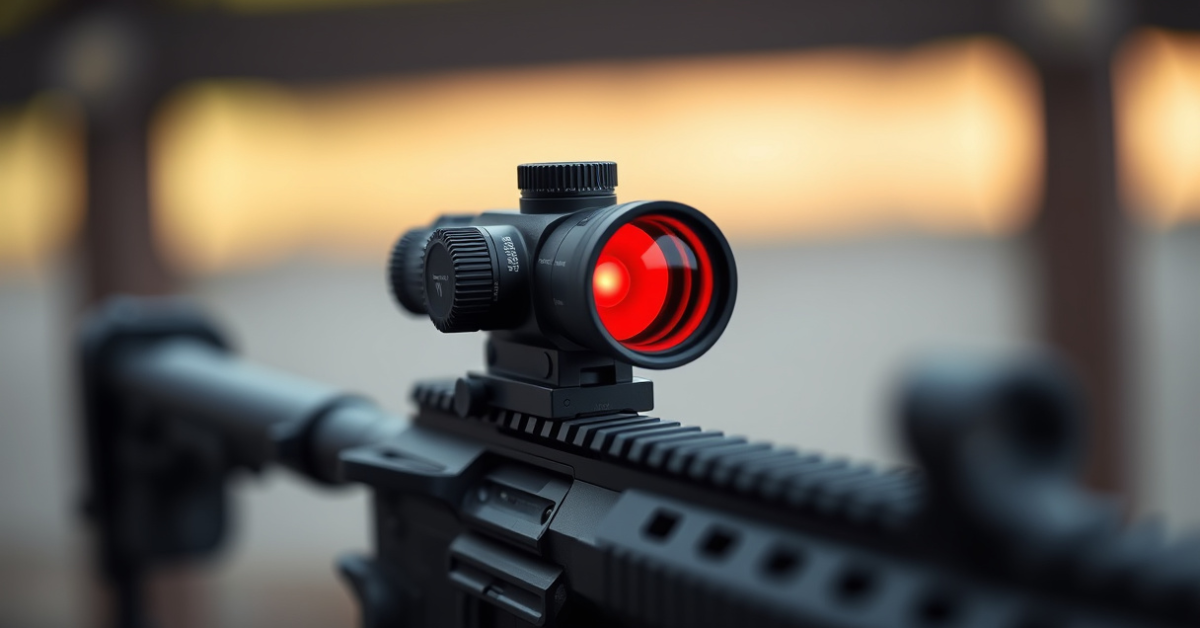
How to Calibrate a Red Dot Sight for Maximum Accuracy
Zeroing a red dot sight is a straightforward process: mount the sight securely, target at a known distance (commonly 25 or 50 yards), adjust windage and elevation dials to move the dot onto the point of impact after each shot, and repeat until the shot group’s center aligns precisely with the red dot. A calibrated red dot significantly boosts shot accuracy and target acquisition speed in real-world use, whether for hunting, home defense, or competition shooting.
Properly zeroed, a red dot sight becomes a powerful extension of your aim—offering parallax-free targeting and enhanced confidence. Inconsistent results or frustration at the range often stem from sights that haven’t been correctly dialed in. Calibration ensures every squeeze of the trigger translates into predictable performance.
In this article, you’ll get an actionable step-by-step guide on how to calibrate a red dot sight, with detailed explanations of tools, distance selection, sight adjustment, troubleshooting, maintenance, and key differences between red dot types. You’ll also find a comparison chart for popular calibration scenarios and answers to common questions.
Essential Tools and Setup for Red Dot Calibration
Gathering the Necessary Tools
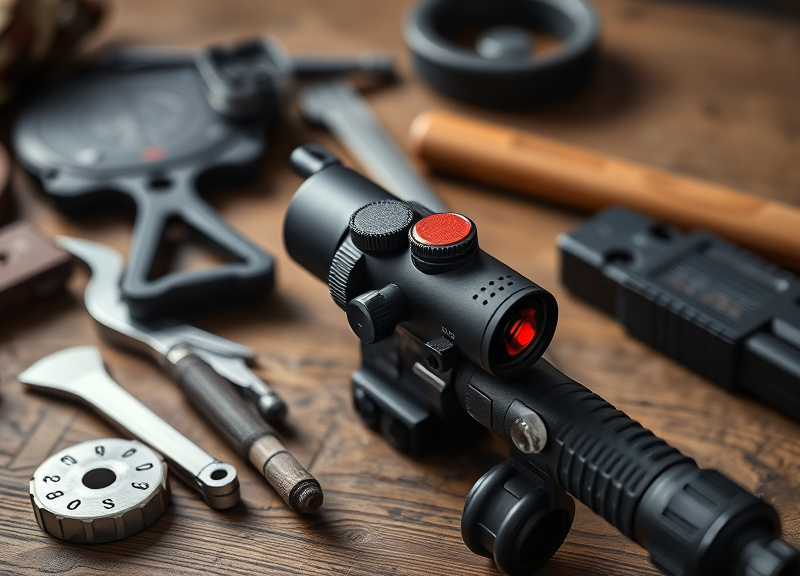
Before calibrating a red dot sight, assemble the key items: firearm with securely mounted red dot, adjustment tool (often a flathead or small coin), a bore sighter (optional), paper targets, stable shooting rest or sandbags, and preferred ammunition. Using your actual ammo for sight-in is crucial to avoid discrepancies in point of impact.
When it comes to tools, quality matters. Precision screwdrivers prevent damage to adjustment turrets. Consider a laser bore sighter for initial rough alignment to save both time and ammunition, though final adjustments should always be based on live fire at the range.
- Red dot-equipped firearm
- Appropriate screwdriver or tool
- Paper targets with clear bullseyes
- Shooting rest or sandbags
- Bore sighting device (optional)
- Correct ammunition
Safe and Consistent Mounting Practices
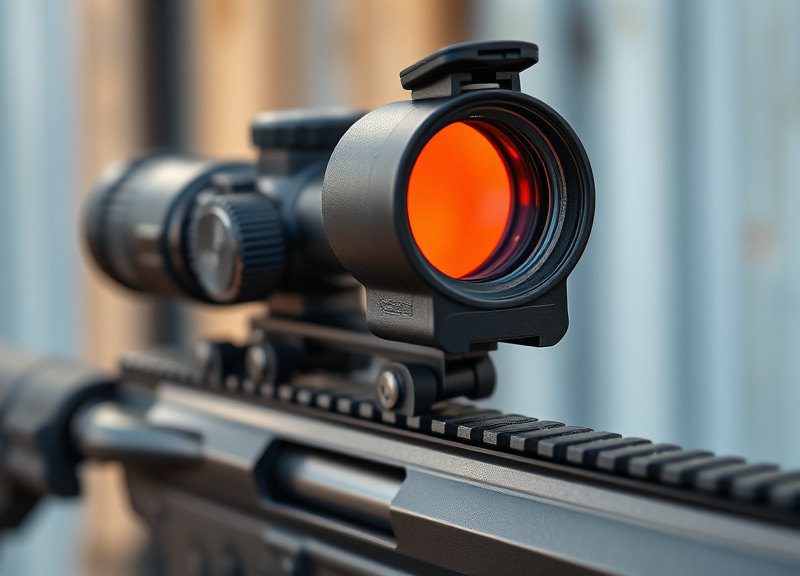
Securely mounting your sight lays the groundwork for consistent zeroing. Use manufacturer-recommended torque values for mounting screws and double-check clamp alignment on rails. An inadequately mounted sight leads to shifting zero and frustration.
Stabilize your firearm using a rest, bipod, or sandbags to minimize human error. Consistency in cheek weld and grip ensures repeatable results throughout the zeroing process, which is critical to accurate calibration.
How to Calibrate a Red Dot Sight: Step-by-Step Process
Initial Alignment and Bore Sighting
Start with bore sighting to get your shots on target, especially with a freshly mounted red dot. Remove the bolt (on rifles) or open the action, and visually align the bore with your target. Adjust the red dot so it roughly matches the bore’s position. A laser bore sighter can expedite this process for both rifles and pistols.
Bore sighting saves ammo by getting your first shots on paper. However, always fine-tune final calibration with live-fire adjustments, as bore sights can introduce slight variances that affect precision.
Fine-Tuning Zero with Live Fire
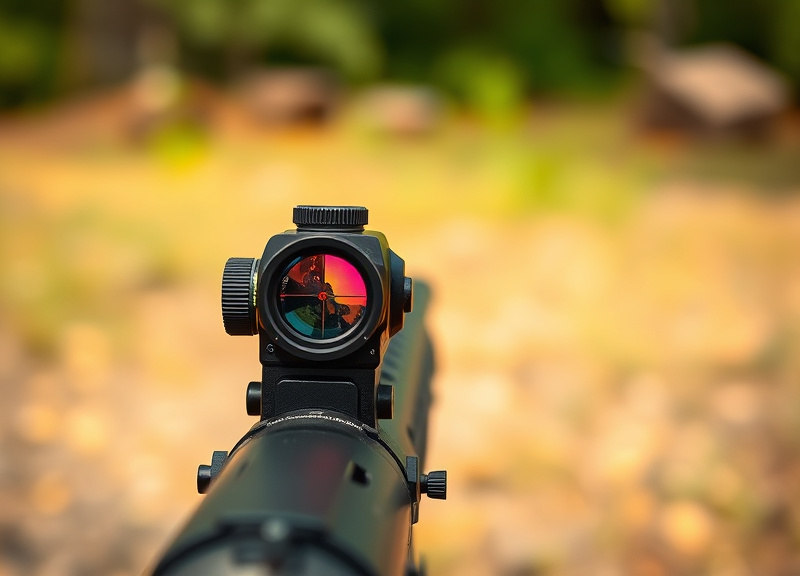
Fire a three- to five-shot group from a stable rest at your chosen zeroing distance (typically 25, 36, or 50 yards). Examine where your shots land relative to the target’s point of aim—measure both horizontal (windage) and vertical (elevation) offsets.
Adjust the sight’s turrets: most red dot sights move the point of impact in 1 MOA (minute of angle) increments per click. Make small, deliberate clicks, re-shooting groups and adjusting as needed until your shots consistently center on the red dot.
- Shoot a group, not single shots, for best data.
- Adjust windage first, then elevation.
- Let the firearm cool between groups.
- Record click values for reference.
Selecting the Right Distance for Zeroing a Red Dot Sight
Popular Zeroing Distances Explained
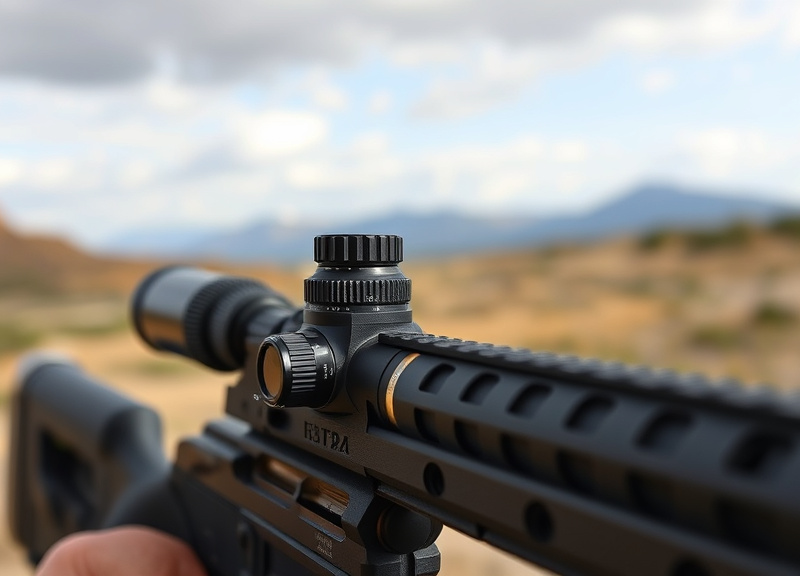
The most common distances for zeroing a red dot sight are 25, 36, and 50 yards. Your choice depends on intended use: 25 yards suits pistols and short carbines, 36 yards matches military dot trajectories, and 50 yards offers versatility for both close and intermediate targets.
Choosing the best zeroing distance affects trajectory and holdover at other ranges. Understanding your weapon’s ballistics and mission guides distance selection for red dot calibration.
- 25 yards: fast acquisition for home defense
- 36 yards: common AR-style rifle zero
- 50 yards: versatile all-around zero
For more on this, see our related guide: How to Zero in Red Dot Sight for Accurate Shooting Every Time.
Matching Distance to Your Application
For home defense or pistol use, zero at 15-25 yards for rapid close-up accuracy. Hunters or sports shooters with carbines often select 36 or 50 yards to enable a flatter trajectory across varied distances.
Always confirm your zero with your usual shooting stance and actual ammunition, as practical field conditions can slightly alter the point of impact.
Windage, Elevation, and Environmental Factors
Understanding and Adjusting Windage and Elevation
Windage adjusts shot placement horizontally; elevation controls vertical placement. Every click on the turret typically equals 0.5 to 1 MOA movement at 100 yards, but always check your model’s manual.
Precisely tracking how many clicks you dial during calibration allows for easy returns to zero if you make further changes or travel with your firearm.
How Weather and Conditions Affect Calibration
Temperature, wind, and lighting all subtly influence red dot sight calibration. Strong crosswinds can shift shot groups, and significant temperature swings may affect trajectory or shift optic mounts slightly.
Calibrate under representative conditions whenever possible. If you often shoot outdoors in varied climates, periodically confirm your zero in those environments for best real-world accuracy.
- High wind causes horizontal drift
- Cold can stiffen mounts or alter ammo performance
- Different lighting affects dot visibility
Troubleshooting Calibration Issues
Diagnosing Grouping Patterns
If your shot groups are inconsistent or shift suddenly, suspect loose mounting, inconsistent cheek weld, or poor ammunition. Tight shot groups far from your point of aim signal calibration errors, but scattered groups point to fundamentals.
Group size should be consistent. If your group suddenly moves after adjusting the red dot, re-check mounting screws, rail alignment, and confirm you haven’t over- or under-torqued anything.
Common Red Dot Zeroing Mistakes
Many shooters misjudge the number of turret clicks or fail to use a rest, causing erratic adjustments. Others forget to use their regular shooting stance or use different ammo than they intend for later use.
Logging each adjustment, sticking to one variable at a time (distance, ammo, firing position), and confirming zero after changes will minimize typical calibration mistakes.
- Not using a stable rest
- Switching ammo mid-process
- Forgetting to re-tighten mounts
- Zeroing at the wrong distance for application
Care and Maintenance for Accurate Red Dot Sights
Cleaning and Protecting Your Sight
Dust, moisture, or fingerprints on the lens degrade dot clarity and accuracy. Clean lenses with a microfiber cloth and quality lens solution. Keep caps on when transporting or storing your firearm.
Periodically inspect the optic’s housing and mount for dings, corrosion, or loosening—all of which can cause loss of zero or outright sight failure.
- Use lens-safe cleaning solution
- Remove batteries before long-term storage
- Inspect and re-tighten mounts regularly
For more technical details about how these optics work, see this comprehensive overview of red dot sight basics. Red dot sight basics.
Routine Calibration Checks and Battery Care
Red dots require periodic re-zeroing—especially after heavy use, travel, or hard knocks. Check calibration every few months, after major impact, or before critical outings.
Replace batteries before they show significant dimming or after every 6-12 months of steady use, even if the sight still seems bright. Many modern sights offer auto-off features to prolong battery life.
- Test zero each season
- Carry spare batteries
- Check for flicker or dimming
Red Dot Sight Calibration Approaches Comparison
Here’s a side-by-side comparison of popular calibration scenarios for red dot sights based on firearm type, distance, and application.
| Firearm Type | Recommended Zero Distance | Use Case | Adjustment Tools Needed |
|---|---|---|---|
| AR-15 Rifle | 50 yards | Versatile target & defense | Screwdriver, rest, bore sighter |
| Handgun | 15-25 yards | Personal defense, competition | Coin/screwdriver, sandbags |
| Shotgun | 25 yards | Home defense, hunting | Screwdriver, bore sight (optional) |
| Pistol-Caliber Carbine | 25 or 50 yards | Plinking, competitions | Screwdriver, rest, targets |
| SMG/Short Carbine | 36 yards | Tactical drills | Screwdriver, bipod, targets |
Frequently Asked Questions
How often should I recalibrate my red dot sight?
Check and recalibrate your red dot sight every few months, after significant impacts or rough handling, or before critical events like hunts or competitions. Environmental changes and prolonged use can shift zero, so regular checks are essential for best performance.
Do I need a bore sighter to calibrate a red dot sight?
A bore sighter isn’t strictly required but it helps get your first shots on paper, reducing ammo waste. Live fire is always necessary for fine-tuning since actual trajectory may differ from bore-sighted alignment.
What does 'zeroing a red dot sight' mean?
'Zeroing a red dot sight' means adjusting the sight so that the point of aim aligns exactly with the point of impact at a set distance. A properly zeroed sight significantly improves accuracy and consistency.
How does changing ammunition affect calibration?
Different loads and bullet weights can shift the point of impact, sometimes significantly. Always calibrate and confirm your red dot sight using the specific ammunition you intend to use for your main application.
Can red dot sights lose their calibration over time?
Yes, frequent rough handling, drops, or repetitive impact can cause mounts or turrets to shift, leading to a drifting zero. Periodically check and re-zero your sight to maintain optimal accuracy.
Key Takeaways
- Systematic red dot sight calibration greatly boosts accuracy.
- Choosing the correct zeroing distance depends on firearm and use case.
- Regular maintenance preserves zero and ensures reliability.
- Log all adjustments for repeatability and confidence at the range.
Conclusion
Successfully calibrating a red dot sight blends technical know-how with patient, systematic practice. Approach the process starting with secure mounting, accurate initial alignment (preferably with a bore sighter), and deliberate, group-based live-fire adjustments. By carefully recording each tweak and factoring in the shooting application and environment, you ensure your firearm delivers consistent precision, whether at the range or during high-stakes scenarios. Investing effort in calibration pays dividends not just in tight groups but in reliable, repeatable performance you can trust when it counts.
No single calibration distance or method fits every firearm or shooter. For AR-15 or carbine users, 50-yard zeroes maximize flexibility across most scenarios, while handguns and shotguns often perform best at 15 to 25 yards for close-quarters use. Portable tools, careful note-taking, and routine checks after field use prevent common zeroing mishaps. If your groupings remain inconsistent after diligent adjustment, inspect mounting hardware and shoot from a stable position with your actual chosen ammunition. Proper troubleshooting ensures that both hardware and technique are dialed in.
To keep your red dot sight dependable, make calibration part of your ongoing firearm maintenance. Incorporate regular lens cleaning, battery checks, and re-tightening of mounts into your schedule, especially before important competitions or hunts. Take time at the range to verify zero in varied conditions, and never hesitate to consult your sight's manual for model-specific details. With a disciplined approach, you’ll enjoy fast, intuitive target acquisition and supreme accuracy from your red dot-equipped firearm every time you head afield.



4 Comments