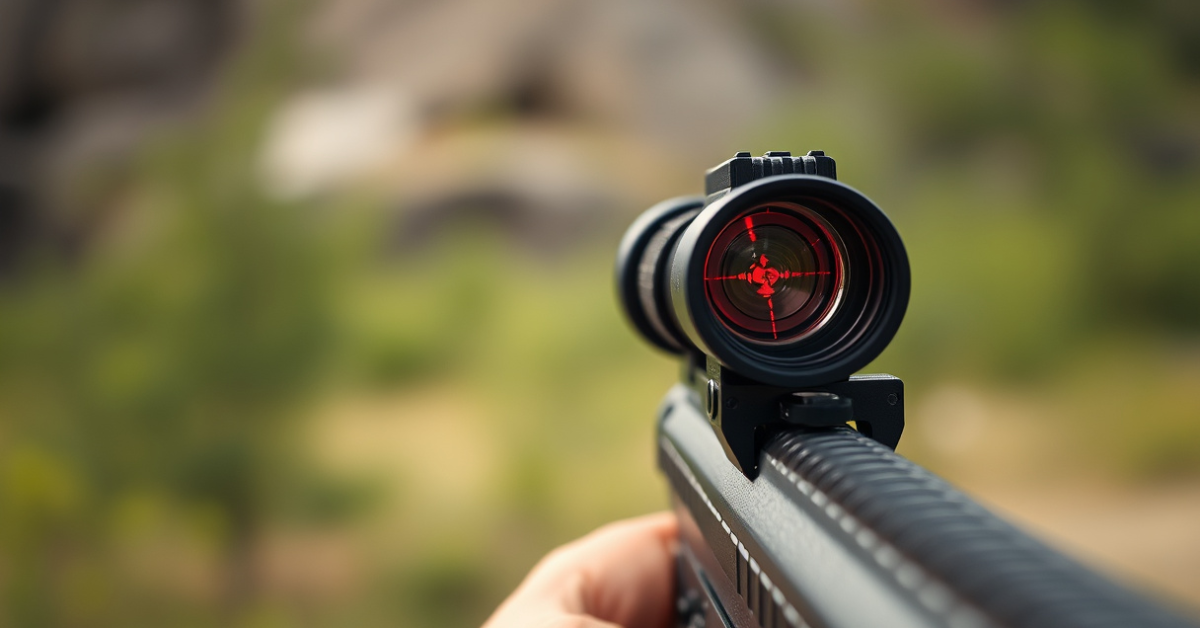
How to Zero in Red Dot Sight for Accurate Shooting Every Time
Zeroing in your red dot sight is a straightforward process: mount the sight securely, start at a recommended distance (usually 25–50 yards), and use the windage and elevation turrets to adjust your point of impact until your shots align precisely with your aiming dot. Fire a consistent group, observe where it lands relative to your point of aim, and tweak accordingly. Repeat this process until your shots consistently hit your intended spot—congratulations, your red dot sight is zeroed in!
Achieving a precise zero on your red dot sight is essential for maximizing accuracy, whether you’re honing your skills at the range or relying on your firearm for home defense. Even the best optics need proper alignment to ensure your shots land exactly where intended, reducing uncertainty and boosting confidence with every trigger pull.
In this guide, we’ll walk you through every stage of the zeroing process, from initial setup and common zeroing distances to fine-tuning windage and elevation adjustments. You’ll also discover helpful troubleshooting tips, what gear to bring, and how to maintain accuracy over time. Let’s get your red dot sight dialed in perfectly.
Understanding Red Dot Sight Zeroing
What Does Zeroing a Red Dot Sight Mean?
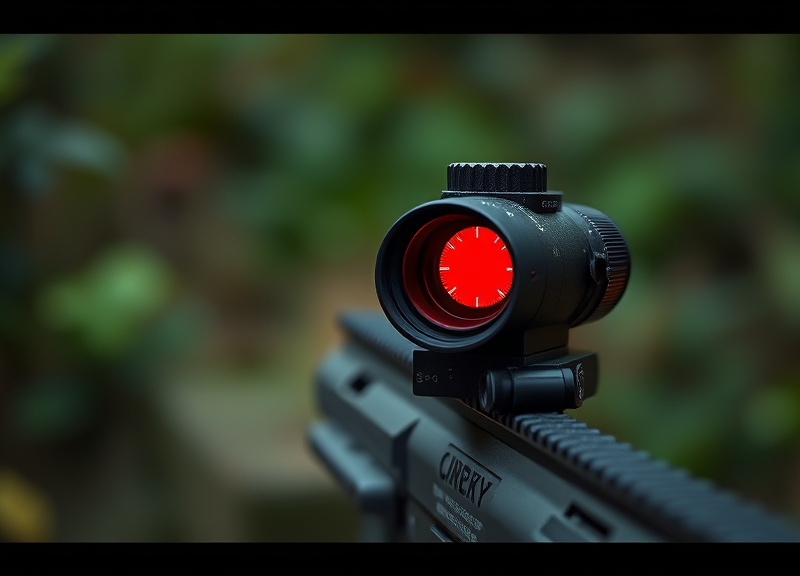
Zeroing refers to calibrating your red dot sight so that the point of aim (the dot) matches the point of impact on your target at a specific distance. This ensures that your shots hit exactly where you intend, eliminating guesswork for different shooting scenarios.
An improperly zeroed sight can lead to consistent misses and frustrate even experienced shooters. By zeroing your red dot, you create a reliable baseline to improve accuracy, whether for competitive shooting, hunting, or self-defense.
Why Proper Zero Matters for Accuracy
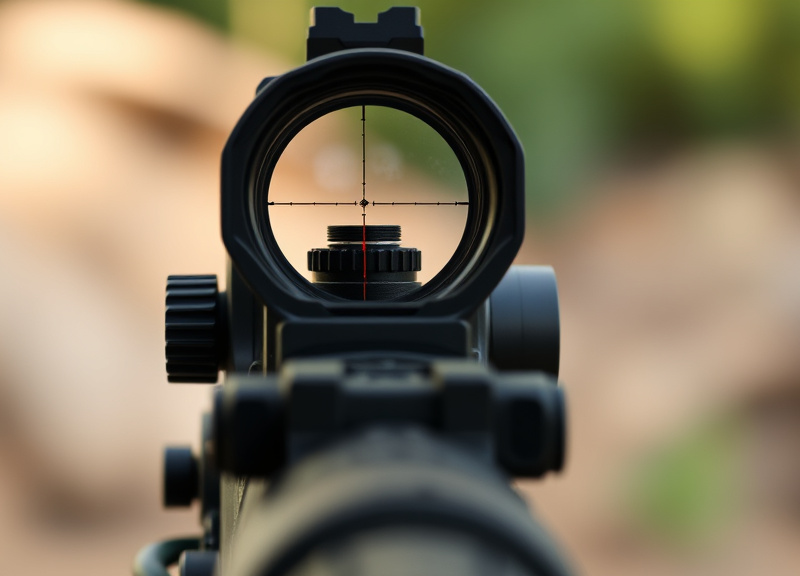
A correctly zeroed sight allows you to make quick, confident shots without needing to estimate or compensate for misalignment. This precision translates to faster target acquisition and improved outcomes in high-pressure situations.
Poorly zeroed red dot sights can cause bullet impacts to land several inches off target, especially as distance increases, making it vital to spend time on this foundational step.
How to Zero in Red Dot Sight: Step-by-Step
Mounting and Preparing Your Firearm
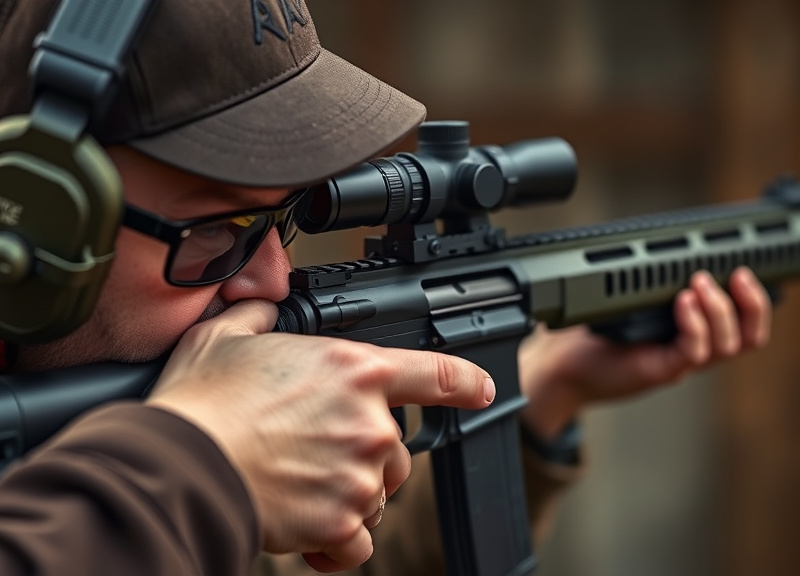
Start by mounting your red dot sight securely on your firearm using the appropriate hardware. Loose or misaligned mounts can undermine even the best red dot sight zeroing methods. Double-check tightness and optical alignment before proceeding.
Establish a stable shooting position, ideally at a shooting bench with sandbags or a weighted rest. The more stable your setup, the more consistent your shots will be during the zeroing process.
- Ensure optic is level and secure
- Use manufacturer’s torque specifications
- Check for play or movement after mounting
Selecting Distance and Target Type
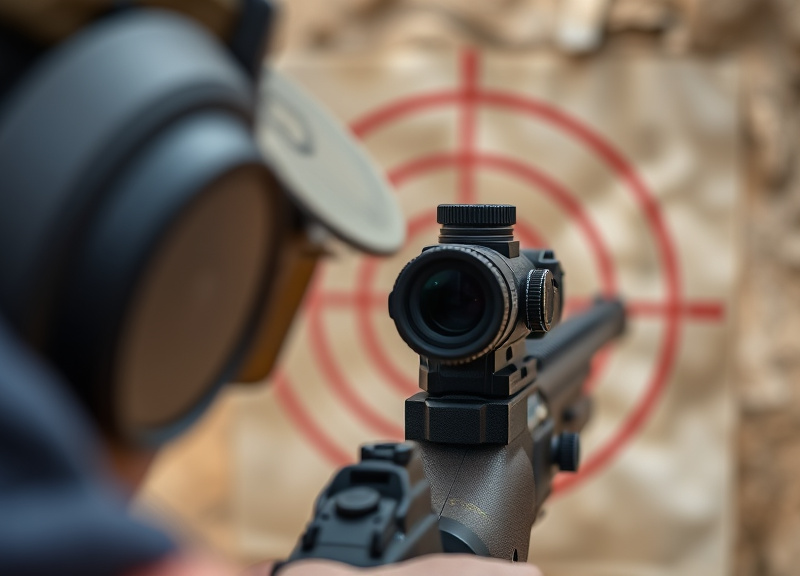
Common zeroing distances for red dot sights are 25, 36, and 50 yards. Choose a distance that matches your typical shooting application—36 or 50 yards is popular for general shooting, while 25 yards may suit pistol use.
Paper targets with distinct bullseyes or grid patterns are ideal for spotting shot placement and making precise windage and elevation adjustments.
- Use high-contrast bullseye targets
- Avoid reactive splatter targets (can obscure groupings)
- Mark your target for easier adjustment tracking
Windage and Elevation Adjustments Explained
Making the Initial Adjustments
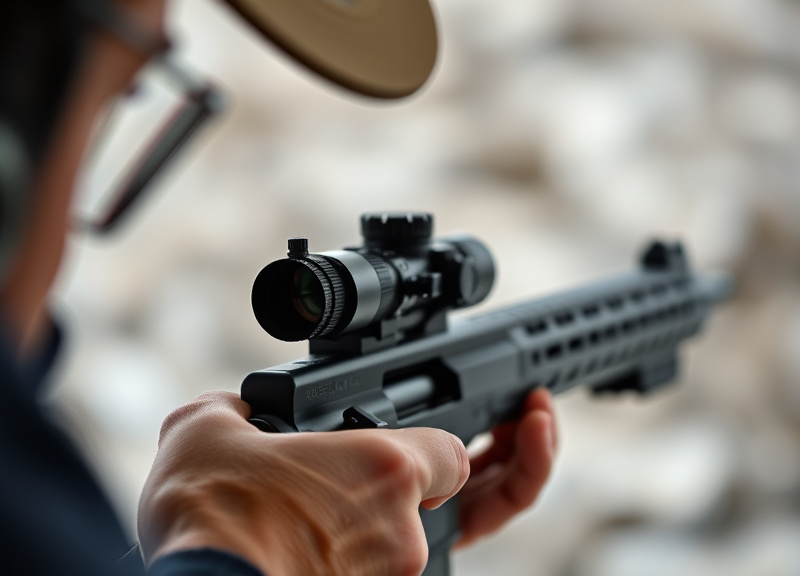
Fire a three- or five-shot group at your target, keeping your point of aim consistent. Locate where the group lands relative to the bullseye—this difference shows what corrections are needed through windage (left/right) and elevation (up/down) turrets.
Adjustments are usually measured in MOA (minute of angle), with each click moving the point of impact a set distance, depending on your sight. Consult your sight’s manual for specifics.
- MOA per click (e.g., 1 click = 1/2” at 50 yards)
- Record the number of clicks for each adjustment
For more on this, see our related guide: How to Adjust Red Dot Sight for Maximum Accuracy and Ease.
Fine-Tuning for Consistency
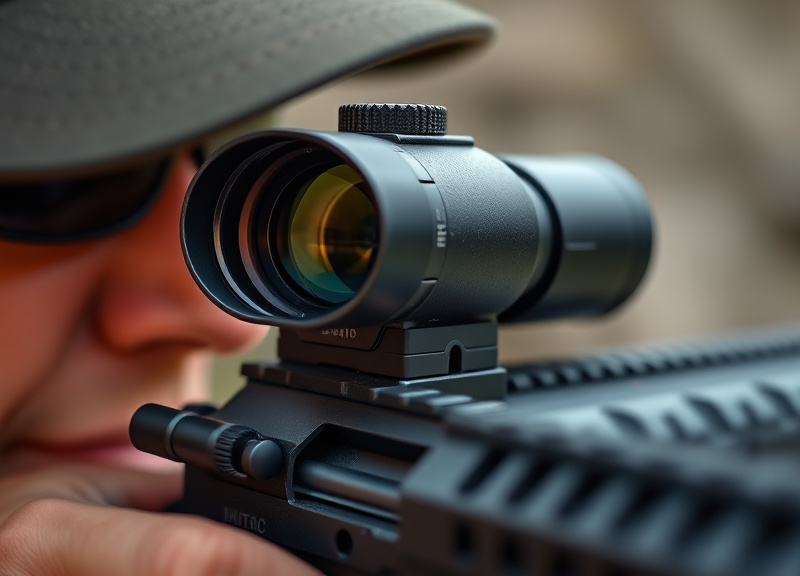
After the first adjustment, fire another tight group. Repeat the process until your group is centered exactly where you’re aiming. Don’t rush—allow the barrel to cool and use consistent ammunition.
Environmental factors like wind, lighting, and ammunition type can influence your results, so always strive for consistency when zeroing in red dot sight.
- Allow time for barrel cooling
- Match ammo used in real scenarios
Troubleshooting Red Dot Zeroing Issues
Common Problems and How to Solve Them
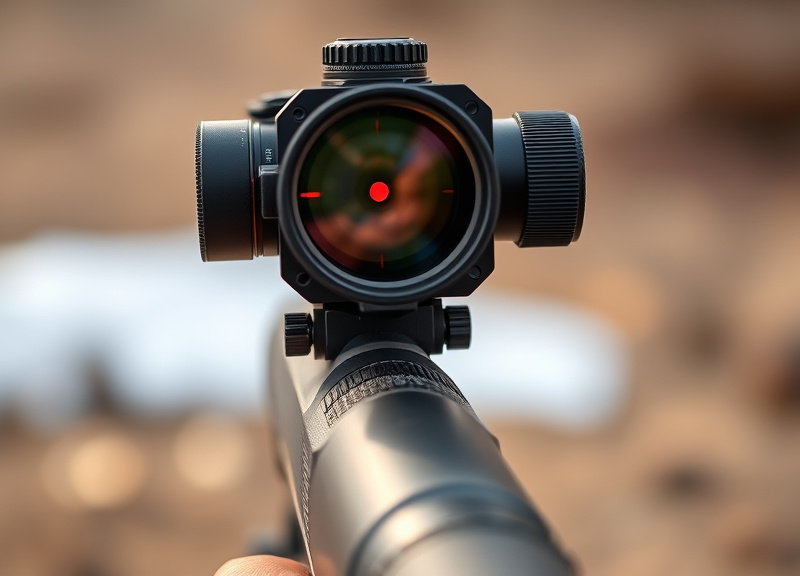
If your point of impact shifts dramatically between shots, recheck your optic for tightness and stability. Parallax error and shooter error can also cause frustration when using best red dot sight zeroing methods.
If you encounter inconsistent groupings, evaluate your shooting fundamentals first—trigger control, grip, and stance are crucial, especially with lightweight red dot-equipped pistols.
- Check mount torque frequently
- Verify optic isn't damaged
- Use the same ammunition brand
Equipment Checks and Maintenance
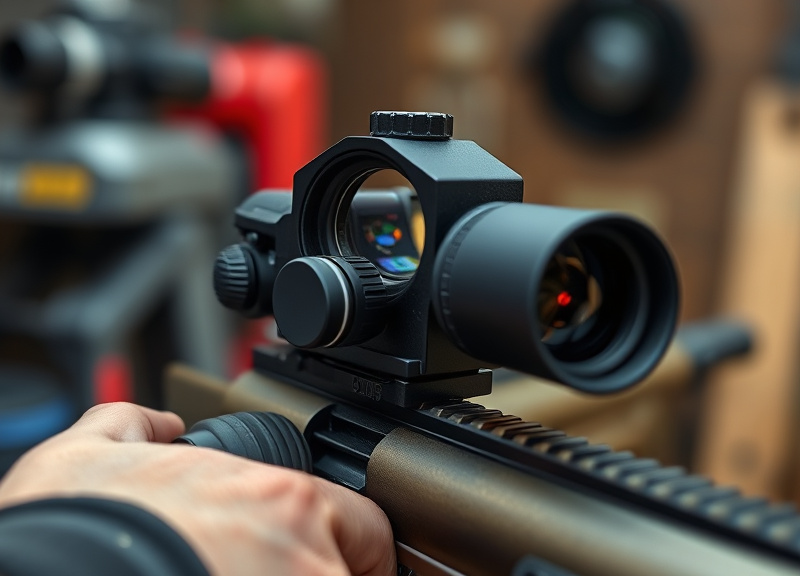
Inspect your red dot sight lens for smudges or debris and ensure battery health—dim or flickering dots can mislead your aim. Always bring backup batteries when heading to the range.
Routine cleaning and inspection prolong your sight’s lifespan and ensure reliability. Store optics in a protective case when not in use.
- Clean lens with non-scratching cloth
- Replace battery before major use
- Store sight in dry, secure place
Zeroing for Different Firearms and Applications
Red Dot Zeroing on Handguns
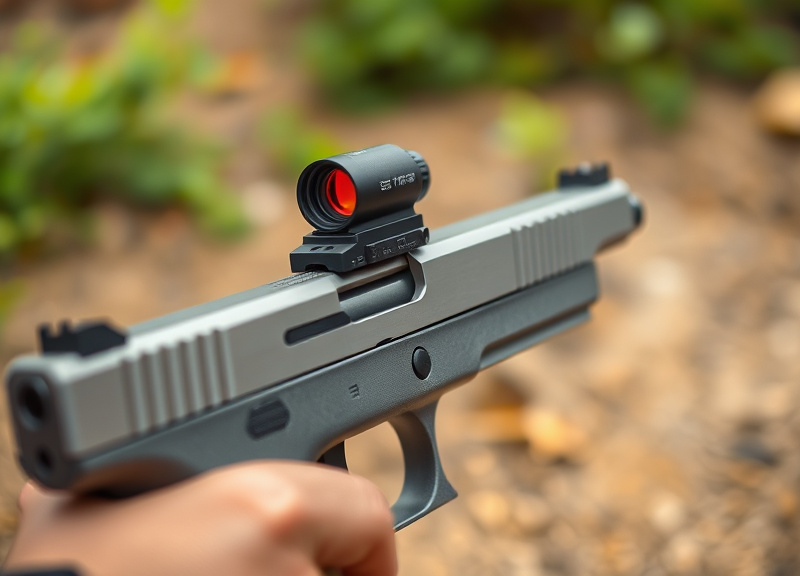
Zeroing a red dot on a pistol typically occurs at 15–25 yards. Pistol shooters might adopt a modified stance and grip to align with the optic. Expect some adjustment as your shooting distance varies.
Shorter sight radii can amplify aiming errors. Focus on gun control and shot cadence during your zeroing session for best results.
Zeroing on Rifles and Shotguns
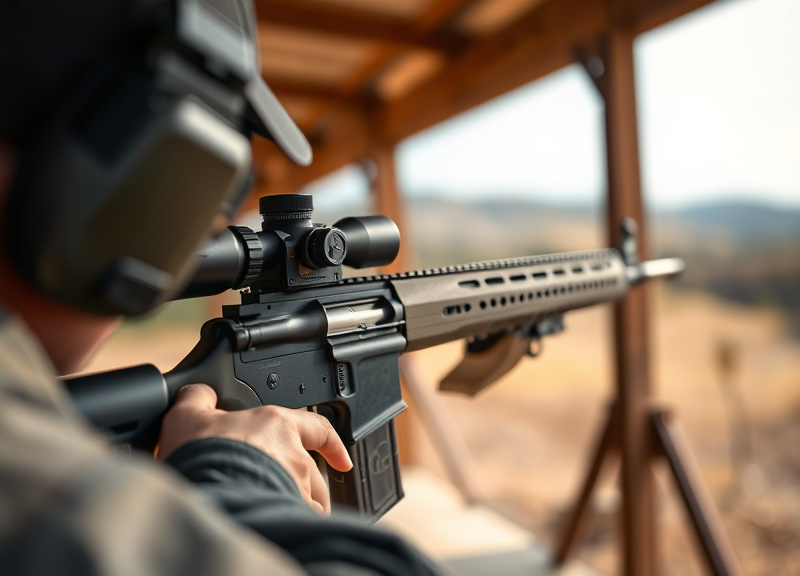
For rifles, zeroing at 36 or 50 yards is common, offering a flat trajectory for typical engagement distances. Shotguns with red dots benefit from zeroing for slugs, ideally at 50 yards; patterning birdshot is less precise.
Adjustments will differ based on caliber and ammunition type, so always record your settings and confirm zero after cleaning or maintenance.
- Use slug ammunition for shotgun zeroing
- Note settings for each ammo type
Maintaining Your Zero Over Time
When to Re-Check Your Zero
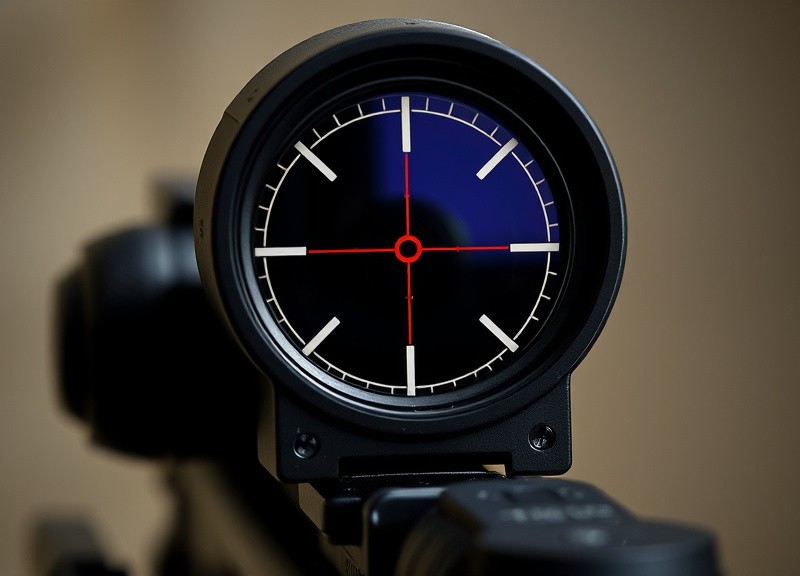
After heavy use, environmental changes, or cleaning, always re-verify your red dot sight’s zero. Drops, bumps, or switching between firearms can alter alignment unexpectedly.
Mark your initial settings so you have a benchmark if something feels off, and never assume your weapon’s zero has remained unchanged since the last range session.
- Recheck after harsh weather or travel
- Log adjustments in a shooter’s notebook
For more on how red dot sights function and technical background, you can explore these red dot sight fundamentals. Red dot sight fundamentals.
Storing and Transporting Without Losing Zero
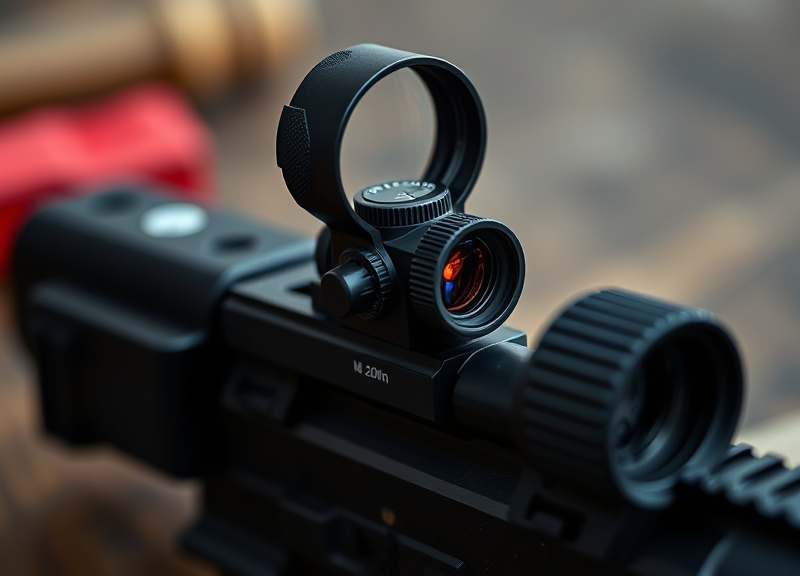
Use padded hard cases and avoid leaving the optic subjected to repeated impacts, heat, or moisture. Transport firearms disassembled or secured to prevent knocks that could disrupt zero.
If you regularly dismount your optic, invest in a model with reliable return-to-zero mounting technology to minimize the need for frequent re-zeroing.
- Use hard case with foam padding
- Consider QD (quick-detach) mounts for easy return-to-zero
Red Dot Sight Zeroing Distance Comparison
Choosing the right zeroing distance directly impacts your accuracy and round trajectory. Here’s how the most common red dot sight zeroing distances compare for different applications.
| Zeroing Distance | Typical Use Case | Point of Impact Deviation (100 yards) | Adjustment Ease |
|---|---|---|---|
| 25 yards | Pistols, close-quarters carbines | 2-3 inches high | Very Easy |
| 36 yards | AR-style rifles, home defense | Roughly flat out to 200 yards | Easy |
| 50 yards | General-purpose rifles, shotguns (slugs) | 2 inches high at 100 yards | Moderate |
| 100 yards | Precision rifle, long-range shooting | Zeroed at 100, lower at close | More Difficult |
| Co-witness (iron sight) | Backup sighting, defensive | Matches backup irons | Varies |
| Custom zero (user’s choice) | Specialty use/hunting | Varies by setup | Depends on experience |
Frequently Asked Questions
How often should I re-zero my red dot sight?
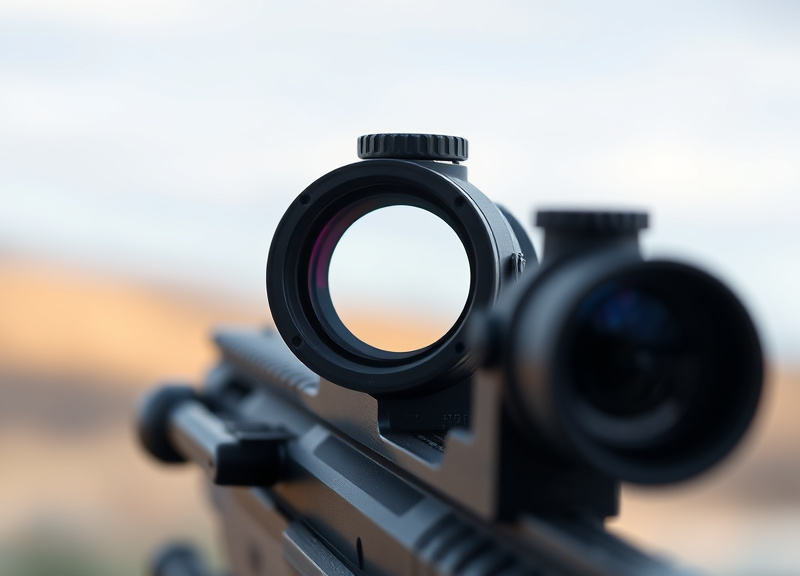
Re-zero your red dot sight after any significant impact, firearm cleaning involving disassembly, or if you change ammunition types. It’s also wise to confirm zero at least every few months during routine practice.
Can I zero my red dot sight at home without live fire?
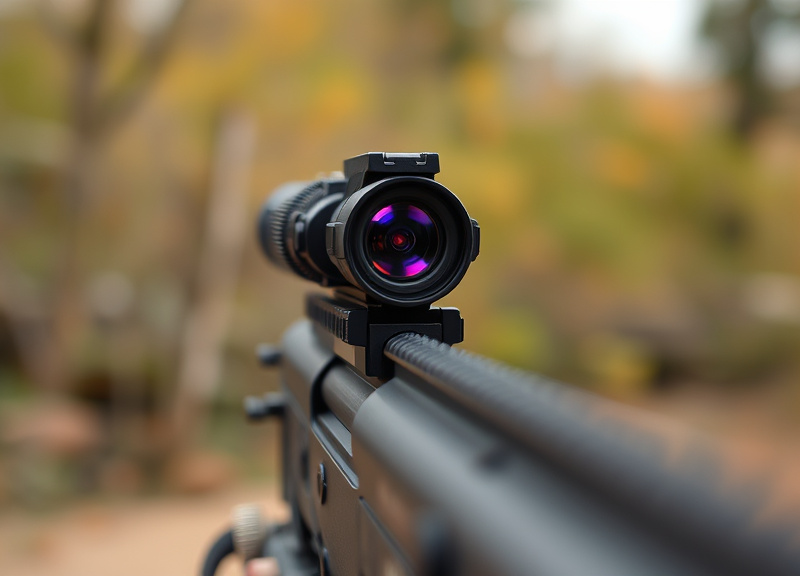
You can get close using a laser bore sight at home, but ultimate zeroing should be completed with live ammunition at the range. This ensures your point of impact matches the sight alignment in real-world conditions.
Do I need to use specialized targets for zeroing?
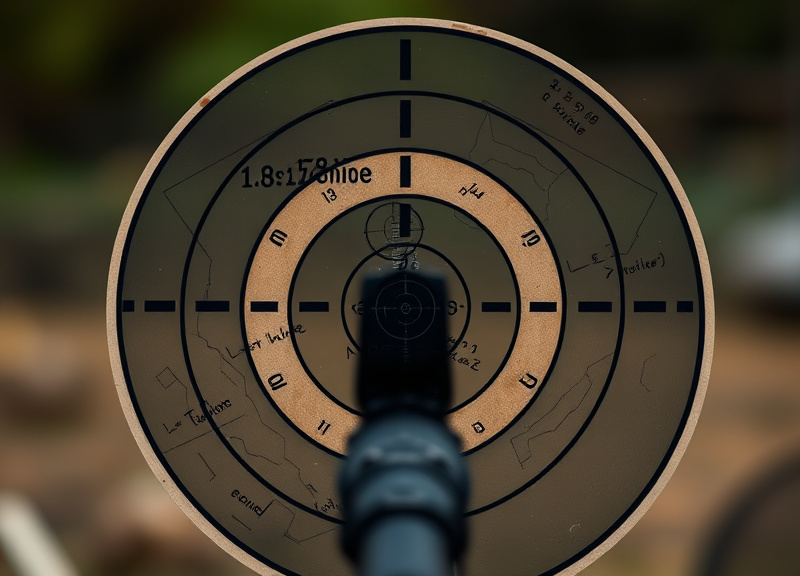
While not essential, using bullseye or grid-style targets designed for zeroing makes it much easier to see and measure shot placement, which helps speed up and improve the accuracy of your adjustments.
Does the type of ammunition affect my zero?
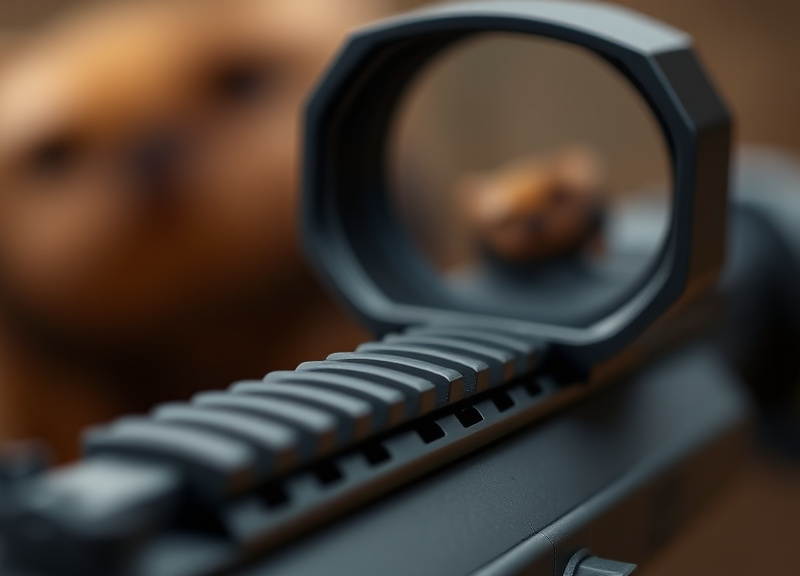
Yes. Bullet weight, velocity, and manufacturer all influence point of impact. Zero your red dot sight using the same ammunition you plan to use most frequently for maximum reliability.
What’s the fastest way to zero a red dot sight at the range?
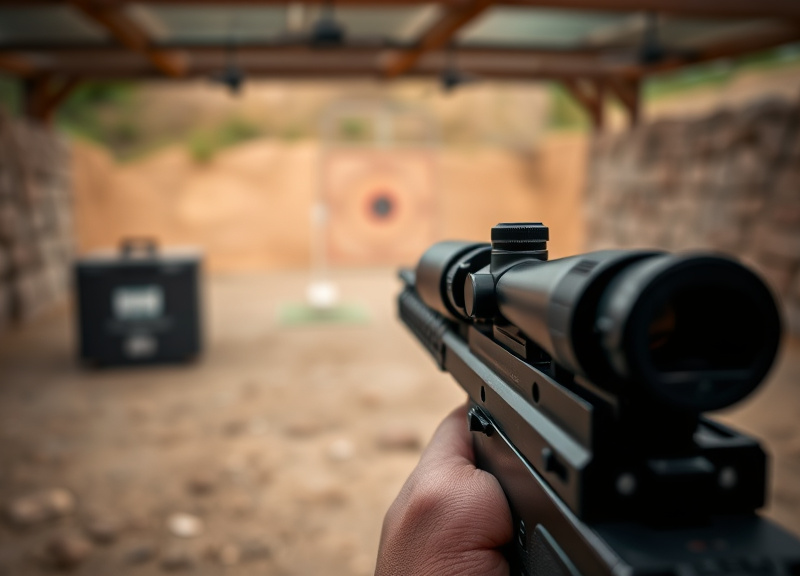
Start close at 10–15 yards, verify that you’re on paper, and then back out to your preferred zero distance. Always use small, controlled groups and deliberate adjustments for the most efficient results.
Key Takeaways
- Mount your red dot sight securely and calibrate at a practical distance.
- Use consistent ammunition and stable shooting techniques for reliable zero.
- Record your sight adjustments and recheck zero after major changes.
- Routine maintenance ensures ongoing accuracy and confidence.
Conclusion
Zeroing in a red dot sight is a vital process that ensures your equipment and skills result in precise, predictable impacts on target. The approach combines technical setup—like stable mounting and turret adjustment—with the discipline of consistent shooting fundamentals. By following systematic steps, from bench preparation to selecting the right zeroing distance, you set yourself up for success every time you shoulder your firearm.
If you primarily use an AR-15 for general-purpose shooting, a 36- or 50-yard zero will often suit you best, providing a versatile trajectory for most applications. Pistol shooters should stick with 15–25 yards, while shotgun users, especially those firing slugs, will typically benefit from a 50-yard zero. Make note of your chosen distance and always use the same type and weight of ammunition used during zeroing for dependable performance. Remember, the best red dot sight zeroing methods involve patience and repetition.
Whether you’re a beginner or a seasoned shooter, take the time to check, record, and re-confirm your red dot’s zero periodically. This investment pays off in dependable shot placement and greater confidence at the range or in the field. Start with a careful setup, follow the outlined procedures, and enjoy the peace of mind that comes from knowing your red dot is truly dialed in for action.


2 Comments