What Is MOA on a Red Dot Sight? A Practical Guide for Shooters
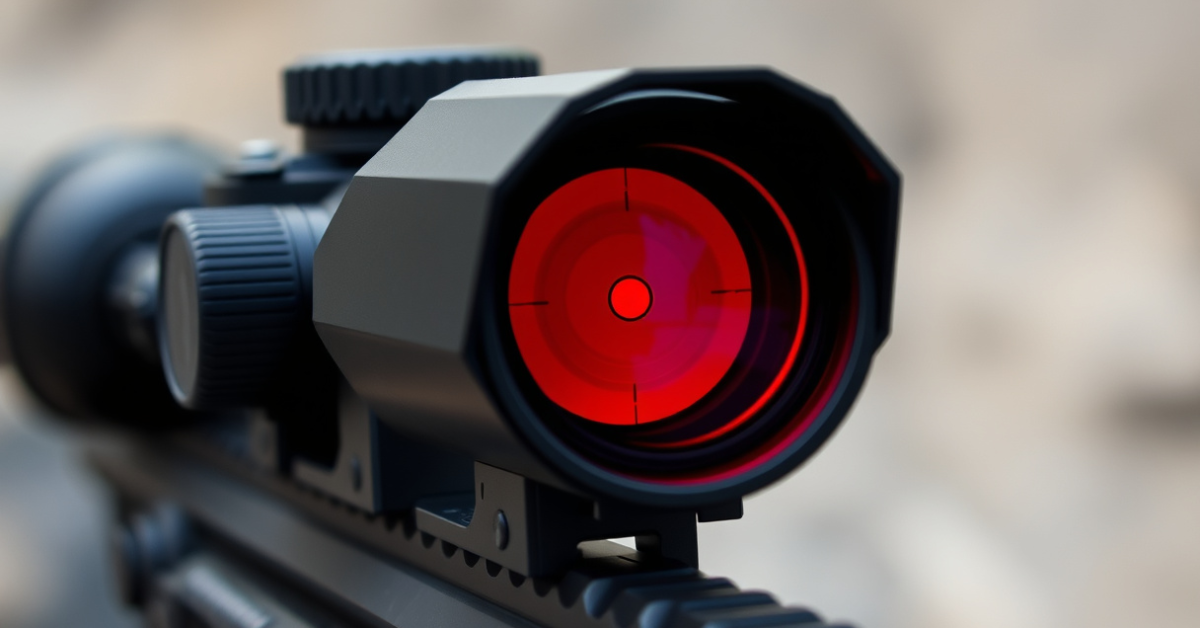
MOA, or Minute of Angle, on a red dot sight refers to the size of the dot projected onto your lens, directly impacting your aiming precision and target acquisition. For most shooters, understanding MOA is key—especially since a larger MOA means a bigger dot, making for faster sights, while a smaller MOA means increased precision for longer distances. Whether you're a new gun owner or an experienced marksman, knowing how MOA settings relate to your intended use can lead to better accuracy and confidence in the field.
This technical detail might seem minor, but the MOA value significantly shapes how you use your red dot sight. For close-in competition shooting or defensive use, a 6 MOA dot offers lightning-fast sight pictures, while precision target shooters might prefer 2 MOA for finer aim at distance. Getting the right MOA means balancing speed and accuracy—a choice that really matters for practical shooting performance.
In this article, you’ll discover what MOA means in the context of red dot sights, how MOA size affects real-world shooting, and how to select the ideal MOA for your firearm and style. We'll break down practical examples, compare popular MOA sizes, and answer common questions—all so you can confidently pick or tune a red dot for your specific needs.
Understanding MOA on a Red Dot Sight
Defining Minute of Angle (MOA)
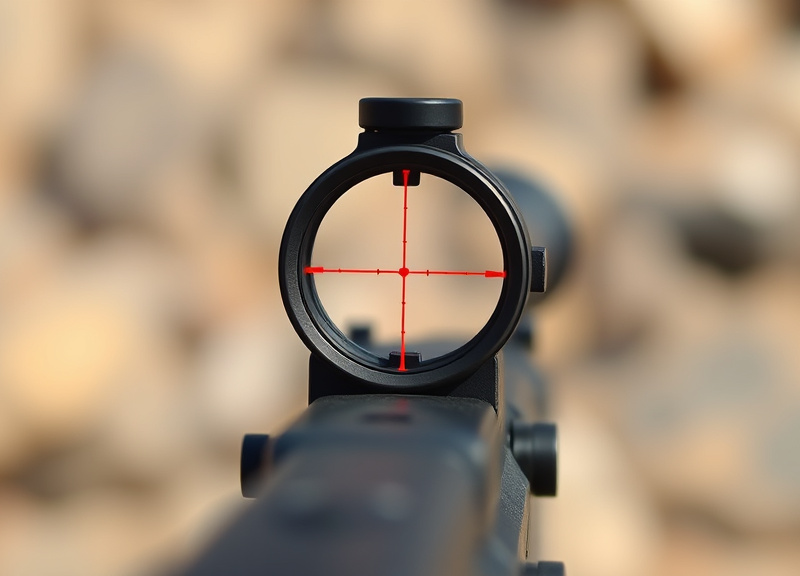
Minute of Angle (MOA) is an angular measurement—one MOA equals roughly 1.047 inches at 100 yards. In the context of red dot sights, it indicates the diameter of the projected dot at that distance. For example, a 2 MOA dot will cover about 2 inches at 100 yards, helping shooters estimate how much of the target the dot covers as ranges change.
The concept is rooted in trigonometry but, in practical terms, MOA on a red dot sight determines how large the aiming dot appears over distant targets. Familiarity with MOA lets shooters better predict and control their accuracy when shooting at various distances.
How MOA Influences Your Aim
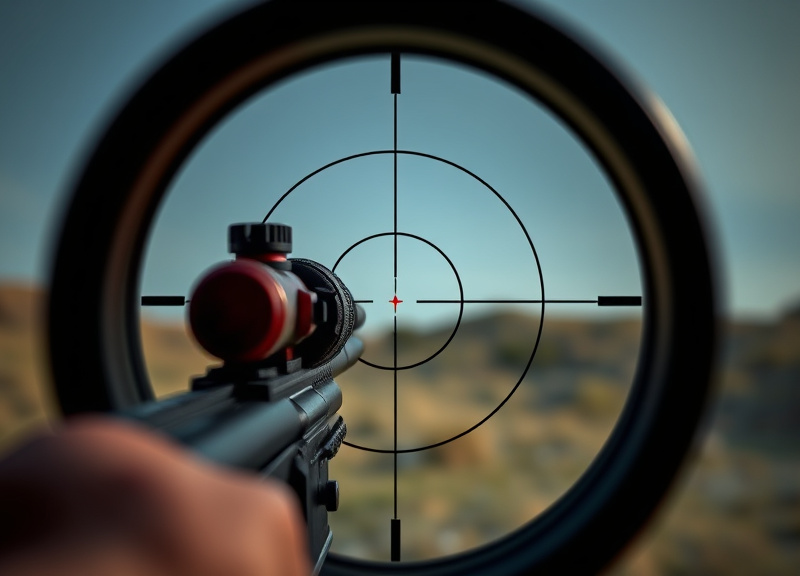
MOA size alters both speed and precision. A large MOA dot, like 6 MOA, is easy to spot and fast for close targets, but it may cover too much of a distant target, making pinpoint accuracy harder. Meanwhile, a small dot, like 1 or 2 MOA, allows for more precise aiming at long range but can take longer to locate quickly under stress.
Choosing the right MOA for your red dot sight often comes down to matching it with your main shooting scenarios—self-defense, competition, or long-range plinking.
Choosing the Right MOA for Your Needs
For Self-Defense and Tactical Use
In high-stress situations, speed is prioritized over extreme accuracy. A 4 MOA to 6 MOA dot is generally favored for home defense or close-quarters personal protection. The larger dot can be picked up instantly, minimizing precious reaction time.
Law enforcement or concealed-carry users often choose a red dot sight in this range, confident the larger dot won’t obscure vital target areas at typical engagement distances.
- Quick target acquisition
- Less precise but faster shooting
- Ideal for close-range encounters
For Competition and Target Shooting
Competitive shooters or those shooting steel at extended ranges benefit from smaller MOA dots, like 1 or 2 MOA. A finer dot allows precise shot placement, helping maximize accuracy when every point counts. This is especially true in sports like USPSA or bullseye pistol.
The best MOA size for red dot sight use in competition is typically 2 MOA, striking a balance between speed and precision for varied stages and distances.
- Enhanced precision at longer ranges
- Smaller dot covers less of the target
- Preferred for skilled marksmen
MOA and the Best Red Dot Sights
Popular Red Dot Models and MOA Options
Many red dot sights come in different MOA variants. The Trijicon RMR offers 1, 3.25, and 6.5 MOA dots, while the Aimpoint PRO features a 2 MOA dot as standard. Vortex and Holosun also provide models with flexible MOA sizes.
Examining available red dots ensures you get a size that fits your intended shooting scenarios. Always check specifications to match dot size with your needs.
- Trijicon RMR (1, 3.25, 6.5 MOA)
- Aimpoint PRO (2 MOA)
- Vortex Venom (3 or 6 MOA)
- Holosun 507C (2 MOA center, 32 MOA ring)
For more on this, see our related guide: How to Zero in Red Dot Sight for Accurate Shooting Every Time.
Fixed vs. Adjustable MOA Dots
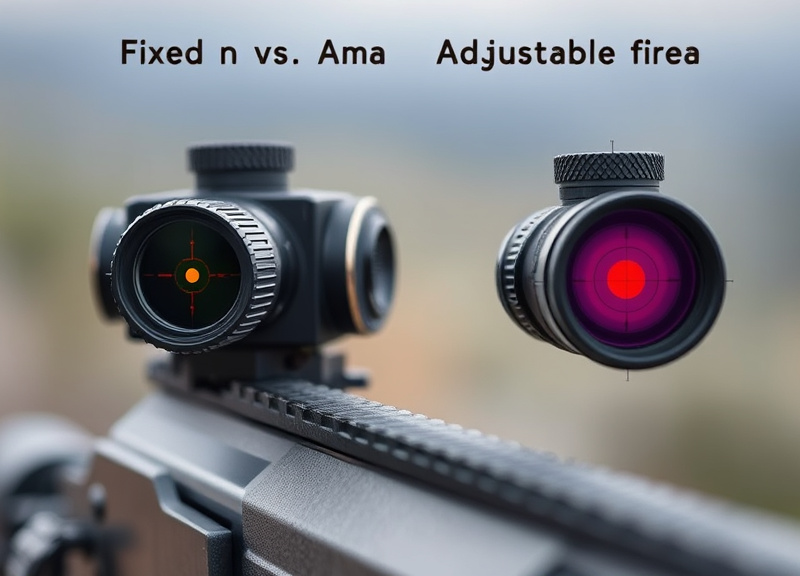
Some sights provide only one static MOA size, while others, such as the Holosun 507C, allow toggling between a small central dot and a larger ring. Adjustable units provide versatility, letting shooters switch between a precise dot for distance and a large ring for speed.
Choosing between fixed and adjustable MOA depends on your willingness to adapt on the fly versus keeping your setup simple.
- Fixed: simpler, no adjustments required
- Adjustable: versatile, adapts to tasks
- Switch quickly between dot sizes
How MOA Translates at Different Distances
MOA Coverage at Various Ranges
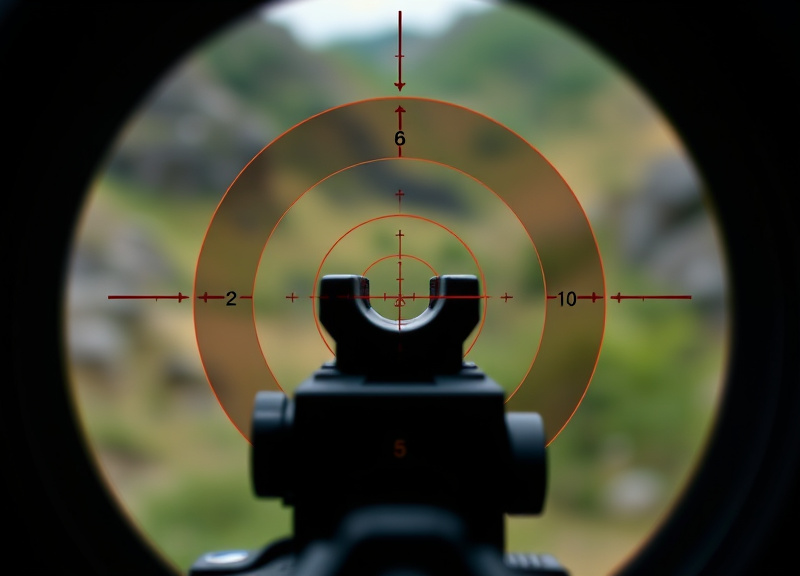
Understanding how MOA scales is crucial. For instance, a 3 MOA dot will cover 3 inches at 100 yards, 1.5 inches at 50 yards, and only 0.75 inches at 25 yards. This scaling informs whether the dot will obscure too much of your target.
Hunters and precision shooters especially benefit from visualizing dot coverage, as it affects shot placement and confidence in field conditions.
When a Larger or Smaller MOA Works Best
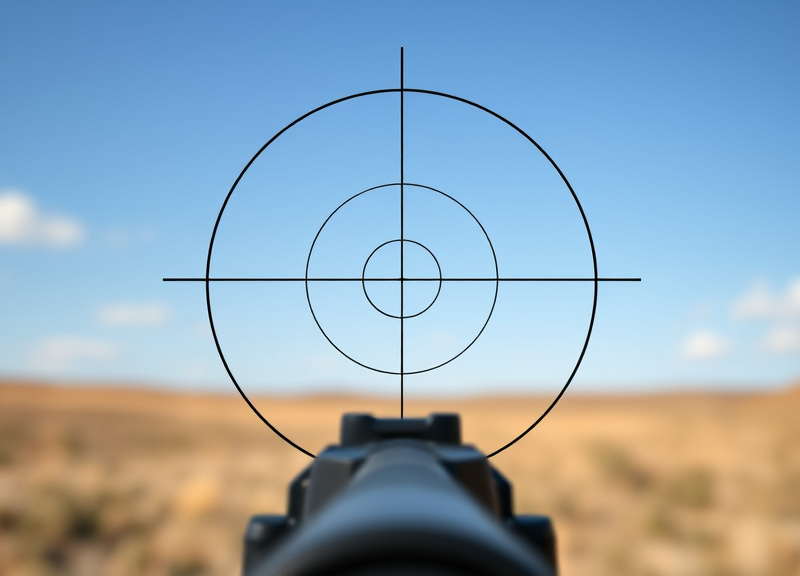
If your main shooting distance is under 25 yards, a 6 MOA dot is rarely too large, while at 100 yards, that same dot would cover 6 inches and make bullseye shots much harder. Small MOA dots, conversely, excel at longer distances.
The best MOA size for red dot sight effectiveness comes from matching the dot size to your primary shooting ranges: bigger for close, smaller for far.
- Close distances: 4-6 MOA
- Mid-range: 2-3 MOA
- Long-range: 1-2 MOA
MOA, Eye Health, and Brightness Settings
Impact of Brightness and Astigmatism
Astigmatism or poor eyesight can affect how a red dot appears. Some shooters see a starburst or smeared dot, especially at high brightness. The chosen MOA can amplify or reduce this effect, so users with visual concerns might prefer a slightly larger dot set at a moderate brightness.
Finding the right MOA and brightness helps mitigate sight picture issues, improving accuracy and shooter comfort.
- Larger dots can reduce 'fuzziness'
- Moderate brightness for clearer view
For more on this, see our related guide: How to Adjust Red Dot Sight for Maximum Accuracy and Ease.
Selecting MOA for Aging Eyes
Older shooters or those with corrective lenses may benefit from 4 or 6 MOA dots. These appear crisper and stand out better against backgrounds, reducing eye strain when acquiring targets quickly.
Always test different MOA sizes and settings at a range before committing, especially if vision clarity is a concern.
- Test before you buy
- Consult with an optometrist if needed
Installing and Zeroing Your MOA Red Dot
Mounting Tips for Red Dot Sights
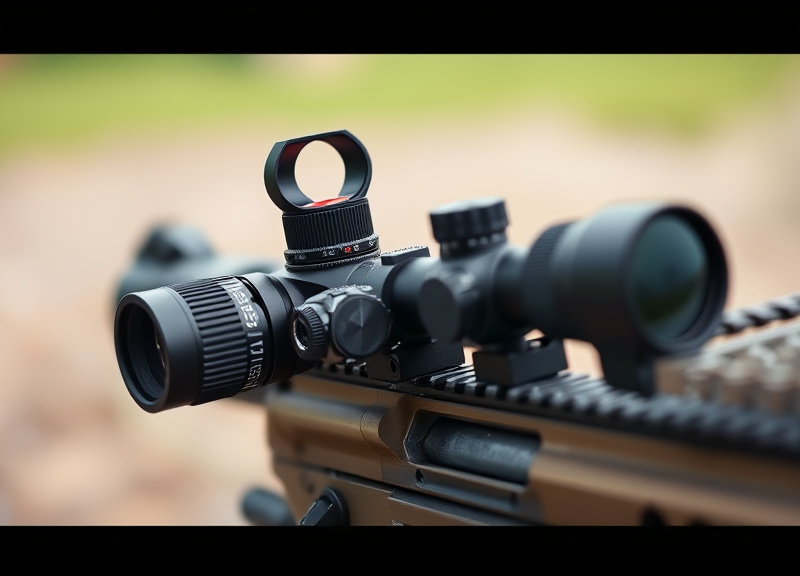
Install your red dot sight with a secure mounting plate or dedicated cut-out. Ensure all screws are torqued to specification, and check for zero shift after several rounds. Proper mounting maintains point of aim regardless of dot size.
Opt for reputable mounting hardware to avoid issues in the field. Alignment with the barrel is essential for accurate MOA reference at all distances.
- Follow manufacturer torque specs
- Use blue Loctite for security
- Double-check alignment after installation
For a detailed technical breakdown of angular measurements, see this resource on minute of angle explained. Minute of angle explained.
Zeroing by MOA Adjustments
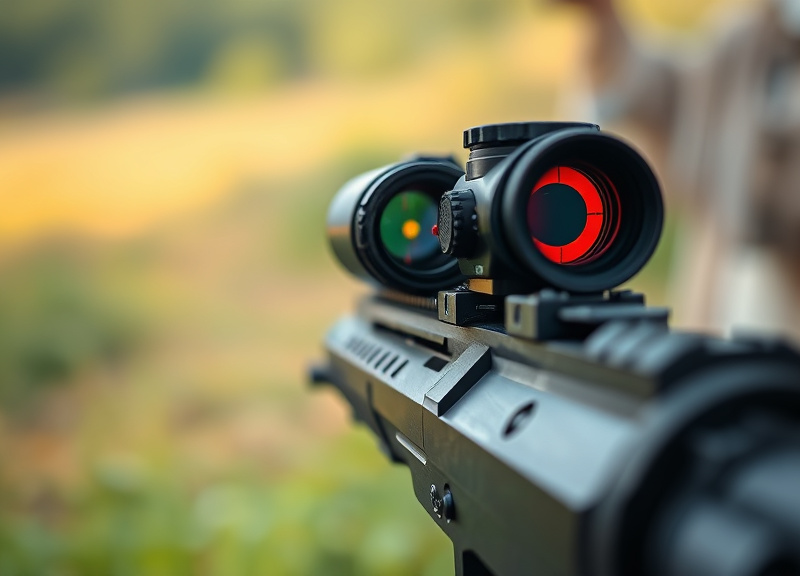
Zeroing involves adjusting your red dot so the MOA dot matches point of impact at your preferred distance (commonly 25 or 50 yards for pistols). Each click of the adjustment turret typically moves the dot by a specific MOA, allowing for fine-tuned placement.
Record your ideal zero distance and adjustment settings for consistent, repeatable accuracy.
- Start close (10-15 yards), then fine-tune
- Adjust windage and elevation as needed
- Re-confirm zero after any drops or bumps
Red Dot Sight MOA Size Comparison
Here’s a quick comparison of typical red dot sight dot sizes, their best use cases, and how much target they cover at 100 yards.
| MOA Size | Dot Coverage @ 100 Yards | Recommended Use | Pros | Cons |
|---|---|---|---|---|
| 1 MOA | 1 inch | Precision shooting, long-range | Maximum accuracy, ideal for rifle use | Slower to acquire for fast action |
| 2 MOA | 2 inches | Versatile, competition, rifle/pistol | Good balance of speed and precision | Dot may still be hard to see quickly |
| 3 MOA | 3 inches | General-purpose, target shooting | Easy to see, still precise | Covers more of the target at distance |
| 4 MOA | 4 inches | Home defense, close CQB | Super-fast acquisition | Precision decreases sharply at range |
| 6 MOA | 6 inches | Pistol, close-range, aging eyes | Very visible, great for fast draws | Obscures small targets beyond 25 yards |
Frequently Asked Questions
What does MOA mean on a red dot sight?
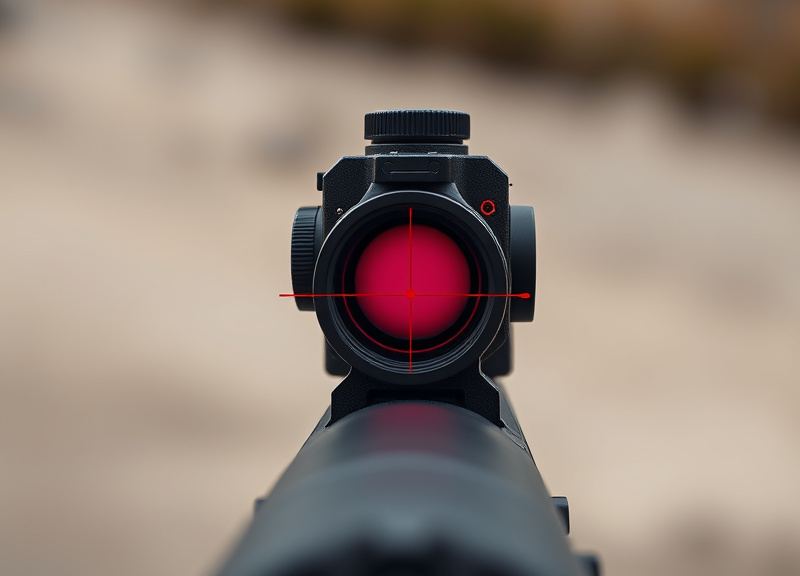
MOA, or Minute of Angle, measures the size of the dot on a red dot sight in angular terms. One MOA is roughly 1 inch at 100 yards, helping shooters estimate accuracy.
Is a smaller MOA dot better for accuracy?
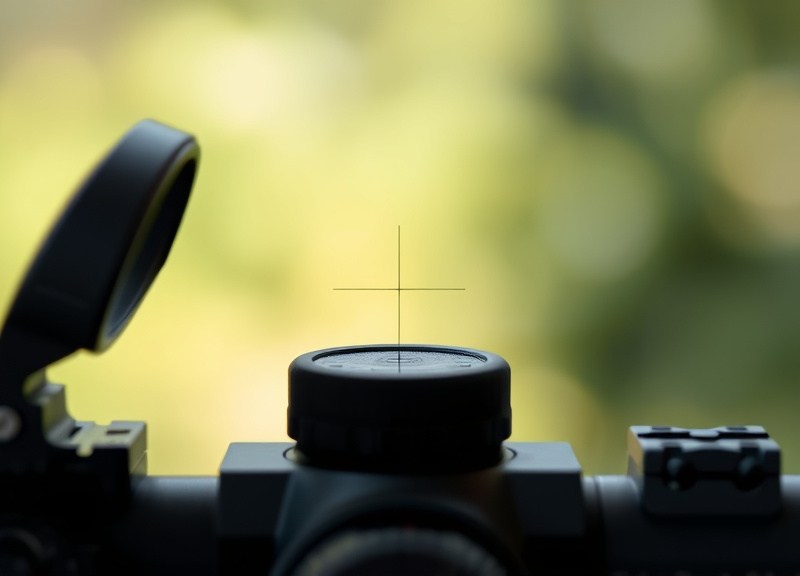
Yes, a smaller MOA dot allows more precise aiming at longer distances since it covers less of the target. However, it may be harder to see quickly for fast-paced shooting.
What is the best MOA size for red dot sight on a pistol?
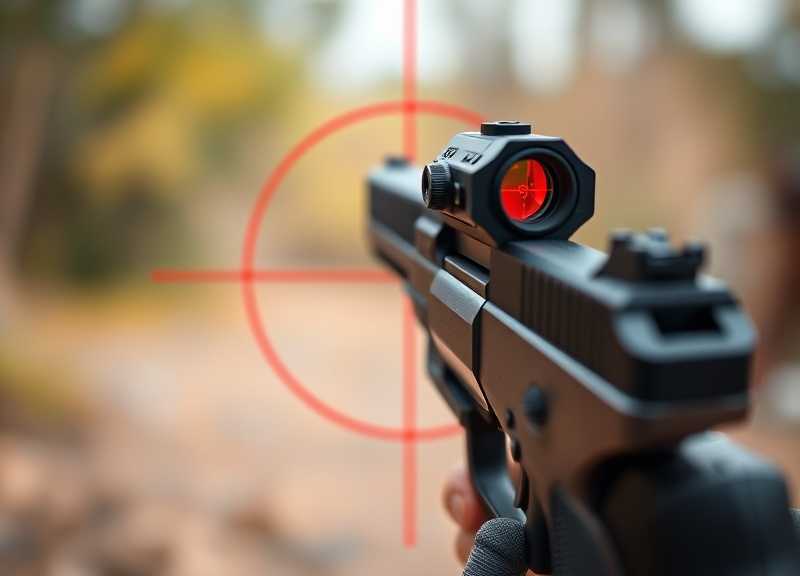
The best MOA size for red dot sight on a pistol often falls between 3 and 6 MOA. Smaller dots are more precise, but larger dots are faster for defensive or competitive use.
Can I change the MOA size on my red dot sight?
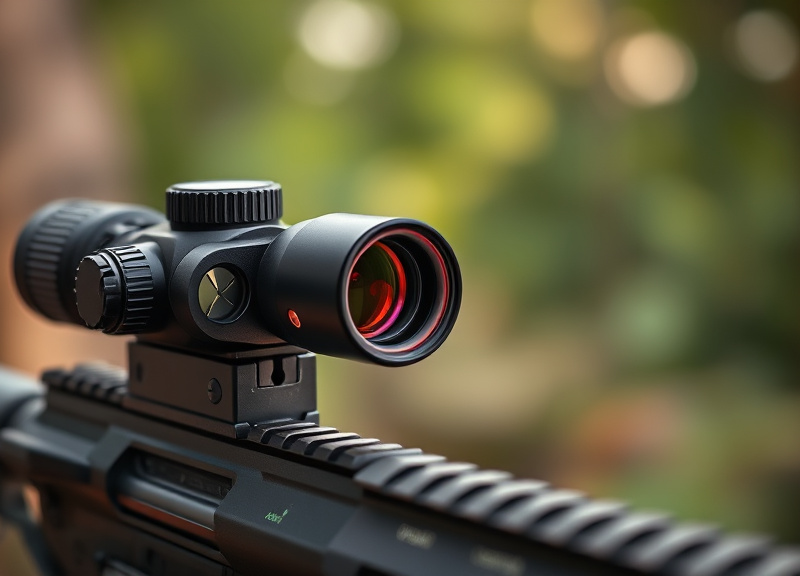
Some models offer adjustable reticles with multiple MOA options, while others have a fixed MOA. Check your specific model’s features to see if you can switch dot sizes.
Does a bigger MOA dot make shooting easier?
A bigger MOA dot is easier to see and acquire, especially at close range or for those with vision issues. However, it may hinder accuracy on small or distant targets.
Key Takeaways
- MOA defines the red dot’s size and affects speed vs. accuracy
- Choose small MOA for precision, large MOA for quick sight picture
- Best MOA size for red dot sight depends on distance and eyes
- Test various MOA options to find your optimal fit
Conclusion
Selecting the right MOA on a red dot sight requires assessing your primary shooting activities, distances, and visual needs. By understanding how MOA influences speed vs. precision, you can make a confident, informed choice. Although the math and jargon can seem intimidating, it all boils down to finding a dot size that makes sight alignment intuitive based on how and where you shoot.
For most home defense or fast-action pistol users, 4 or 6 MOA dots are ideal—they’re quick to pick up under pressure and clearly visible. Precision shooters, hunters, or those focused on longer distances will often benefit most from 1 or 2 MOA dots, which make accurate shot placement more manageable. Competition shooters may appreciate the flexibility of an adjustable MOA model, allowing them to tailor the reticle for each stage.
Before purchasing or settling on a specific optic, try different MOA sizes at the range with your firearm. Pay attention to how quickly you acquire the dot, how much of your target it obscures, and your comfort with the sight picture. Take these insights, experiment, and you’ll find the MOA configuration that best supports your marksmanship and confidence.

2 Comments