How to Make Night Vision Glasses: A Step-by-Step DIY Guide
Making night vision glasses at home involves assembling specific components like infrared LEDs, a power source, and light-sensitive materials to amplify low-light visibility. By combining these elements, you can create glasses that improve your vision in dark environments without relying on expensive commercial equipment.
Night vision technology allows users to see in environments with little to no light, which is valuable for activities such as nocturnal wildlife observation, navigation, or security. While professional night vision glasses use advanced electronics and optics, a DIY version can offer basic enhancement using affordable parts and some electronics skills.
This article covers the essential materials you'll need, assembling the infrared LED system, choosing sensitive lenses or filters, incorporating a power supply, and addressing safety precautions. Step-by-step instructions will guide you through crafting your own night vision glasses suitable for hobbyists and experimenters.
Understanding the Basics of Night Vision Glasses
How Night Vision Technology Works
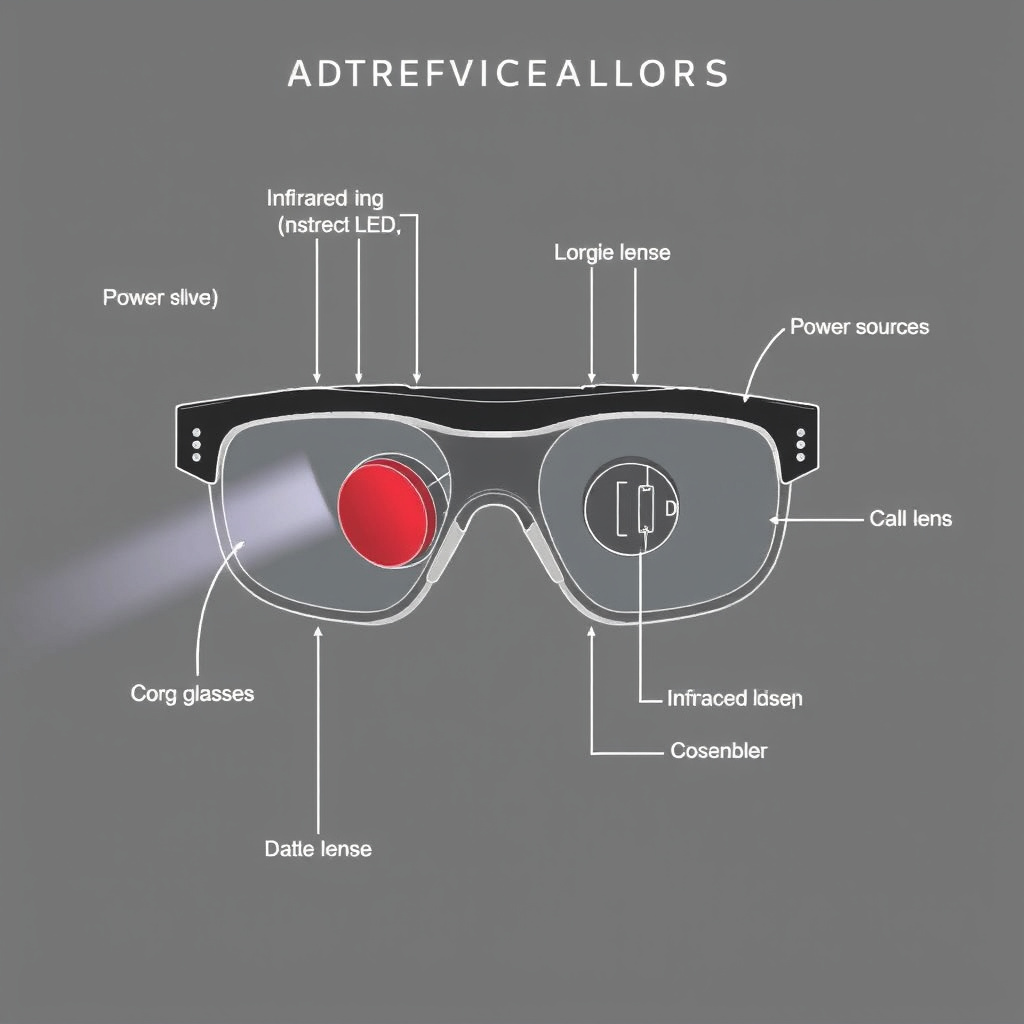
Night vision glasses generally function by capturing infrared light, invisible to the naked eye, and amplifying it to render a visible image in dark conditions. Commercial devices use complex image intensifier tubes, but DIY methods rely on infrared LEDs to illuminate scenes and photodiodes or cameras to detect reflected light.
This technology leverages the infrared spectrum, slightly beyond visible light, enabling users to see objects in low-light settings. While homemade glasses won’t match the clarity of professional equipment, they can enhance visibility where ambient light is nearly absent.
Key Components Needed for DIY Night Vision
The primary components for making night vision glasses include infrared LEDs for illumination, phototransistors or camera sensors to detect infrared light, lenses or filters to focus and enhance image quality, and a portable power source like rechargeable batteries.
Additionally, a frame or housing to mount the components and electronic connectors are necessary. Selecting high-quality infrared LEDs and lenses significantly affects performance, while incorporating a basic circuit board helps regulate power and control the LEDs.
- Infrared LEDs
- Phototransistors or sensors
- Lenses or magnifying glasses
- Power source (batteries)
- Mounting frame
- Wiring and switches
Selecting and Preparing the Infrared LED System
Choosing the Right Infrared LEDs
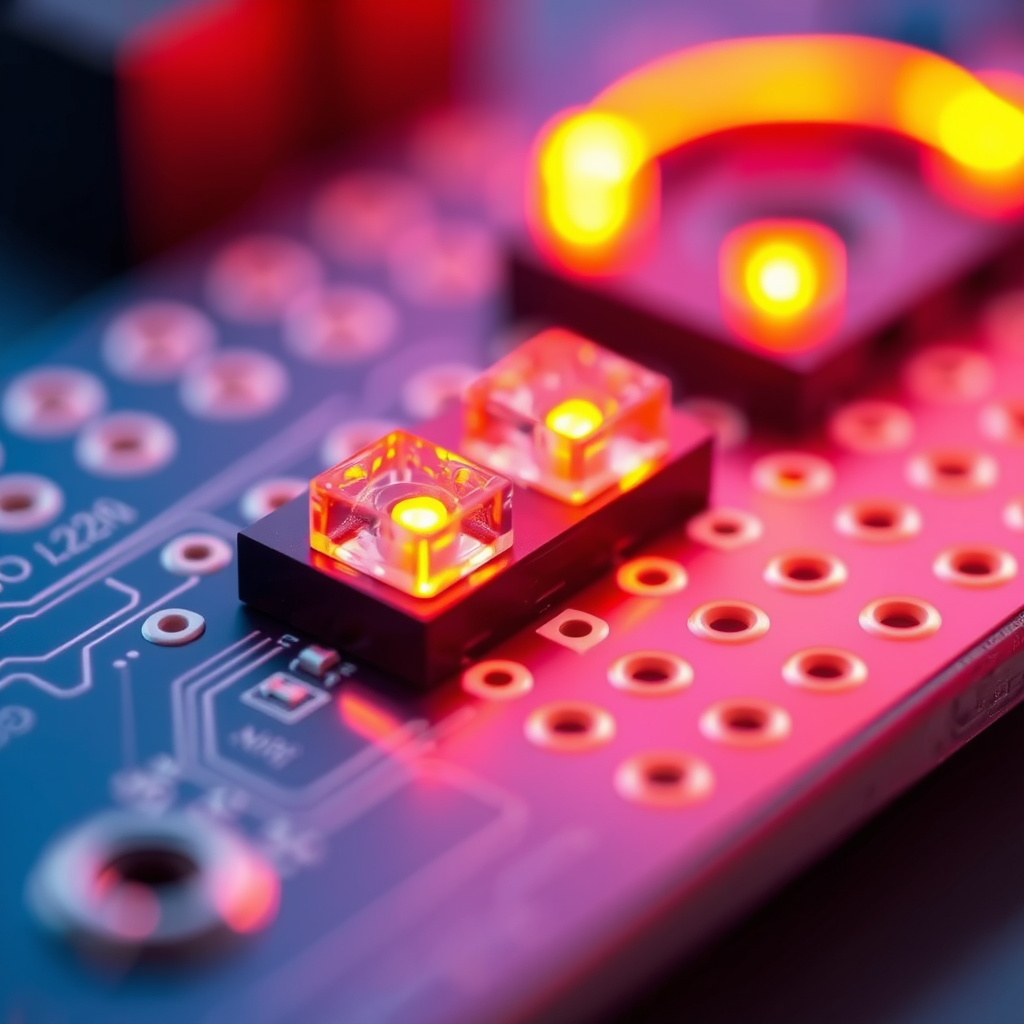
Infrared LEDs are critical as they emit light invisible to human eyes but detectable by sensors and cameras. Most DIY projects utilize 850nm or 940nm wavelength LEDs; 850nm LEDs provide slightly better illumination but emit a faint red glow, while 940nm LEDs are completely invisible but emit less intensity.
For night vision glasses, selecting LEDs with a narrow beam angle improves focus and brightness. It’s ideal to choose LEDs with sufficient power output—typically between 100-200mW—and a durable casing to mount on the glasses frame.
- 850nm for brighter infrared light but faint red glow
- 940nm for invisible infrared light but lower brightness
- Narrow beam angle LEDs preferred for directed illumination
Wiring and Powering the Infrared LEDs
Connecting the infrared LEDs in series or parallel depends on the supply voltage of your batteries. For instance, a set of 3V LEDs wired in series suits a 9V battery with current regulating resistors to avoid overload.
Adding a small switch enables turning the LEDs on or off conveniently. Also, integrating a basic transistor circuit can help maintain a steady LED brightness and extend battery life. Ensure connections are insulated and secured within the glasses frame.
- Use current-limiting resistors for LED protection
- Wire LEDs in series or parallel according to voltage
- Install an on/off switch for user control
- Consider transistor circuit for power regulation
Integrating Lenses and Filters for Image Enhancement
Selecting Suitable Lenses
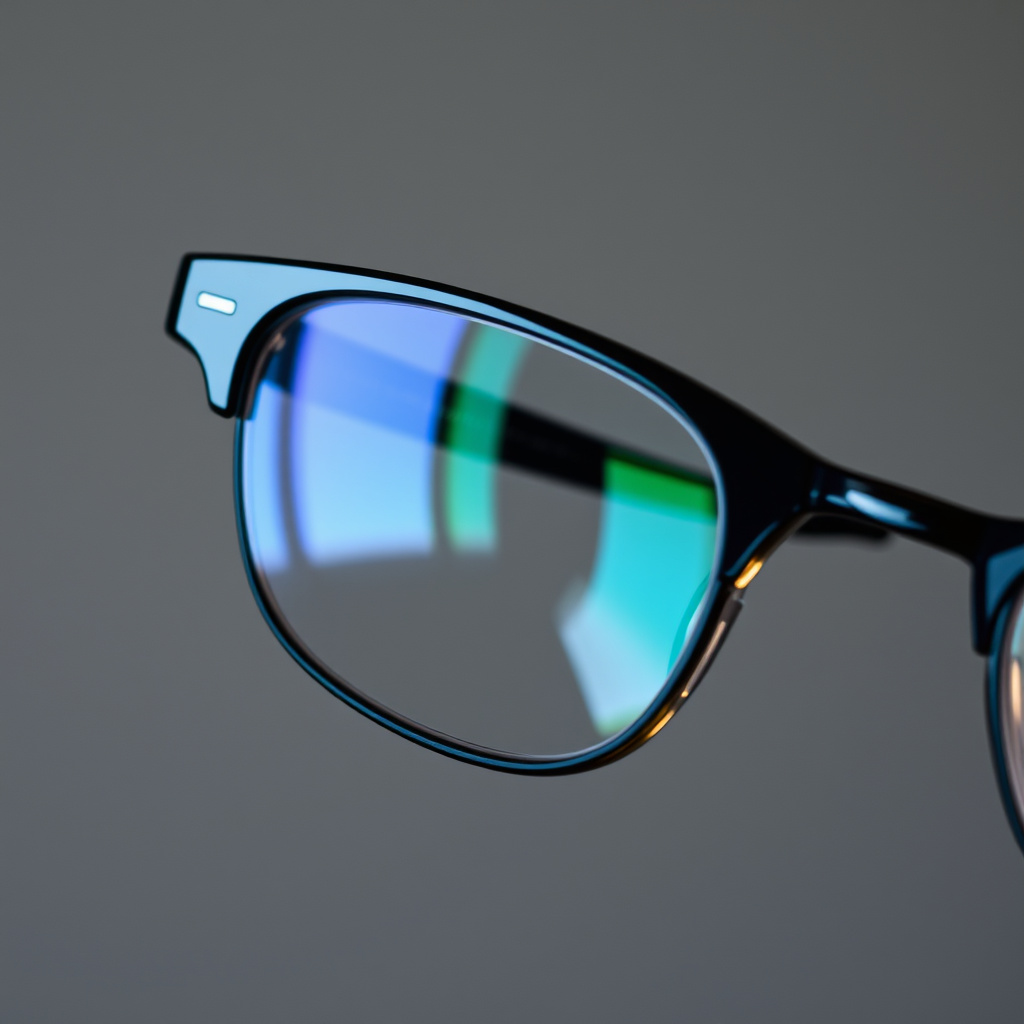
Lenses focus the infrared light back into your eyes or onto the detection sensor. Convex glass or acrylic lenses with focal length around 50-100mm provide adequate image sharpness. Using small magnifying glasses or old eyeglass lenses works well for DIY applications.
Position lenses carefully to align with LEDs and eye position, optimizing the field of view. You may need to experiment with distance and angle to reduce blurriness and eye strain during use.
- Convex lenses with 50-100mm focal length
- Acrylic or glass material preferred
- Experiment with lens placement for clarity
For more on this, see our related guide: How to Make Night Vision Glasses: Step-by-Step DIY Guide for Beginners.
Using Filters to Improve Night Vision
Infrared pass filters can block visible light and allow IR spectrum to pass through, enhancing the quality of the viewed image. These filters can be made from specialized plastic sheets or repurposed from old cameras or electronics.
Incorporating a filter helps reduce glare or reflections from ambient sources, improving contrast. When combined with your infrared LEDs, filters allow your eyes or sensors to pick up the IR light more distinctly.
- IR pass filters block visible light
- Reduce glare and improve contrast
- Can be sourced from old camera parts
Assembling the Frame and Mounting Components
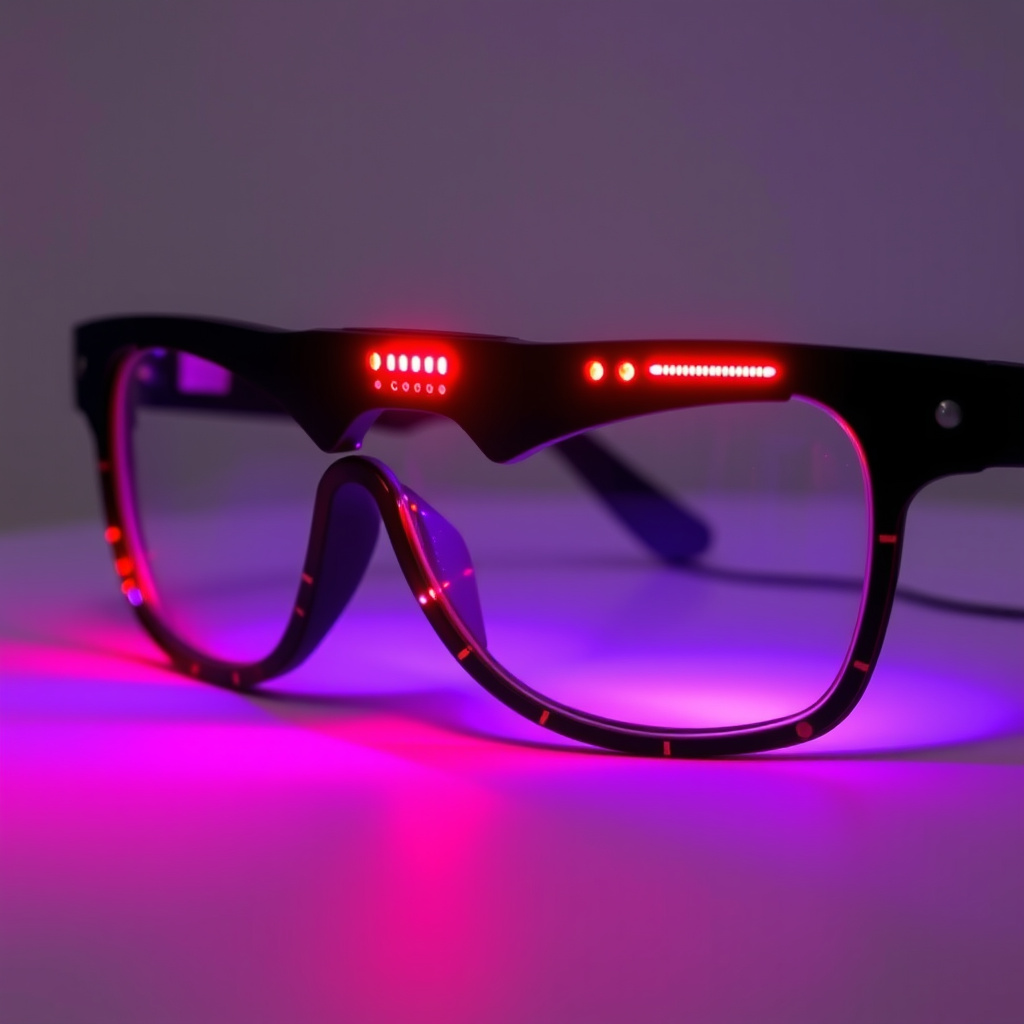
Choosing a Frame for Night Vision Glasses
Select a sturdy eyeglass frame with enough surface area on the rim or temple arms to mount the LEDs, battery pack, and wiring. Plastic sports sunglasses frames work well because they are lightweight and have space for modifications.
Alternatively, create a custom frame from lightweight materials like 3D printed plastic or aluminum strips. Ensure the frame fits comfortably and safely houses all components without obstructing normal vision.
- Plastic or metal frame with sturdy build
- Lightweight materials preferred
- Adequate mounting space for electronics
Securing Electronics and Wiring
Use hot glue or epoxy to firmly attach the infrared LEDs and lenses to the frame. Route wiring along the frame edges using shrink tubing or electrical tape for neatness and protection. Place the battery pack conveniently, usually at the back of the head or temple area.
Test all connections before finalizing assembly to avoid short circuits. Consider adding padding or insulation to prevent discomfort or irritation when wearing the glasses.
- Use hot glue or epoxy for LED mounting
- Route wiring tidily with shrink tubing
- Battery pack placement for balance
- Add padding for comfort
Testing, Calibration, and Safety Considerations
Initial Testing and Calibration
Once assembled, test the night vision glasses in a dim environment. Adjust the distance between the lenses and your eyes to optimize clarity. Experiment with LED brightness levels if possible to balance illumination and battery life.
Calibration can involve repositioning LEDs for wider coverage or tilting lenses to reduce distortion. Remember, homemade night vision devices will have lower resolution than commercial models but should still improve visibility significantly.
- Test in dark or low-light rooms
- Adjust lens-to-eye distance
- Modify LED brightness as needed
For more on this, see our related guide: How to Make Night Vision Goggles: A Step-by-Step Guide.
Safety Tips When Using Night Vision Glasses
Avoid staring directly into infrared LEDs to prevent eye discomfort or injury, even though IR light is not visible. Use LED emitters with regulated current to prevent overheating. Ensure electronic parts are securely insulated to avoid electrical hazards.
Limit usage duration to prevent eye strain, and take breaks during extended night vision activities. Remember that homemade night vision glasses do not provide complete darkness vision and should be handled responsibly.
- Never look directly at IR LEDs
- Use current-limiting resistors
- Ensure wiring insulation
- Limit continuous use duration
Enhancing Night Vision Glasses with Additional Features
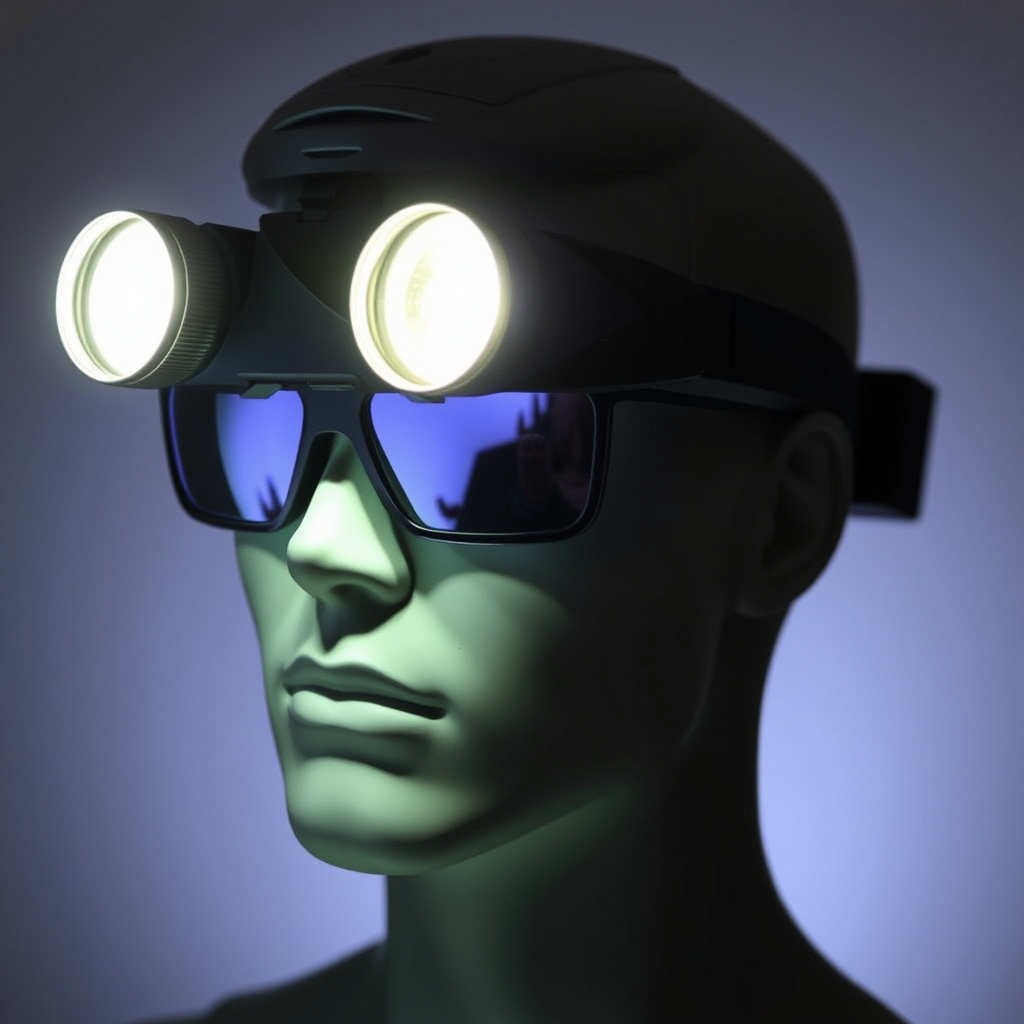
Adding Adjustable Brightness Control
Incorporate a simple potentiometer circuit to adjust the current flowing to the infrared LEDs. This allows users to fine-tune the illumination power based on the environment, conserving battery life on brighter nights or boosting visibility in total darkness.
Adjustable brightness enhances versatility but requires careful wiring to avoid damaging LEDs. Use appropriate resistors and test voltage ranges before permanent assembly.
- Integrate potentiometer for brightness control
- Test voltage to prevent LED damage
- Adjust current for power saving
For a detailed explanation of night vision technology and its different types, refer to this night vision technology overview. Night vision technology overview.
Using Rechargeable Batteries and Power Management
Rechargeable lithium-ion or NiMH batteries offer repeated use without frequent replacement. Include charging ports or removable battery holders for convenience. Incorporating a small voltage regulator ensures consistent output, protecting LEDs from voltage spikes.
Power management circuits extend device life and add user-friendly features, making the DIY night vision glasses more practical for regular use.
- Use rechargeable Li-ion or NiMH batteries
- Add charging ports or removable holders
- Include voltage regulators
DIY Night Vision Glasses: Infrared LED Options Comparison
This table compares common infrared LED types used for making night vision glasses, focusing on wavelength, brightness, visibility, and power consumption to guide your selection.
| LED Type | Wavelength (nm) | Brightness | Visibility to Human Eye | Typical Power Consumption |
|---|---|---|---|---|
| 850nm LED | 850 | High | Faint Red Glow | 150mW |
| 940nm LED | 940 | Medium | Invisible | 120mW |
| 870nm LED | 870 | Moderate | Very Faint Red Glow | 130mW |
| 760nm LED | 760 | Low | Visible Red Glow | 100mW |
Frequently Asked Questions
Can I use regular glasses frames for night vision glasses?
Yes, regular glasses frames can work as long as they have enough surface area to mount the LEDs, lenses, and wiring securely. Lightweight plastic frames are preferred for comfort and ease of modification.
How long do the batteries typically last when using DIY night vision glasses?
Battery life depends on the LED power and battery capacity but usually ranges from 2 to 6 hours. Using adjustable brightness controls can help extend battery life.
Are DIY night vision glasses safe to use?
When properly assembled with current regulation and insulation, DIY night vision glasses are generally safe. Avoid direct eye exposure to infrared LEDs and limit continuous use to prevent eye strain.
Will these homemade glasses work in complete darkness?
DIY night vision glasses enhance low-light visibility by illuminating with infrared LEDs but still require some minimal reflection. They perform better in very dark conditions than unaided eyes but won’t match professional night vision devices.
Can I improve DIY night vision glasses with a camera sensor?
Incorporating an IR-sensitive camera sensor can markedly improve image quality, allowing digital processing and display. However, this involves more complex electronics and significantly increases project complexity.
Key Takeaways
- Infrared LEDs and lenses are essential components for DIY night vision glasses.
- Proper wiring and power regulation increase safety and performance.
- Adjustable brightness and rechargeable batteries enhance usability.
- Safety precautions are necessary to avoid eye damage and electrical issues.
Conclusion
Creating your own night vision glasses at home centers on combining several key hardware elements like infrared LEDs, appropriate lenses, and a stable power source. The decision process should balance component quality, ease of assembly, and intended use environment. Evaluating options such as LED wavelength and lens type can optimize performance for specific nighttime activities.
For enthusiasts seeking simple and cost-effective solutions, using 850nm infrared LEDs with basic convex lenses provides effective illumination and vision enhancement. Incorporating adjustable brightness and rechargeable batteries yields a more user-friendly device. Those interested in more advanced performance might explore integrating IR-sensitive sensors and image processing, but this elevates complexity considerably.
If you decide to proceed, start by gathering the essential materials and follow the assembly precautions carefully. Test and calibrate your system in controlled low-light settings to familiarize yourself with its capabilities. These practical steps allow you to build functional night vision glasses that expand your ability to see after dark without investing in expensive commercial gear.