How to Make Night Vision Glasses: Step-by-Step DIY Guide for Beginners
The easiest way to make night vision glasses at home uses affordable materials like red LED lights, photographic gels or theater lighting filters, and a basic pair of safety goggles. By attaching red LEDs or carefully cut film strips to goggles, you can enhance low-light visibility and even detect some infrared light, allowing you to see better in the dark without major expense or technical expertise.
Store-bought night vision devices are expensive and mostly rely on special sensors or intensifiers. However, homemade options provide a fun, educational, and budget-friendly alternative for simple night vision needs. Whether you're experimenting for a science project, hiking at dusk, or learning about light wavelengths, crafting your own night vision glasses can spark curiosity and improve practical skills.
In this article, you'll get a practical, step-by-step walkthrough on how to make night vision glasses, including required materials, how the technology works, and important safety tips. We'll compare approaches, suggest improvements, and answer common questions so you can build a pair tailored to your needs.
Materials and Tools Needed for Homemade Night Vision Glasses
Choosing the Right Base Goggles
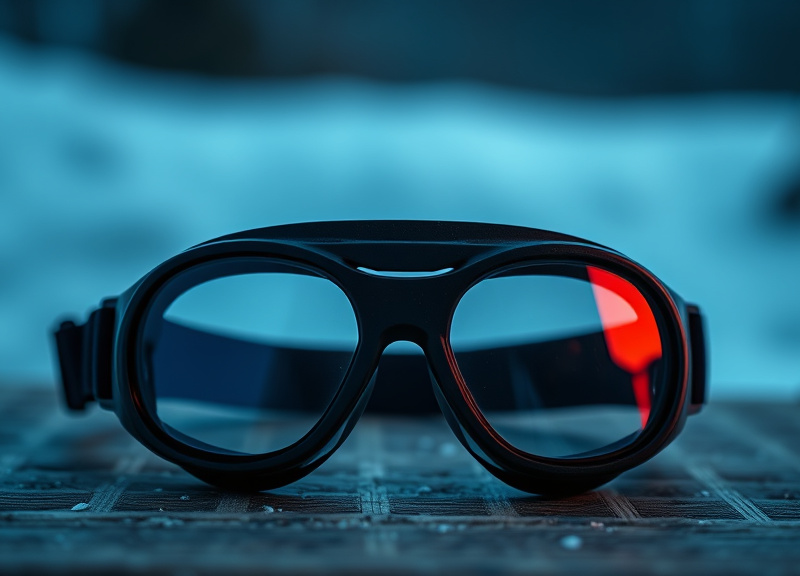
Start with simple, clear-lens safety goggles—they’re affordable, lightweight, and easy to modify. Avoid using sunglasses or prescription eyewear, as tinted or curved lenses may distort the effect when adding light filters or LEDs. A snug fit around the eyes helps block stray light and maximizes night vision performance.
Look for goggles with removable lenses or an unobstructed interior. The frame material should be sturdy enough to support any additions, such as battery packs or LED arrays, without bending or cracking. Comfort is also key for wearing your DIY infrared glasses during longer nocturnal activities.
Gathering Lighting and Filter Materials
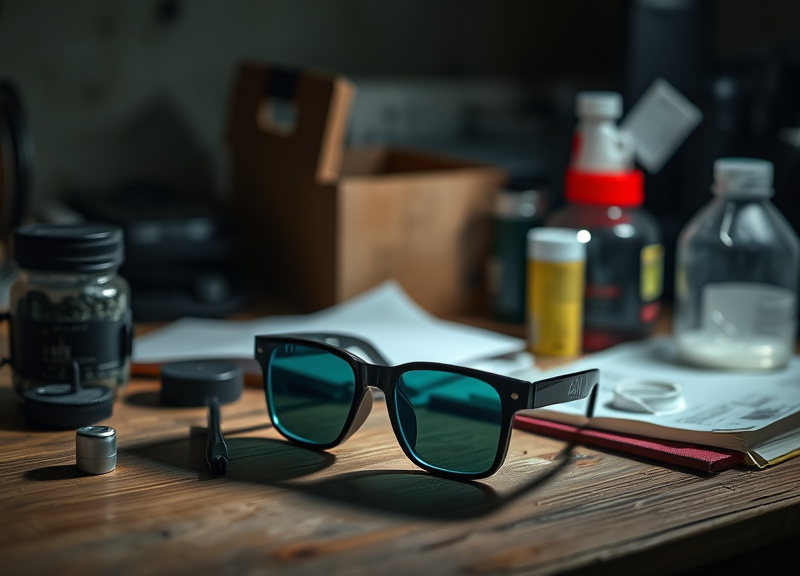
Obtain red LED strips or small battery-powered red LED lights, as red wavelengths are less likely to impair natural night vision. Photographic gels or theater lighting filters in red or deep green can be taped to the inside or outside of the goggles to further enhance your sight in darkness. For DIY infrared glasses, consider using pieces of exposed and developed camera film to filter out visible light and allow only infrared rays to reach your eyes.
Other essentials include a battery holder, electrical tape, heat-shrink tubing, small wires, and scissors. These allow you to securely attach the LEDs and neatly manage the wiring across the goggles, guaranteeing durability and ease of repair.
- Clear safety goggles
- Red LED strip or lights
- Photographic gels or developed camera film
- Battery pack with on/off switch
- Electrical tape and wires
- Heat-shrink tubing
- Scissors or utility knife
How Night Vision Devices Work
Visible vs. Infrared Light Explained
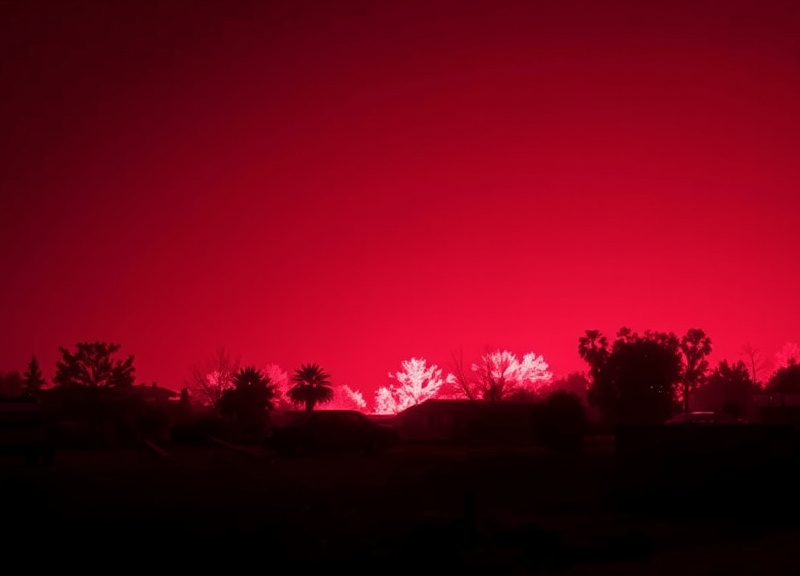
Human eyes detect visible light, but many night vision glasses work by shifting the spectrum toward red or infrared. Infrared light, invisible to us, can be made visible with special filters or sensors. By blocking certain wavelengths and letting infrared pass, DIY infrared glasses make faint sources and hot objects stand out in darkness.
Night vision technology in professional devices usually amplifies low-light scenes electronically. Your DIY project won’t provide true amplification, but clever use of red LEDs and filters lets you distinguish shapes and objects by improving your eyes’ adaptation to the dark.
Passive vs. Active Night Vision
Passive night vision relies on light already present, while active systems emit their own light—often infrared LEDs. Most DIY methods fall somewhere in between: red LED illumination adds just enough light without ruining natural night vision or alerting wildlife.
Active designs using strong infrared sources can allow cameras (or in specialized cases, the human eye with the right filter) to detect more in total darkness. However, for most homemade glasses, a focus on passive enhancement offers safer, simpler results.
Step-by-Step Instructions to Make Night Vision Glasses
Preparing the Lens Filters
Cut pieces of photographic gel, colored theater filter, or developed camera film that are slightly larger than the goggle lenses. Clean the goggles well so dust or fingerprints won't reduce visibility. Place the filter material flat against the lens on the inside or outside, then secure it with transparent tape or glue.
Stacking multiple layers of filter can block more ambient light, but too many can reduce clarity. For the simplest DIY infrared glasses, one or two layers often strike a good balance between increased dark adaptation and visibility.
- Trim filters to fit lenses exactly
- Test with different filter layers
For more on this, see our related guide: Do Humans Have Night Vision? Understanding Our Low-Light Sight.
Attaching and Powering the LEDs
Arrange red LEDs along the top or sides of the goggle frame, keeping them out of your direct line of sight to avoid glare. Wire the LEDs together following the manufacturer's instructions, connecting them to a battery pack with an on/off switch. Insulate the connections with electrical tape or heat-shrink tubing for safety.
Position the light so it softly illuminates the view but does not shine directly into your eyes or create blinding reflections on the lenses. Test in a dark room first, then fine-tune the placement and brightness as needed.
- Use low-power LEDs for subtle lighting
- Double-check battery polarity
Testing and Improving Your Night Vision Glasses
Evaluating Performance in Low Light
Try the glasses indoors at night or in a fully darkened area. Wait several minutes for your eyes to adapt, then observe the effect: objects and people should be more discernible than without aid. You may notice that the red-filtered vision reduces glare from artificial lights while making shadows, doorways, and outlines more visible.
Compare performance between single and multiple filter layers. Some users report better results by adjusting the type, color, or thickness of filters used. Take notes after each trial to remember which approach gave the best results.
- Test indoors first, outside later
- Experiment with distance and object types
Upgrading Your DIY Infrared Glasses
For advanced results, consider integrating infrared LEDs and a low-light camera connected to a small screen or your smartphone. This approach mimics digital night vision but will cost more and require basic electronics knowledge. You can use exposed film filters to block visible light and reveal heat sources when paired with a digital sensor.
Adding adjustable straps or foam for comfort and painting the goggle frame matte black can further reduce glare and light leaks, boosting practical usability.
- Consider digital upgrades for advanced users
- Add comfort features for longer use
Safety, Legal, and Ethical Considerations
Protecting Your Eyes and Devices
Never use unshielded or high-powered lasers or LEDs near your eyes—only low-intensity red LEDs are suitable. Always seal electrical connections to prevent shorts and avoid using the device in rain unless it's properly waterproofed. Check your work frequently to ensure filters don't detach or impede vision dangerously.
While experimenting with DIY infrared glasses, wear protective gear when soldering or working with batteries. Use AA or AAA battery packs with an integrated switch rather than exposed wires, and store batteries out of children’s reach.
- Use only safe, low-intensity LEDs
- Seal all wires and connectors
- Use insulated tools during assembly
For more on this, see our related guide: How to Get Night Vision: The Complete Guide for Clear Sight in the Dark.
Regulations and Wildlife Impact
Some regions have laws restricting the use of night vision for hunting or surveillance, especially if amplified or paired with firearms. Always check your local rules before using these glasses outdoors or at events where privacy is a concern.
Red LEDs and filters generally have less impact on wildlife than white flashlights, but avoid shining any lights directly at animals or nesting areas. Use your device responsibly and be mindful of the environment and other people’s privacy.
- Check local regulations before field use
- Avoid disturbing wildlife
- Respect privacy at all times
Troubleshooting Common Issues with Homemade Night Vision Glasses
Dim Vision or Blurry Images
If your night vision glasses don’t seem effective, double-check the filter clarity and cleanliness. Dirty or scratched filters can ruin sharpness, while too many filter layers may darken the view. Adjust or remove layers for optimal visibility and re-secure loose lenses with fresh tape.
Sometimes the battery powering the LEDs is weak or low quality, leading to dim light output. Test with fresh batteries or higher-quality LEDs for an immediate improvement.
- Clean and inspect all filters and lenses
- Replace batteries if LEDs are dim
- Reduce the number of filter layers
For a deeper understanding of how professional equipment amplifies low-light visibility, explore this overview of night vision devices. night vision devices.
Uncomfortable Fit or Malfunctioning LEDs
If the glasses are painful to wear, add foam or fabric to pressure points, and test with straps adjusted to distribute weight. For LED issues, recheck wiring for proper polarity and all connections for shorts. Sometimes connectors loosen during movement—use more secure soldering or locking mechanisms where possible.
Remember, a comfortable and reliable fit ensures you’ll use your DIY device more often and for longer periods without distractions.
- Add comfort padding to frames
- Recheck all wiring and connections
- Upgrade to better-quality LED hardware
DIY Night Vision Glasses Methods Compared
Below is a side-by-side comparison of various homemade night vision glasses approaches, highlighting key materials, complexity, and typical results.
| Type | Primary Materials | Ease of Assembly | Vision Enhancement | Best For |
|---|---|---|---|---|
| Red LED Glasses | Safety goggles, red LEDs | Easy | Improved low-light vision | Beginners, hiking |
| Film Filter Glasses | Goggles, exposed camera film | Easy | Some infrared sensitivity | Science projects |
| Green Gel Filter Glasses | Goggles, green theater gel | Easy | High contrast at night | Reading maps in dark |
| Digital Infrared Viewer | Infrared LEDs, camera, screen | Advanced | True infrared vision | Tech hobbyists |
| Hybrid Filter + LED | Goggles, red LEDs, filter | Moderate | Broad enhancement | General low-light use |
Frequently Asked Questions
Can DIY night vision glasses let me see in complete darkness?
Homemade night vision glasses typically enhance vision in low-light conditions but cannot provide true vision in total darkness. For total darkness, advanced devices using amplifiers or cameras and infrared illumination are required.
Are these glasses safe for children to use?
With parental supervision and low-powered LEDs, these glasses can be a safe science project. Supervise battery and wiring handling closely, and avoid high-intensity sources to protect children’s eyes and general safety.
Do DIY infrared glasses show heat signatures like thermal cameras?
No, these DIY glasses may reveal some infrared light sources, but they cannot display heat signatures. True thermal imaging requires specialized sensors, which are not available through basic DIY projects.
How long do the batteries typically last in a DIY setup?
Battery life depends on the number and type of LEDs used. Most basic DIY night vision setups using AA or AAA batteries last between 4 to 12 hours of continuous use before requiring a battery replacement.
Can I wear prescription glasses under homemade night vision glasses?
Most safety goggles will fit over slim prescription glasses, but bulkier frames may not fit comfortably. Test for comfort and choose goggles with roomy interiors if you require prescription lenses underneath.
Key Takeaways
- Affordable materials make DIY night vision glasses accessible.
- Red filters and LEDs enhance low-light visibility for practical uses.
- DIY infrared glasses differ from true night vision and thermal cameras.
- Careful assembly and safe practice are essential for DIY projects.
Conclusion
Building your own night vision glasses at home blends hands-on creativity with basic science, offering a rewarding experience for tinkerers and curious minds alike. By using everyday materials such as red LEDs, filter gels, and safety goggles, you can significantly boost your visibility in low-light conditions. Understanding how different light filters and electronic components work together gives you the skills to tailor the glasses to your preferred environment and needs. Thoughtful preparation and a systematic step-by-step approach will make your project smoother, safer, and more enjoyable.
For those just starting, a simple pair of red LED glasses paired with clear safety goggles forms the most accessible and reliable setup for everyday use such as evening walks or amateur astronomy. Science enthusiasts may want to experiment with developed film or colored theater gels for unique low-light effects, while advanced hobbyists could try a digital setup using infrared cameras to unlock features closer to professional night vision devices. Each category discussed in our DIY night vision glasses methods comparison provides a different blend of features, complexity, and cost, so consider your goals and skills when selecting a method.
Once you complete your first pair, test them in various low-light environments and make adjustments for comfort and performance. If you're satisfied, consider upgrading with more advanced filters or digital enhancements as your experience grows. Most importantly, always use your night vision glasses safely and ethically—respect wildlife, privacy, and local guidelines. With practice and attention to detail, your homemade glasses can offer clear benefits for many after-dark adventures.


One Comment