How to Make Night Vision Goggles: A Step-by-Step Guide
Making night vision goggles involves assembling specialized components like infrared LEDs, photodiodes, and image intensifiers to capture and amplify low-light imagery. You need precise parts and careful alignment to create a functional device that enhances vision in the dark effectively.
Night vision goggles matter because they allow visibility where natural light is insufficient, useful for wildlife observation, security, or nighttime navigation. Understanding their construction helps you appreciate the technology and the complexity behind these devices, which is far from typical consumer electronics assembly.
This article will walk you through the major components needed, how to assemble your night vision goggles, tips on calibration, and safety precautions. It will also cover some common DIY alternatives and explain what to expect in terms of performance.
Understanding the Basics of Night Vision Goggles
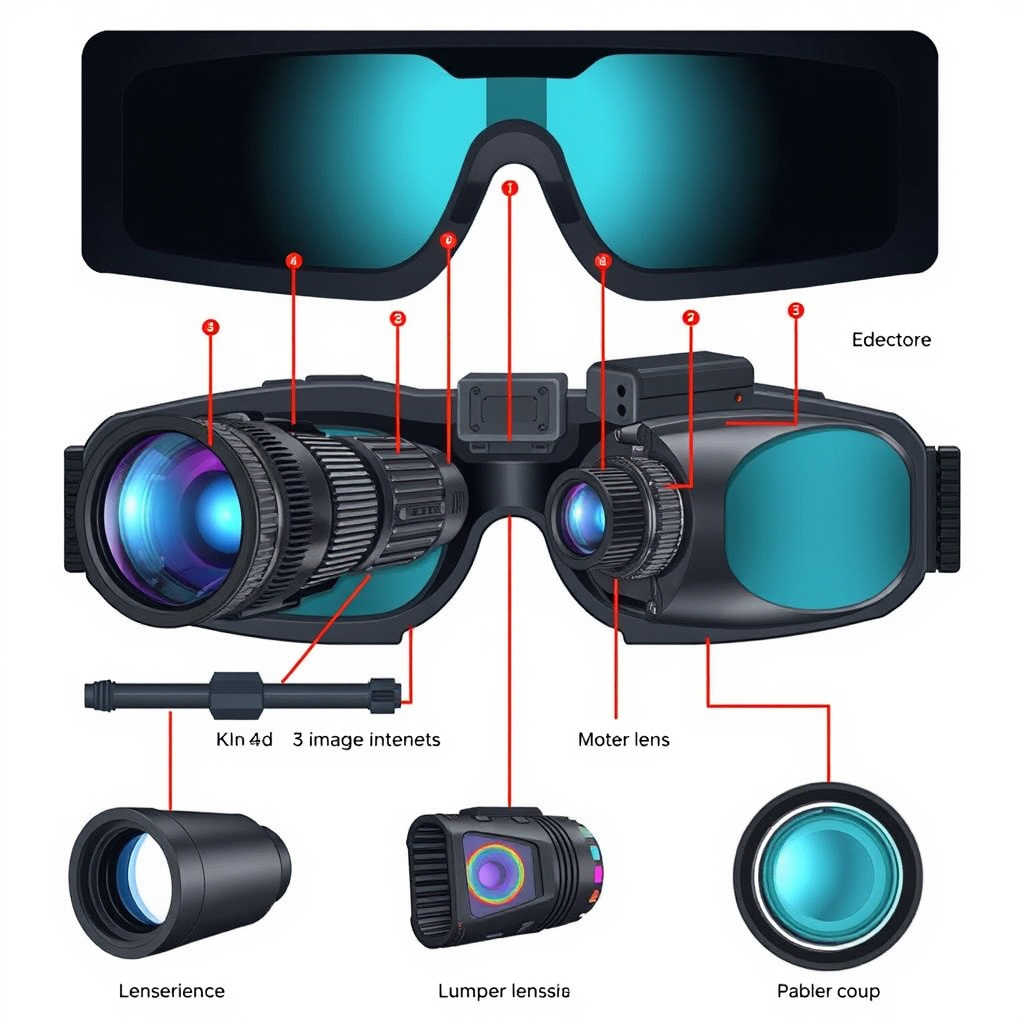
How Night Vision Technology Works
Night vision goggles amplify low levels of ambient light, such as moonlight or starlight, using image intensifier tubes. These tubes capture photons and convert them into electrons to produce a visible image amplified in brightness.
In some models, infrared illumination supplements this process by emitting invisible light that the goggles detect, thus enabling vision in total darkness where no ambient light is present.
Key Components of Night Vision Goggles
Core components include a photocathode, microchannel plate for amplifying electrons, phosphor screen that converts electrons back into a visible image, and eyepiece lenses for viewing. Additional parts are batteries, housing, and sometimes infrared LEDs.
Choosing quality materials affects image clarity, device durability, and power consumption. Precision in assembling these components is critical to ensure that the goggles deliver usable night vision.
Gathering Materials and Tools for DIY Night Vision Goggles
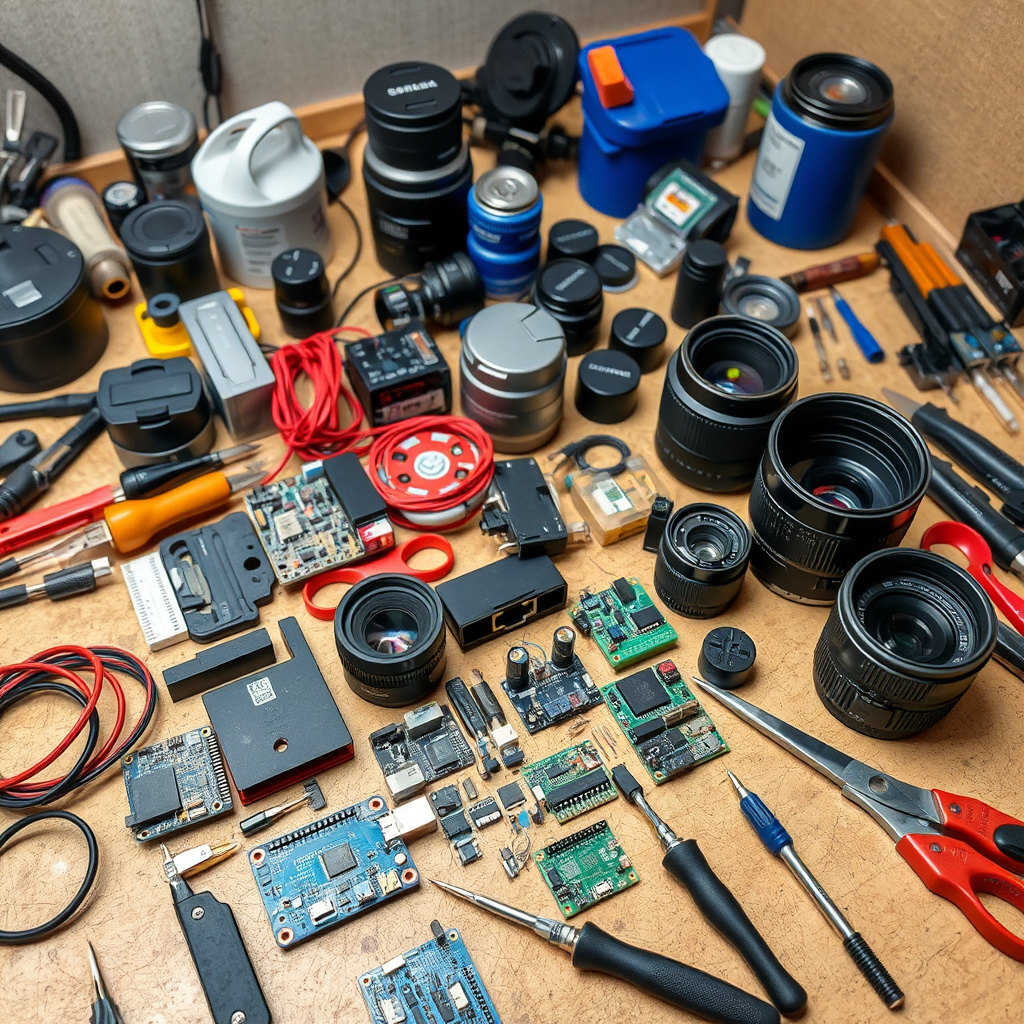
Essential Electronics and Optical Parts
You’ll need an image intensifier tube or an IR-sensitive camera sensor, suitable lenses including objective and eyepiece lenses, infrared LEDs for illumination, and a power source like rechargeable batteries.
Additional supplies include wiring, soldering equipment, resistors, and potentiometers for adjusting voltage to optimize image brightness and contrast.
- Image intensifier tube or IR camera sensor
- Objective lens and eyepiece lens
- Infrared LED array
- Rechargeable batteries
- Wiring and soldering tools
Assembling Tools and Safety Gear
Prepare with precise screwdrivers, fine tweezers, a multimeter to check electrical connections, and protective gloves. Safety glasses protect your eyes during soldering and handling of components.
A stable work surface and good lighting conditions aid accuracy during assembly and adjustments.
- Screwdrivers and tweezers
- Multimeter
- Protective gloves and glasses
- Stable, well-lit workbench
Step-by-Step Assembly of Night Vision Goggles
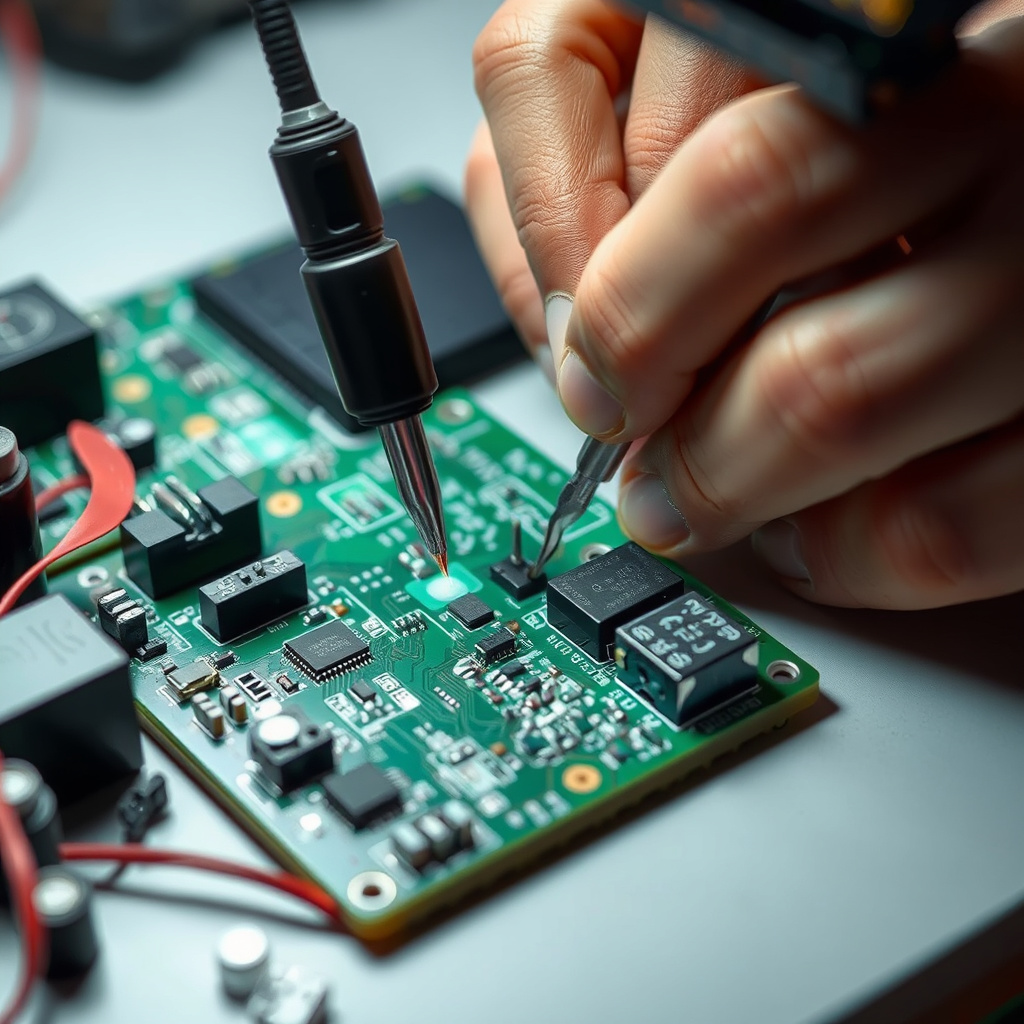
Mounting and Wiring the Image Intensifier or Sensor
Start by securely mounting the image intensifier tube or infrared camera sensor within the goggles’ housing. Connect wiring carefully to the power source, ensuring correct polarity to avoid damage.
Use the multimeter to verify connections and implement voltage regulation for optimal image amplification without noise.
For more on this, see our related guide: How Do We See in the Dark? Exploring Human Night Vision.
Installing Lenses and Infrared LEDs
Attach the objective lens in front of the intensifier or sensor to focus incoming light. The eyepiece lens should be aligned perfectly for comfortable viewing without distortion.
Finally, position and wire the infrared LEDs around the objective lens to provide illumination in complete darkness. Test LEDs for correct function before final enclosure.
Calibration and Testing of Your Night Vision Goggles
Adjusting Brightness and Focus
Fine-tune the voltage input to the image intensifier or sensor to get a clear, noise-free image. Use the potentiometer to adjust brightness and avoid image washout.
Focus the lenses by adjusting their distance from the sensor and each other until the viewed image is sharp and stable.
Field Testing and Troubleshooting
Test your goggles in various lighting conditions, starting from dim environments to complete darkness. Check for consistent image quality and adjust illumination levels accordingly.
If you observe flickering or dim images, revisit wiring and power supply connections. Ensure LEDs emit steady infrared light and components are secured tightly.
Safety and Practical Tips for Using DIY Night Vision Goggles
Handling and Maintenance Practices
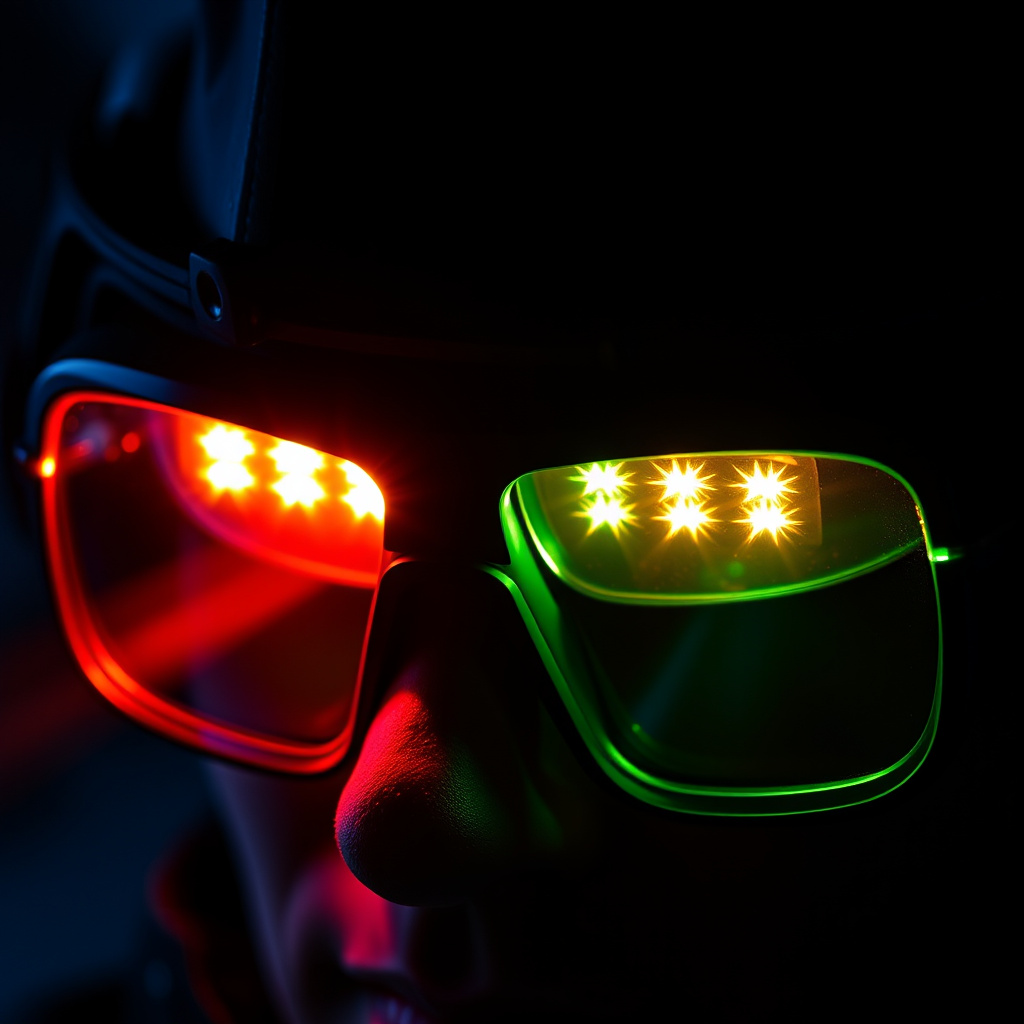
Avoid exposing the image intensifier tube or sensor to bright light which can damage sensitive components. Store goggles in a dry, cool place when not in use to prevent condensation.
Regularly clean lenses with proper lens wipes to maintain clear vision and prevent scratches.
For more on this, see our related guide: Are Night Vision Goggles Legal? What You Need to Know Before Buying.
Legal and Safety Considerations
Check local regulations regarding the use of night vision devices as some areas restrict their possession or use. Always use goggles responsibly to avoid accidents during nighttime navigation.
Wear goggles only as intended and never look directly into powerful infrared sources which can cause eye damage.
Exploring DIY Night Vision Devices Alternatives
Smartphone-Based Night Vision Attachments
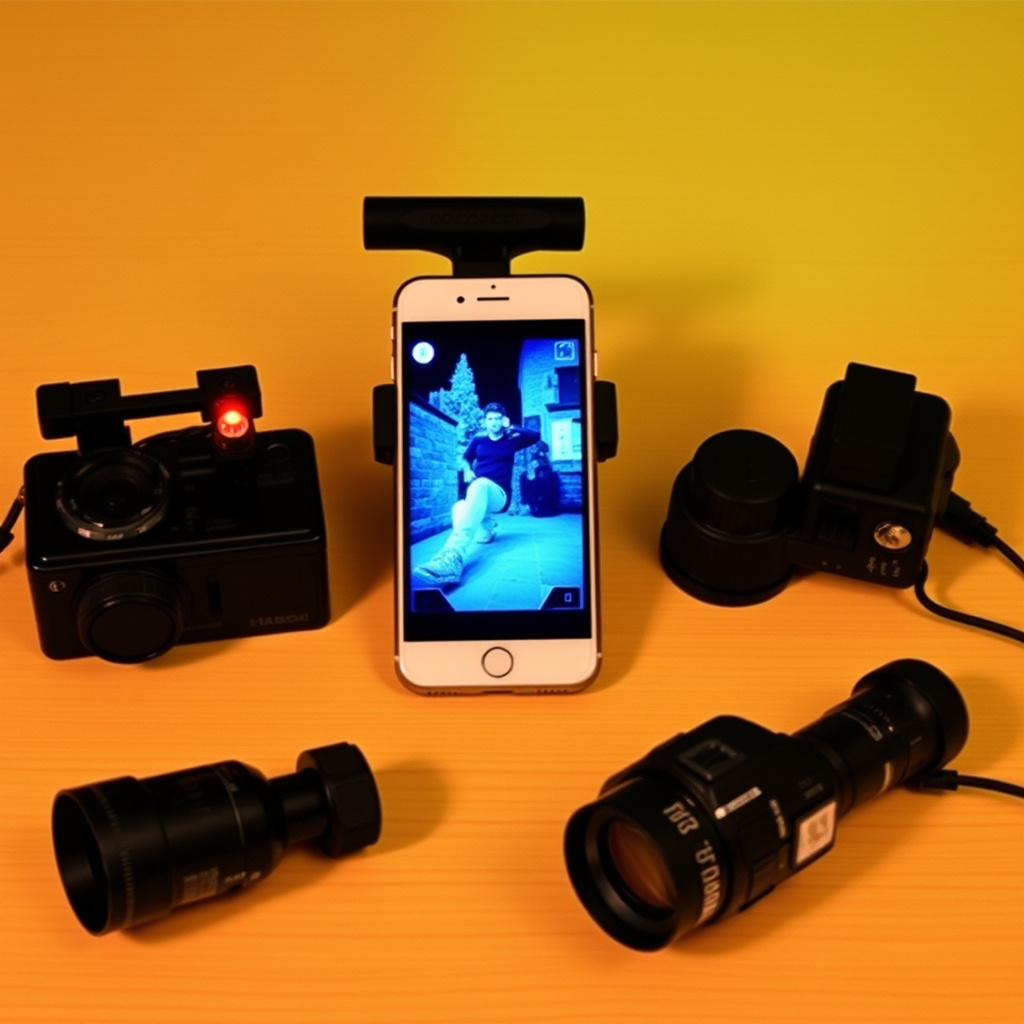
Some DIY enthusiasts adapt smartphones with infrared-sensitive lenses and external IR LED rings. This approach leverages existing camera sensors for simplified night vision experiences.
These attachments often offer lower resolution and less amplification but are easier and cheaper to assemble compared to full image intensifier goggles.
To learn more about the scientific principles and history behind night vision technology details, you can visit this Wikipedia article. night vision technology details.
Using Infrared Cameras and Displays
Another alternative is building devices around low-light IR cameras paired with small LCD or OLED screens. These produce a digital night vision effect without complex electron intensifier tubes.
Such devices may have some lag but provide durable and customizable night vision suited for hobbyist projects.
Comparison of Night Vision Goggles Types
Here is a comparison of different types of night vision goggles and related DIY options, based on image quality, complexity, and cost.
| Type | Image Quality | Assembly Complexity | Approximate Cost | Portability |
|---|---|---|---|---|
| Image Intensifier Tube Goggles | High | High | $200-$500 | Moderate |
| Infrared Camera-Based Goggles | Medium | Medium | $100-$300 | High |
| Smartphone Attachment DIY | Low to Medium | Low | $50-$150 | High |
| Digital IR Camera with Screen | Medium | Medium | $150-$350 | Moderate |
Frequently Asked Questions
Can I build night vision goggles without an image intensifier tube?
Yes, you can build simpler night vision devices using infrared cameras and displays, but these will not provide the same clarity or amplification as image intensifier-based goggles.
Are DIY night vision goggles safe to use?
They can be safe if you use proper components and avoid exposure to bright light damaging the sensor. Following safety guidelines and local regulations is essential.
How much do components for making night vision goggles cost?
Costs vary widely; image intensifier tubes are the most expensive element, often costing several hundred dollars, while simpler camera-based systems can be built for under $200.
Do I need special skills to build night vision goggles?
Basic electronics knowledge, soldering skills, and patience are necessary to assemble and calibrate the device properly for usable night vision.
Can night vision goggles work in complete darkness?
With infrared illumination, night vision goggles can provide vision in total darkness, while passive types rely on some ambient light like moonlight.
Key Takeaways
- Night vision goggles amplify available light using specialized components like image intensifiers.
- DIY night vision devices vary from complex tube-based goggles to simpler infrared camera setups.
- Assembly requires precise electronics work, careful calibration, and appropriate safety measures.
- Testing in different lighting conditions ensures the device performs as intended in real use.
Conclusion
Creating night vision goggles at home is a demanding project that combines optical, electronic, and mechanical skills. Understanding how the technology works—from image intensifiers to infrared illumination—guides your choices in components and assembly techniques. Every step, from mounting lenses to wiring power sources, impacts the device’s performance. Whether you pursue a traditional image intensifier approach or a modern infrared camera based design, attention to detail during construction will determine your success in achieving reliable night vision capability.
For those unfamiliar with expensive image intensifier tubes, DIY night vision devices using infrared cameras or smartphone-based attachments can serve as practical introductions. These alternatives simplify the build process and reduce cost, making night vision accessible for wildlife observation or security on a budget. However, expect compromises in image quality and real-time responsiveness compared to professional goggles. Identifying your primary use case—whether recreational exploration or experimental hobbyist projects—helps select the right type of device to build.
Ultimately, assembling night vision goggles yourself provides invaluable insight into the technology behind seeing in the dark. After completing the basic build and calibration steps outlined, further upgrading components and improving ergonomics can enhance usability. For beginners, starting with infrared camera modules and progressing to more complex image intensifier tubes as experience grows is a practical path. Always prioritize safety, especially regarding eye protection and local laws, and enjoy exploring the fascinating world of DIY night vision.


One Comment