How to Sight in a Rifle Scope at 100 Yards: A Complete Guide for Precision
Sighting in a rifle scope at 100 yards means adjusting your scope so your bullet impacts exactly where your crosshairs point at that distance. This process, called zeroing, ensures you shoot accurately and confidently. Knowing how to sight in a rifle scope at 100 yards helps hunters, recreational shooters, and new rifle owners improve precision and minimize guessing on the range or in the field.
This guide covers everything you need to know about zeroing your rifle scope, from the essential equipment and safe setup to step-by-step adjustments and environmental factors. You will also learn common mistakes to avoid, troubleshooting tips when zeroing is difficult, and maintaining your scope’s zero over time for consistent accuracy.
Key Takeaways
- Set up a stable shooting bench or rest to reduce movement while zeroing your rifle scope.
- Use quality targets with clear aiming points placed consistently at 100 yards.
- Confirm your rifle is securely mounted before adjusting the scope for accurate zero.
- Make sight adjustments in small increments, starting with aiming at the target’s center.
- Account for wind, light, and temperature changes as they can shift bullet impact points.
- Record your scope’s settings once zeroed for quick reference in future shooting sessions.
What Does It Mean to Sight in a Rifle Scope at 100 Yards?
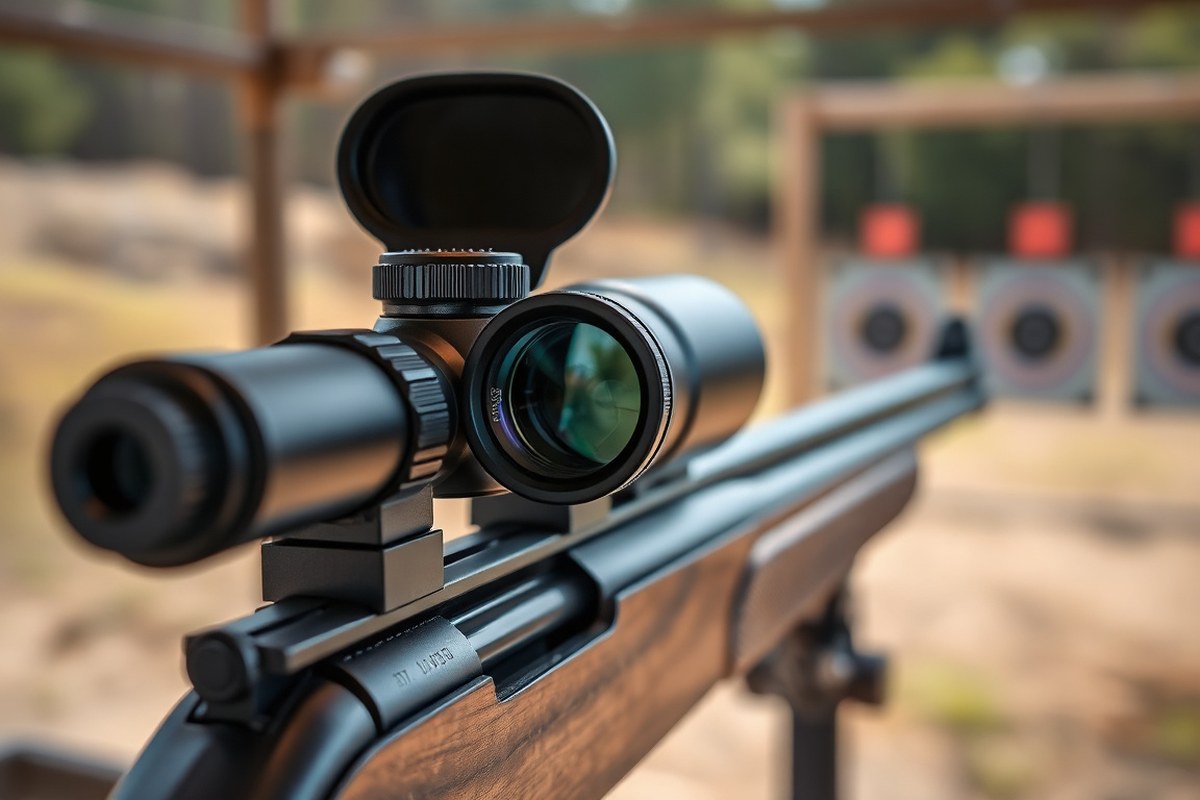
Sighting in a rifle scope means adjusting the scope’s sights so that the point of impact matches the point of aim at a specific distance. In other words, when you look through the scope and place the crosshairs on a target, the bullet should hit exactly where you aimed. This process ensures that your rifle shoots accurately, helping you make precise shots whether you’re hunting or target shooting.
The standard distance for sighting in a rifle scope is 100 yards. This distance is widely used because it balances practicality with accuracy. Shooting at 100 yards allows you to see your target clearly while providing a good reference point to adjust for bullet drop and wind drift at typical hunting ranges. Many hunting rifles and scopes are designed with 100 yards as the baseline zero, which helps shooters quickly estimate holdover and adjustments for shots taken beyond that range.
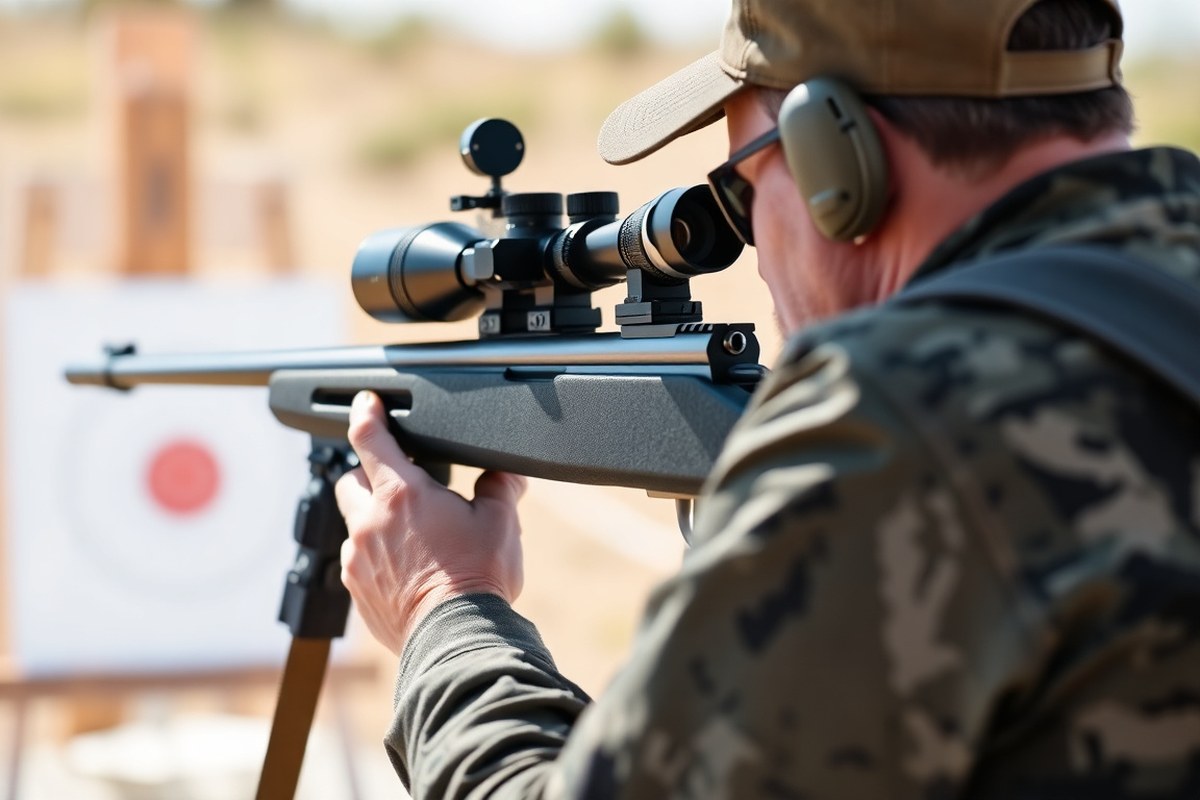
To sight in your scope at 100 yards, start by securely setting up your rifle on a stable rest or bench to minimize movement. Begin by firing a group of three to five shots at a paper target, aiming at the bullseye. After shooting, inspect the target to see where the bullets landed compared to the point of aim. Use the scope’s elevation (up and down) and windage (left and right) turrets to adjust the crosshairs so they align with the average point of impact. For example, if your shots are hitting 2 inches low and 1 inch left at 100 yards, turn the elevation turret the specified clicks to raise the point of impact by 2 inches and the windage turret to move the impact point 1 inch right. The number of clicks needed depends on your scope’s adjustment scale, often one click equals 1/4 inch at 100 yards.
Repeating this shooting and adjusting process several times may be necessary because small adjustments can significantly change where the bullet hits. Good results look like a tight group of shots all hitting within about one inch of the bullseye at 100 yards. A loose grouping or shots spread too far apart may indicate inconsistent shooting or issues with the rifle or ammunition rather than just scope adjustment.
Zeroing your rifle at 100 yards ensures that your shots will be reliable and more predictable at various distances. It reduces guesswork and helps you compensate for environmental factors when shooting on the field. Keep in mind, some shooters might zero at closer distances like 50 yards if space is limited or if using calibers with significant bullet drop, but the 100-yard zero remains the preferred standard for many hunting and recreational shooting purposes because it offers a straightforward baseline for adjustments.
Essential Equipment and Safe Setup for Zeroing Your Scope
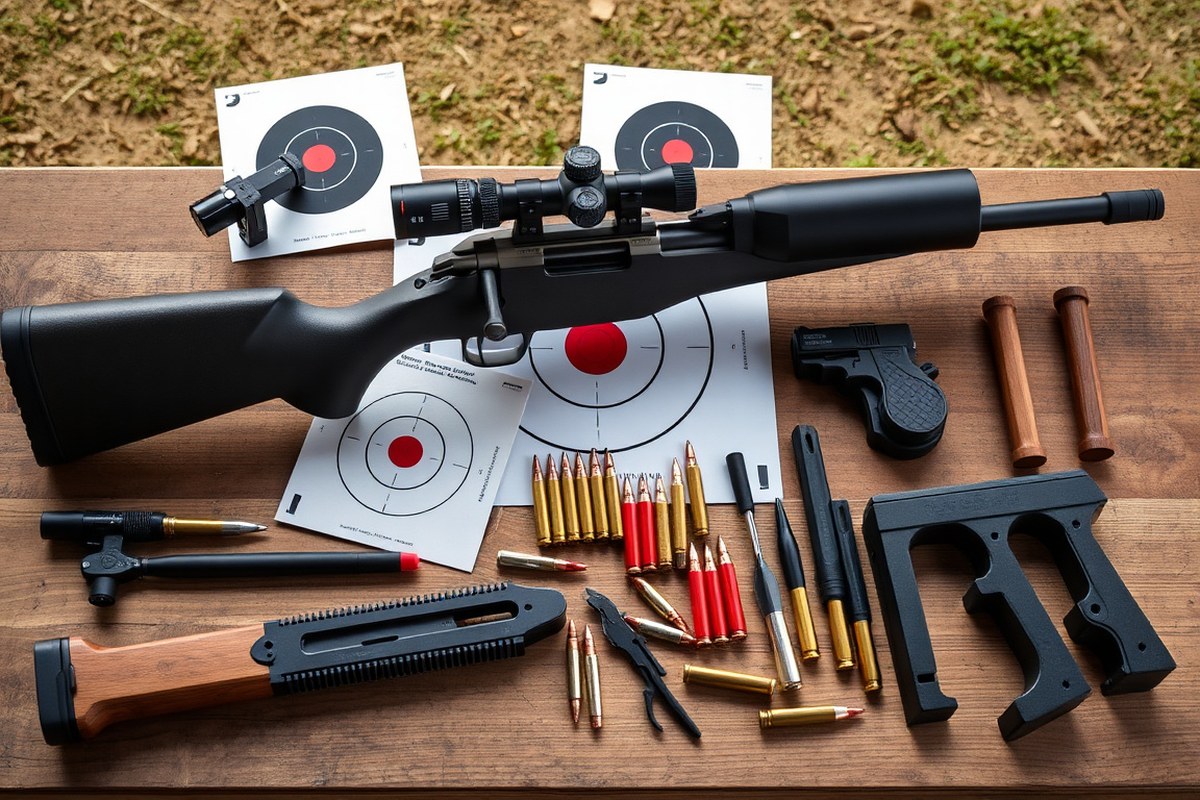
Sighting in your rifle scope at 100 yards requires specific equipment and a safe range setup to ensure accuracy and safety. Having the right gear and environment prepared minimizes errors and keeps you protected throughout the process.
Essential Gear Checklist
Start with a reliable rifle and scope properly mounted according to the manufacturer’s instructions. You’ll also need quality ammunition consistent with your expected use since varying ammo can change point of impact. A stable shooting rest or sandbags helps keep the rifle steady for accurate adjustments.
Other important items include a spotting scope or binoculars to see your target hits, paper targets scored for precision, tools or screwdrivers for scope adjustments, and a target holder or stand. Having extra batteries for illuminated reticles is useful if applicable.
- Rifle with securely mounted scope
- Consistent, quality ammunition
- Stable shooting rest or sandbags
- Targets suited to 100-yard zero (e.g., 10×10-inch grids)
- Target holder or frame
- Tools for scope adjustment (screwdrivers, Allen wrenches)
- Spotting scope or binoculars
- Hearing and eye protection
Gather all items before heading to the range to avoid delays and maintain focus during sighting.
Setting Up a Safe Shooting Environment
A safe setup begins with choosing an approved shooting range that permits rifle shooting at 100 yards. Confirm the backstop can safely stop your bullets. If shooting on private land, use a high-quality berm or natural hillside with no trails behind it.
Set your target so it’s clearly visible but placed well in front of the backstop to avoid ricochets. Mark a clear firing line and make sure no one crosses it while shooting is underway. Keep the area well organized and free of trip hazards.
Communicate with others on the range about when you plan to start and finish so everyone knows when to stay behind the firing line. Use designated safe zones for gear and spectators away from the line of fire.
Safety Equipment Requirements
Protect your hearing with quality ear protection, such as electronic earmuffs or high-NRR foam earplugs. Consistently wear eye protection, including safety glasses or shooting glasses, to protect from debris or accidental discharge.
Consider range gloves when handling equipment to protect your hands but avoid loose fits that could snag. Avoid distractions such as phones or unnecessary gadgets while shooting.
Never handle or load your rifle until everyone in the firing zone confirms they are behind the safety line and wearing proper protection.
Adapting Setup for Different Conditions
Sighting on a windy day might require heavier rests or sandbags to counter rifle movement. On cold mornings, give your scope time to adjust to outside temperature to prevent fogging or distortion. Bright sunlight may require angled targets or shade to see bullet holes clearly.
At busy public ranges, expect interruptions and plan for periods when other shooters fire. Use portable target holders to move targets safely when called “cold” or cease-fire is declared. For nighttime or low-light zeroing, rely on illuminated reticles and glow-in-the-dark targets with approved lighting.
Preparing for Accurate Results
Before shooting, double-check that your scope rings are tight and windage/elevation turrets start at zero or factory settings. Place your target exactly at 100 yards using a measuring tape or rangefinder for accuracy. Use a calm stance and consistent cheek weld each shot.
Start with three shots to establish your point of impact, then adjust the scope accordingly. Keep notes on your settings for comparison on different days or with different loads.
Step-by-Step Process to Sight in a Rifle Scope at 100 Yards
Sighting in a rifle scope at 100 yards involves a clear process starting with bore sighting to roughly align your scope with the rifle barrel. After initial alignment, you take test shots to see where your rounds hit. Adjust your scope’s elevation and windage turrets based on these impacts, then fire groups to refine the point of aim. Confirmation shots ensure consistency and reliability of your zero.
Initial Bore Sighting Techniques
Bore sighting helps you get your scope roughly aligned with the barrel before you fire live rounds. This step saves ammunition, reduces target wear, and speeds up the zeroing process. You can do this manually or with a bore sight device.
To bore sight, start by safely removing the bolt from your rifle so you can look directly down the barrel. Place the rifle on a stable rest and aim at a large, visible target 25 to 50 yards away. Without moving the rifle, adjust your scope’s windage and elevation so the reticle aligns with the same point you see through the barrel. This alignment means your first shots will be on paper, making tuning easier.
Firing and Adjusting Your First Group
Once bore sighting is finished, fire a group of three to five shots at a 100-yard target. This group reveals where your bullets are hitting relative to your point of aim. The goal is to see a consistent shot pattern so you can adjust your scope accurately.
After firing, observe how far and in which direction the group is off from the target center. Use your scope’s turrets, knowing each click usually moves the impact ¼ minute of angle (MOA), or roughly 0.25 inches at 100 yards. Adjust elevation if shots are high or low, and windage if they are left or right. Make small, deliberate turret turns and then fire another group to check.
Final Confirmation and Fine-Tuning
After initial adjustments bring your point of impact close to the bullseye, take final shots to confirm your zero. Fire at least three shots per group to verify tight clustering at your target’s center. Tight groups mean your scope and rifle alignment is consistent.
Check that your hold, rest, and shooting conditions stay steady. If your shots drift, repeat adjustments in smaller increments. When groups reliably land within one inch of your aiming point at 100 yards, your scope is zeroed. Record your turret settings for reference, so you can reset your zero quickly after any changes or transport.
- Remove the bolt and look down the rifle barrel at a target 25-50 yards away.
- Without moving the rifle, adjust the scope’s windage and elevation turrets to align the reticle with the barrel’s view.
- Replace the bolt securely and fire three to five shots at 100 yards.
- Inspect the shot group on the target and measure how far off-center the group is.
- Turn the scope turrets in the appropriate direction; each click typically moves point of impact by ¼ MOA (about 0.25 inches at 100 yards).
- Fire another three to five shot group to assess your adjustments.
- Repeat fine adjustments and shooting groups until your shots consistently hit within 1 inch of the target center.
- Record your scope settings and confirm your zero with a final group.
How Environmental Factors Affect Your Zero at 100 Yards
Wind can push your bullet off target, even at 100 yards. A light breeze of 5 miles per hour can move a typical hunting bullet about 1 to 2 inches sideways. Stronger winds will increase this effect, making your shots less accurate if you don’t adjust. To deal with wind, watch the direction and speed. Use flags or nearby branches to estimate wind conditions. Adjust your aim slightly into the wind to compensate, which usually means shifting your point of aim inches depending on wind strength. Try shooting during calmer moments when the wind varies to avoid inconsistent impacts.
Temperature affects bullet velocity and drop. Colder air is denser and slows your bullet down, causing it to drop more over the same distance. For example, at 30 degrees Fahrenheit, a bullet may drop slightly more than at 70 degrees. When zeroing your scope, try to match the typical temperature you expect for hunting or shooting. Zeroing your rifle in warm weather but shooting in cold might cause your point of impact to be lower than expected. To adjust, aim a bit higher to compensate for increased bullet drop that colder weather causes.
Altitude also changes air density. At higher elevations, the air is thinner, which means less resistance on your bullet. This results in a flatter trajectory and less drop. Zero your scope with consideration for elevation changes, as shooting at 5,000 feet after zeroing at sea level can make your bullet hit higher than aimed. Adjust by zeroing your rifle at the elevation you’ll be shooting or aim lower if you must zero elsewhere. Knowing your hunting elevation can save time and improve accuracy.
Lighting conditions impact how you see your target and scope reticle. Bright daylight offers the clearest view, making it easier to place shots accurately. Low light, such as dawn or dusk, can make targets harder to distinguish. Some reticles are illuminated, which helps in these conditions but may add parallax errors if brightness is too high. To manage lighting changes, adjust your scope brightness and use a reticle type that suits your shooting time. Zero your rifle under lighting conditions similar to when you intend to shoot for consistent results.
Taking these environmental factors into account when zeroing is essential for reliable accuracy. To test your zero, shoot groups under different conditions if possible. Note any shifts in point of impact and mark your adjustments on your scope or a logbook. This effort will help you understand how your rifle performs in real-world scenarios and improve your confidence in shot placement. Avoid assuming a zero is permanent; regular checks at your usual hunting or shooting locations can prevent unexpected misses.
Common Mistakes When Sighting in and How to Avoid Them
One common error when sighting in a rifle scope at 100 yards is rushing the process, which leads to inaccurate adjustments and wasted ammunition. Taking your time to confirm a steady rest and proper target placement helps prevent these mistakes. Another frequent issue is misinterpreting scope adjustments. Many beginners think turning the turret one click moves the point of impact an inch at 100 yards, but these values vary by scope; always check your scope’s specifications to avoid error.
Incorrect mounting or loose scope rings cause the scope to shift between shots, leading to inconsistent groupings. Ensuring your scope is securely mounted before zeroing prevents this. Also, failing to use the correct ammunition for zeroing can skew results since different bullets affect point of impact. Using factory loads identical to your hunting or shooting rounds provides more reliable zeroing.
- Confirm the scope is firmly mounted and retighten if needed before shooting.
- Use a stable rest, like a bench rest or sandbags, to reduce rifle movement.
- Check your scope’s click value (e.g., 1/4 MOA = 0.25 inches per click at 100 yards) to adjust properly.
- Zero with the exact ammo you plan to use in the field or range.
- Make small adjustments in one direction only; large or back-and-forth changes confuse your reference point.
- Allow the barrel to cool between groupings to avoid changes in point of impact due to heat.
Wasting ammo often occurs by shooting at a target placed too close or too far, causing difficulty in seeing bullet holes clearly. Placing your target at exactly 100 yards ensures accurate observation and adjustment. Another trap is making large scope changes after just one shot; this can result in overshooting the zero and increased ammo use. Wait for a 3 to 5-shot group to form before adjusting. It also pays to chronograph your ammunition if possible, especially in varying temperature conditions, to know if velocity fluctuations will affect your zero.
Always record each scope adjustment and environmental conditions to replicate or modify your zero later without guesswork.
Troubleshooting When You Can’t Get Zero at 100 Yards
Constantly missing your point of aim at 100 yards usually means there’s an issue with your setup, technique, or equipment. Start by confirming your rifle and scope are mounted securely. Loose mounts can shift your point of impact unpredictably. To check, gently press or twist the scope and rings by hand, nothing should move. Detect play? Tighten the screws to the manufacturer’s recommended torque using the correct screwdriver or torque wrench. Avoid over-tightening, which can damage threads or warp the scope tube.
Inspect the base and rings for proper fit. Rings that don’t fully clamp or have uneven contact can lead to misalignment. The scope’s reticle should be level and centered in the rings. You can use a scope leveling kit or even a carpenter’s level during mounting. Any tilt causes shots to miss vertically or horizontally.
Sometimes the problem lies with the rifle’s barrel or ammo rather than the scope. Poor-quality ammunition or inconsistent lots can produce wide shot groups and unstable point of impact. Use factory-loaded match-grade ammo or try several brands to find one that produces the tightest groups in your rifle. Barrel condition also affects accuracy. A dirty or worn barrel may cause erratic hits. Clean your barrel thoroughly according to the manufacturer’s instructions, usually after 100 to 200 rounds, and avoid using harsh cleaning chemicals that may damage rifling.
Scope adjustments not moving your point of impact as expected could mean issues with the scope’s internal mechanics. Perform a “click test” on the turrets by turning them while observing the point of aim shift through a bore sight or at a close range target. Verify that each click changes aim by the manufacturer’s listed value, typically a quarter-minute of angle (MOA) per click. Clicks that feel loose, gritty, or inconsistent may indicate the scope is defective and needs repair or replacement.
Shot group patterns tell a story about mechanical problems. Groups consistently shifting off target in one direction suggest mounting or alignment problems. Large, inconsistent groups usually point to ammo quality, barrel condition, or shooter error. Record your results and changes made during troubleshooting so you can track progress systematically. Good results usually mean group sizes smaller than 1 to 1.5 inches at 100 yards with your chosen ammo and rifle.
Before concluding a hardware issue, ensure your shooting technique is solid. Rest your rifle on a stable platform and use consistent holds, breathing, and trigger control. Even minor differences can cause significant shifts at 100 yards. Persistent problems, even after checking mounting, ammo, barrel, and technique, call for a gunsmith to inspect bore alignment, scope ring wear, or other mechanical faults needing professional tools and skills.
Maintaining Your Scope’s Zero and Recording Settings
Checking your scope’s zero regularly and keeping detailed records of your settings helps you maintain shooting accuracy over time. Zero can shift due to handling, environmental changes, and scope adjustments, so verifying it before outings is key. Logging each setup lets you quickly return to known good settings for different ammo types and conditions.
Routine Zero Verification Steps
Before heading out for hunting or practice, spend 10 to 15 minutes confirming your zero on the range. Shoot a 3- or 5-shot group at 100 yards and measure the point of impact against your aiming point. If your group is within 1/2 to 1 inch of that point, your zero is still reliable. Here is a basic checklist to verify zero:
- Set up a stable shooting rest and target at exactly 100 yards.
- Use the same ammunition you’ve previously zeroed for consistency.
- Fire a small group focusing on precise aiming and trigger control.
- Measure the group’s center relative to your aiming point.
- Adjust turrets in small increments if the point of impact varies more than 1 inch.
- Record results in your log for future reference.
- Repeat after any scope changes, handling, or frequent transportation.
Doing this routine check ideally before every hunting season and monthly for frequent shooters keeps the scope’s zero dependable. It only takes a short session but prevents surprises in the field.
Factors That Cause Zero Shift
Several common reasons make a rifle scope lose its zero over time. Mechanical impacts, such as bumps during transport or rough recoil from shooting, can slightly move the scope’s internal components.
Temperature changes affect materials in your rifle and scope, causing expansion or contraction. For instance, metal parts may shift when temperatures vary from below freezing to above 90°F, altering point of impact.
- Mechanical shock from dropping or bumping the rifle
- Recoil forces, especially with heavy calibers or rapid fire
- Temperature swings affecting metal and glass components
- Uneven mounting or loose scope rings
- Repeated removal and remounting of the scope
Also, rough handling and improper storage can wear down mounts and screws, causing gradual drift. Using torque wrenches to mount scopes and checking for looseness helps reduce zero shifts.
Recording Settings for Different Ammunition Types
Not all ammunition performs the same, and each type can require unique adjustments to your scope’s elevation and windage to maintain zero at 100 yards. Keeping a detailed log with adjustments, bullet weight, and environmental conditions saves time and confusion.
Organize notes in a notebook or spreadsheet with entries that include ammunition brand, bullet weight, velocity (if known), scope model, and any elevation/windage clicks or MOA adjustments you used. Label each set clearly by date and conditions. Here is a template to use for logging your scope zero settings:
- Date and location
- Rifle model and scope brand/model
- Ammunition type, bullet weight, and velocity
- Elevation clicks adjusted and direction
- Windage clicks adjusted and direction
- Environmental notes (temperature, wind speed/direction)
- Results of grouping (group size in inches, deviation from aim)
Consistently updating this log after each zeroing session helps you quickly dial in your scope with repeated ammo types or switch between them without starting over.
When and Why to Consult a Professional Gunsmith for Zeroing
Professional help is advisable when you encounter issues beyond simple adjustments while sighting in your rifle scope at 100 yards. For example, if your scope will not hold zero despite correct mounting and adjusting or if the point of impact shifts dramatically after a few shots, a gunsmith’s expertise becomes necessary. Gunsmiths can diagnose problems such as improperly torqued mounts, bent barrels, or defective scopes that are difficult for beginners to identify and fix.
Another situation calling for professional zeroing is when working with specialized or high-value rifles. Custom builds, competition rifles, or precision hunting rifles often require exacting zeroing to maximize performance. A gunsmith ensures correct bore alignment, verifies the scope base installation, and can provide fine-tuned adjustments with calibrated equipment. This service is important if you want consistent results in varied conditions or when shooting at longer distances than 100 yards.
The cost of professional zeroing typically ranges from $40 to $100, depending on the shop, your location, and rifle complexity. This fee often includes mounting the scope, bore sighting, and live fire adjustment at the range. Expect the process to take about 30 minutes to an hour. Advanced jobs requiring torque calibration or custom scope adjustments may take longer and cost more. It’s smart to call ahead and ask about services and pricing so you can decide if professional zeroing fits your budget.
To decide whether to consult a gunsmith, consider this rule: attempt sighting in on your own up to three sessions of 20 shots each at 100 yards. If you cannot achieve a consistent group within one inch of your aiming point, or if the zero shifts unpredictably, it’s time to seek professional help. Struggling with unusual recoil patterns, inconsistent impacts, or mechanical issues also signals that a gunsmith’s inspection is needed. They have specialized tools and experience to diagnose scope or rifle problems fast.
Professional zeroing delivers precise adjustments you can rely on, improving accuracy and confidence in the field. The gunsmith will verify scope alignment using tools like laser bore sighters or collimators and conduct test firing to check for point of impact consistency. This level of calibration is difficult to replicate without proper equipment. After professional zeroing, your rifle’s shots should consistently group tightly around the target with predictable drop and wind drift figures.
Practice safe gun handling when at the range and always follow the gunsmith’s recommendations for torque settings and mount care to maintain your zero over time.
Step-by-Step Action Plan for Sighting in Your Rifle Scope at 100 Yards
Follow these steps to efficiently zero your rifle scope for accurate shooting at 100 yards.
- Before You Start: Gather all essential equipment including your rifle, scope, stable rest or sandbags, target at 100 yards, and tools for adjustments. Confirm safety measures and a safe shooting lane are in place.
- Initial Setup: Secure your rifle on the rest, aim at the center of the target, and fire a three-shot group. Check if groups are on paper to ensure you have a point of impact to adjust from.
- First Adjustment: Use the scope’s windage and elevation turrets to center the group on the bullseye based on where the shots landed. Make adjustments in known increments, such as 1/4 MOA per click, and confirm after each group.
- Fine Tuning: Fire another group and assess the shot placement. Continue minor adjustments until your groups consistently hit the bullseye at 100 yards.
- Environmental Check: Observe conditions such as wind, lighting, and temperature. Repeat your shooting and adjusting process under those conditions to confirm your zero accounts for environmental factors.
- Verification: Fire multiple groups to ensure the zero holds. Record your turret settings and note any environmental conditions during the zeroing session.
- After Zeroing: Handle your rifle as you would during use, then recheck zero to confirm it holds after movement or transport.
Frequently Asked Questions
What Tools Should I Bring When Sighting in a Rifle Scope at 100 Yards?
Bring a stable rest, target, spotting scope, and the rifle with the scope mounted. These help ensure precise adjustments and accurate shot placement during zeroing.
How Do I Confirm My Scope’s Mount Is Tight Before Zeroing at 100 Yards?
Check screws and rings for secure fit by gently trying to move the scope. Loose mounts cause inconsistent shots and lost zero.
How Many Shots per Group Are Ideal for Sighting in a Rifle at 100 Yards?
Typically, 3 to 5-shot groups work best to gauge average impact and adjust the scope accurately.
What’s the Best Time of Day to Sight in a Rifle Scope at 100 Yards?
Daylight with minimal wind is best. Avoid strong sunlight glare and gusts, which affect visibility and shot consistency.
Can Changes in Ammunition Brand Affect Zero at 100 Yards?
Yes, different ammo loads can shift point of impact. Zero your scope with the ammo you plan to use regularly.
Should the Rifle Barrel Be Cold or Warm Before Zeroing at 100 Yards?
Let the barrel cool to ambient temperature to reduce point of impact shifts caused by heat expansion.
Before You Go
Zeroing your rifle scope at 100 yards is key to consistent accuracy. Take your time during adjustments and trust the process to get reliable shot placement. Start by setting up your equipment safely and firing your first group today to begin creating a known reference point for your scope adjustments.