How to Install a Security Camera: Step-by-Step Guide for Homeowners
You can install a security camera yourself by mounting the device in a strategic spot, running power (and network cables if needed), connecting it to your Wi-Fi or security hub, and configuring its settings. Start by choosing the right camera for your needs—wired or wireless—then gather your tools and follow a straightforward installation process. Most modern cameras are designed for DIY users and come with detailed instructions for mounting and connecting to your network.
Setting up surveillance isn’t just about plugging in a camera and hitting record. Installing security cameras properly is essential to maximizing their effectiveness for monitoring your home and deterring would-be intruders. Good placement, secure installation, and correct network configuration all play a crucial role in getting a reliable feed and clear footage when it matters most.
This article will walk you through how to install a security camera yourself, covering planning and placement, mounting methods, cabling and power, connecting to your network, and final setup steps. You’ll also find a comparison table on camera types, key location tips, FAQs, and a practical summary to help you get started with confidence.
Planning Your Security Camera Installation
Assessing Your Surveillance Needs
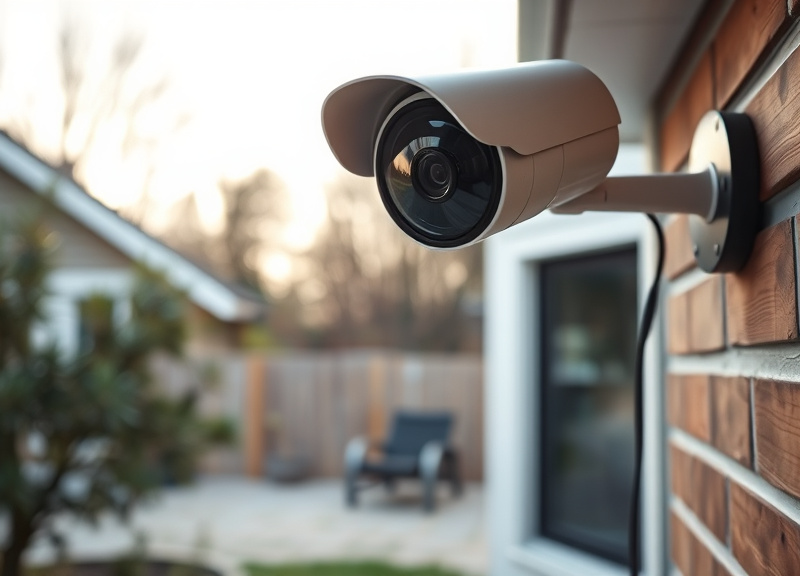
Before you install a security camera, determine what areas need coverage. Walk around your property and identify vulnerable entry points such as front doors, garages, or backyards. This assessment helps decide how many cameras you’ll need and the right locations for maximum visibility.
Consider if you want continuous recording or motion detection, and whether you prefer cameras inside, outside, or both. High-traffic areas, blind spots, and places where packages are left are especially important to monitor.
- Front and back doors
- Driveways and garages
- First-floor windows
- Porches and gates
Selecting the Right Type of Security Camera
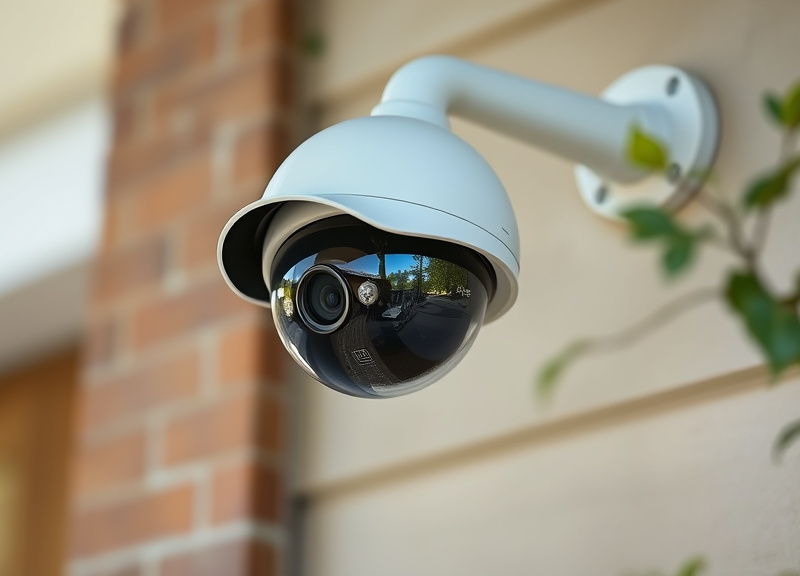
There are critical differences between wired and wireless security cameras, each with advantages and considerations. Wired cameras offer constant power and robust connections but require running cables inside or outside your home. Wireless options are easier to place and move but need strong Wi-Fi coverage.
Consider features like weather resistance for outdoor use, night vision, and any integration with smart home systems such as Alexa or Google Assistant. Reading reviews and checking compatibility can help find the best fit.
- Wireless cameras for easy installation
- Wired options for stable signal
How to Install a Security Camera: Tools, Materials, and Preparation
Gathering Necessary Tools and Equipment
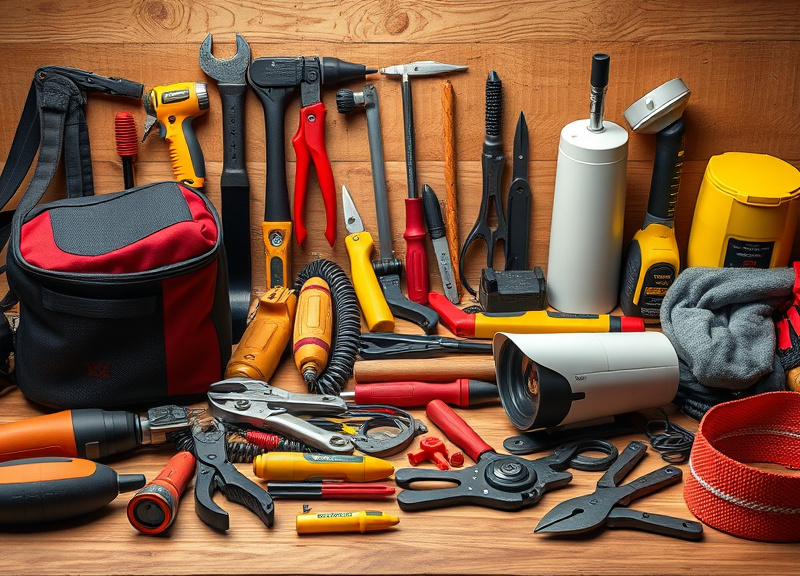
Starting your installation begins with the right tools. Most security cameras require a power drill, screwdriver, anchors, and a ladder. Wired cameras might need fish tape, cable clips, and network cables. Keep your device’s instructions close and make sure all parts are included.
Have your smartphone or tablet on hand for Wi-Fi setup and camera configuration. Check for a power outlet or plan for battery-powered models if wiring isn’t feasible.
- Power drill and drill bits
- Screwdriver set
- Anchors and mounting screws
- Ladder
- Fish tape (for wired installs)
- Smartphone/tablet
Pre-Installation Planning Tips
Plan cable runs and outlet access before drilling. Mark drilling points with a pencil and ensure mounting spots aren't blocked by gutters, walls, or tree branches. Test the camera’s Wi-Fi signal strength at your chosen location with your phone.
Take pictures of wiring routes for future reference. If installing outdoors, check that mounting surfaces are stable and won’t shake in the wind or rain.
Mounting and Positioning Your Security Cameras
Installing Cameras at the Best Locations
The best locations for security cameras are at least nine feet above the ground, angled toward points of entry but not pointed directly at windows to avoid glare. Corners allow cameras to maximize their field of view and cover wider areas.
Position cameras out of easy reach to prevent tampering. For outdoor cameras, under eaves or soffits offers some weather protection and a clear view of entry points. Always check the view using your camera’s app before finalizing the mount.
- Aim cameras at doors and driveways
- Install away from direct sun or reflective surfaces
- Avoid obstructions like trees or light fixtures
For more on this, see our related guide: How to Connect Security Camera to Phone: A Step-by-Step User Guide.
Securing Cameras with the Right Hardware
Most cameras come with mounting hardware like screws and anchors designed for wood, drywall, or masonry. Pre-drill holes to prevent splitting surfaces and use appropriate anchor types based on your surface material.
Ensure the bracket is level before securing it. Tighten all screws fully and double-check it’s solid before attaching the camera. For added theft prevention, consider tamper-resistant screws.
Wiring, Power, and Connectivity Considerations
Running Cables and Powering Wired Cameras
Wired cameras need both a data and power connection. Plan cable routes along baseboards or through attics and consider conduit for outdoor runs. Use weatherproof cables and connections for external installations.
Label cables at both ends for easier troubleshooting. Some wired cameras use Power over Ethernet (PoE), requiring only a single cable if you have a compatible network switch or injector.
- Use cable clips or ducting for neat runs
- Seal holes with silicone to prevent water ingress
Wireless Camera Power and Connectivity
Wireless cameras may be battery-powered or need a nearby outlet. Recharge or replace batteries regularly and test longevity. Reliable Wi-Fi is mandatory—place cameras within range of your router or consider adding a mesh network or extender.
Use your camera’s app to test signal and adjust placement as needed. Secure your Wi-Fi with a strong password to prevent unauthorized access.
Connecting and Configuring Security Cameras
Network and App Setup
After mounting, power on your security camera and use the manufacturer’s app on your phone or computer for setup. Follow prompts to connect the camera to Wi-Fi or your wired network, assign it a name, and test the live view.
Set up push notifications or motion alerts in the app. For multiple cameras, label each with clear names like 'Front Door' or 'Garage' for easy identification.
- Download the correct app for your camera brand
- Test feeds at different times (day/night)
For more on this, see our related guide: How Much Sunlight Does an Outdoor Solar Security Camera Need for Reliable Performance?.
Adjusting Angles, Zones, and Alerts
Use your app to tweak the camera’s angle and digital zoom, then set up motion-detection zones to avoid constant alerts from passing cars or animals. Test different settings to balance sensitivity and minimize false alarms.
Configure notification preferences and choose cloud or local storage options if available. Set up guest access or sharing for family members if your system allows.
Maintenance and Troubleshooting After Installation
Routine Maintenance for Reliability
Check camera lenses for dirt, spider webs, or water spots monthly and clean them with a lens-safe cloth. Inspect wiring or mounts for signs of damage, and verify battery levels or power connections on schedule.
Review recorded footage occasionally to ensure the system is working as intended. Enable automatic firmware updates to keep security features current.
- Set monthly calendar reminders for checks
- Keep software up to date
For a comprehensive look at different camera technologies and their uses worldwide, see this detailed overview of video surveillance systems. detailed overview of video surveillance systems.
Common Installation Issues and Fixes
If your security camera isn’t connecting, double-check Wi-Fi credentials and ensure the camera’s firmware is updated. For wired installations, recheck power supplies and cable connections. If video is blurry, refocus the lens or clean it thoroughly.
Repeated false alerts? Adjust motion sensitivity, or reposition the camera to reduce movement from trees or passing vehicles.
Security Camera Types Comparison
Choosing the right camera type is a critical step before installation. Compare options for installation ease, connectivity, and features in the table below.
| Category | Power Source | Installation Difficulty | Connectivity | Best For |
|---|---|---|---|---|
| Wired Camera | Outlet/PoE | Moderate/High | Ethernet | Long-term, constant power |
| Wireless Plug-in | Outlet | Easy | Wi-Fi | Quick setup indoors |
| Wireless Battery | Battery | Very Easy | Wi-Fi | Flexible or rental homes |
| Doorbell Camera | Wired/Battery | Easy | Wi-Fi | Front entry monitoring |
| Outdoor PTZ | Outlet/PoE | High | Ethernet/Wi-Fi | Wide-area surveillance |
Frequently Asked Questions
Where should I place security cameras for the best coverage?
Install cameras near doors, driveways, garages, and major pathways. Corners often provide a wider field of view. Outdoor cameras should be mounted at least nine feet high to deter tampering and cover entry points efficiently.
Can I install a security camera without professional help?
Yes, most modern cameras are designed for DIY installation with included hardware and user-friendly apps. Follow the manufacturer’s instructions closely and plan placements to maximize your home’s security coverage.
What’s the difference between wired and wireless security cameras?
Wired cameras need power and network cables, offering reliable connections but trickier installation. Wireless cameras run on batteries or outlets, are easier to move, but require strong Wi-Fi and more frequent power checks or charging.
How do I keep my security camera’s feed private?
Secure your home Wi-Fi with a strong password, update device firmware regularly, and use encryption if offered. Only share app access with trusted people, and review privacy settings in your camera’s software to restrict remote logins.
What maintenance do security cameras require?
Clean camera lenses monthly, check mounts and cables for wear, and verify batteries or power supply. Test live feeds and adjust settings seasonally to account for changes in lighting, foliage, or home layout modifications.
Key Takeaways
- Proper planning and placement maximize security coverage.
- Wired and wireless cameras each offer unique installation pros and cons.
- Routine maintenance and checking app settings help ensure reliability.
- Modern security camera systems favor DIY installation and smart integration.
Conclusion
The process for how to install a security camera begins with assessing your property’s unique vulnerabilities, selecting the most appropriate camera type for your needs, and strategically planning placement. Taking a thoughtful, step-by-step approach—from gathering needed tools to ensuring reliable Wi-Fi or power—delivers dependable protection for your home and greater peace of mind. It’s critical to not rush the planning phase, as thoughtful positioning and robust connectivity truly shape the system’s effectiveness.
If you want low-maintenance monitoring for entryways, a wireless battery-powered camera is a solid choice due to its simple setup and flexible placement. For larger properties or continuous indoor/outdoor coverage, a mix of PoE wired cameras and outdoor PTZ models may suit best. If you’re concerned about high-traffic areas or package theft, prioritizing best locations for security cameras—like driveways and entrances—will help to deter incidents and provide actionable video footage.
Investing the time to install a security camera system yourself can save money and allow for future expansion as your needs grow. Begin by mapping camera coverage on your property, purchase compatible gear, and follow this guide carefully. With careful preparation and ongoing maintenance, you’ll set up a robust surveillance foundation that keeps your home secure for years to come.