How to Zero a Red Dot at Home: A Step-by-Step Guide for Accurate Shooting
You can zero a red dot at home with just a few basic tools and a safe setup. All it takes is a stable mounting surface, your unloaded firearm or airsoft, a printed target, and careful bore alignment. By matching your red dot sight’s point of aim to the point of impact at your chosen distance, you’ll ensure your shots consistently hit where you intend.
Zeroing your red dot at home is more than a convenience—it’s an essential practice for accuracy and confidence. It saves time and ammo at the range, eliminates guesswork, and ensures every trigger pull makes the most of your gear. Best of all, calibrating your optic where you’re most comfortable reduces distractions.
This article will walk you through safe at-home zeroing, discuss choosing your zero distance, address common calibration challenges, cover tools for the job, and answer frequently asked questions about red dot sight calibration tips. Let’s get your sight dialed in precisely—without ever leaving your living room.
Safety First: Preparing to Zero a Red Dot at Home
Clearing the Firearm and Setting Up a Safe Area
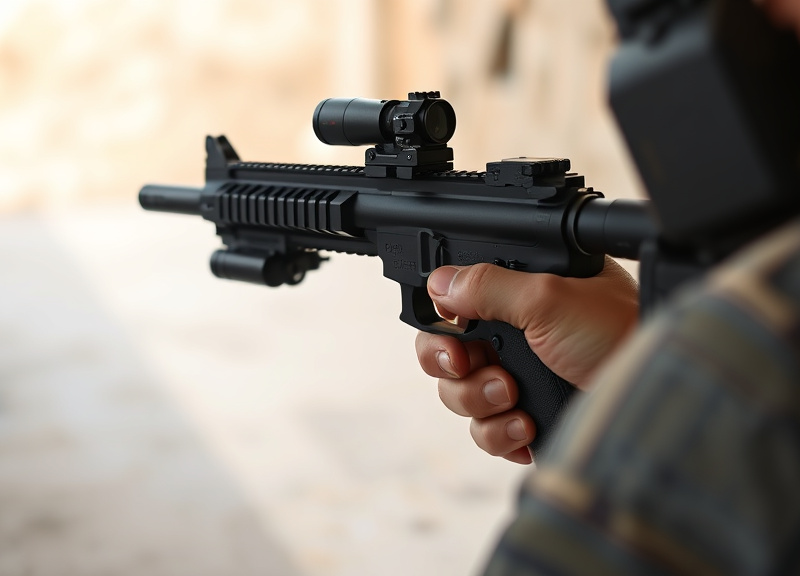
Begin by ensuring your firearm or airsoft is completely unloaded—remove all magazines and open the action to check both chamber and barrel. Establish your at-home workspace in a secure, clutter-free area. Set up a safe backstop, such as a sandbag pile or dedicated pellet trap, especially for dry fire or airsoft zeroing.
Verify that no ammunition is within reach during the zeroing process. Let everyone in your household know you’re actively working on your setup, minimizing interruptions. Safety isn’t just about you—it protects everyone nearby.
- Unloaded firearm
- Safe backstop
- Clear workspace
- Notify others present
Tools and Essentials for At-Home Red Dot Zeroing

You'll need your firearm or airsoft, the mounted red dot sight, a quality printed target, a stable rest such as a sandbag or shooting rest, and adjustment tools specific to your sight (like a small screwdriver or turret wrench). For dry-fire zeroing, add a bore laser or reflective laser boresighter to your kit.
These simple items make the process both precise and repeatable. Using the proper tools eliminates risk of sight damage and ensures adjustments translate directly into accuracy improvements.
- Printed target
- Shooting rest or sandbags
- Boresight or laser (optional)
- Adjustment tools
Choosing Your Zero Distance for Home Zeroing
Typical Zero Distances: What Works at Home?
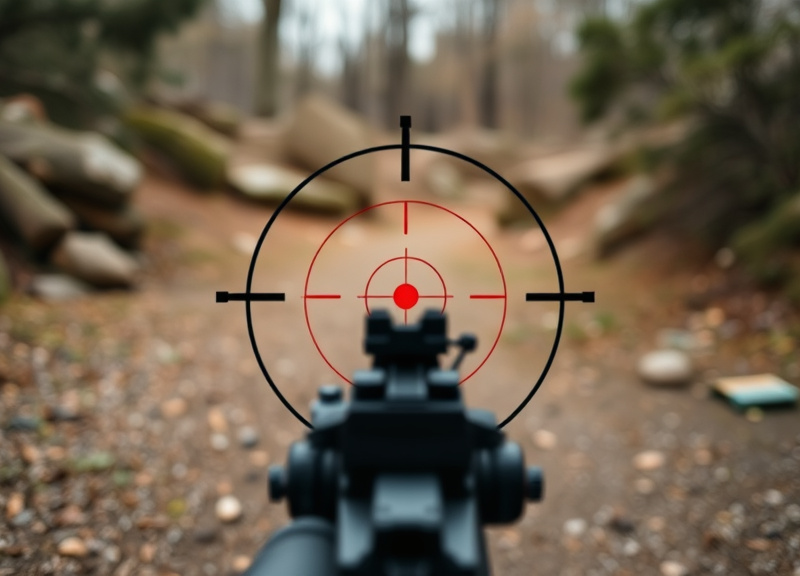
Many shooters opt for 10, 15, or 25 yards when zeroing indoors. Choose a distance that not only fits your available safe space but also matches your practical use, such as home defense or airsoft competitions. Mark your measured distance with painter’s tape or a string for repeatability.
Remember that shorter zero distances can result in a higher point of impact at longer ranges due to red dot sight trajectory. Be consistent with your chosen range to get the best calibration for your needs.
- 10 yards: compact rooms, pistol zero
- 15 yards: average garage distance
- 25 yards: long basement or backyard
Considerations for Home Ballistics and Calibration
Bullet drop is minimal at short distances, so aim for your group’s center. Wind and external factors are negligible indoors, allowing you to focus solely on alignment. Use the same ammo or airsoft BBs for calibration that you’ll use in regular practice or defense scenarios.
Consider firepower limitations—optics calibrated at 10 yards provide quick shots in close quarters but may require holdover at 50+ yards outside. Your set zero should reflect your most likely engagement distances.
Step-by-Step Process: How to Zero a Red Dot at Home
Initial Alignment Using the Boresight Method
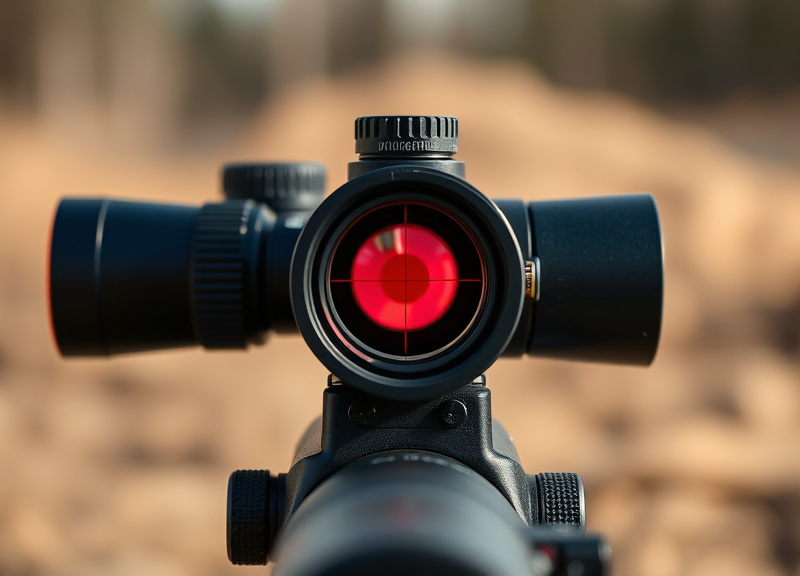
Secure your firearm on a stable rest and, if available, insert a bore laser. Adjust your red dot sight’s windage and elevation turrets until the red dot sits on top of the laser point at your chosen distance. If you don’t have a laser, visually align by looking down the bore (for rifles) and adjusting the dot to match endpoint.
For airsoft or non-removable chambers, simply center the sight on your target, then compare settings with a laser pointer for reference. This step sets a baseline for live-fire or dry-fire calibration.
- Stabilize firearm
- Insert bore laser (if available)
- Match red dot to laser or bore
- Record starting adjustments
For more on this, see our related guide: How to Calibrate a Red Dot Sight for Maximum Accuracy.
Fine-Tuning: Making Accurate Adjustments
Fire a careful group (live-fire, airsoft, or laser dry-fire) from your set distance, keeping your aim on the target’s center. Examine where the shots actually hit. Move the red dot sight’s windage (left/right) and elevation (up/down) turrets according to the impacts—adjust toward the error, not away from it.
Repeat the process, firing or dry-firing groups after each adjustment. When your point of impact matches the set aim point consistently, you’ve completed the red dot sight calibration. Save final settings for future reference.
- Fire or dry-fire small groups
- Adjust turrets as needed
- Re-check after adjustments
- Confirm consistent accuracy
Troubleshooting Common Zeroing Issues
Zero Drift and Red Dot Mounting Problems
If your red dot won’t hold zero, first check the mounting hardware—loose screws or improper torque can shift your point of impact. Always use the recommended torque settings from your optic’s manual, and consider adding a dab of blue Loctite for long-term stability.
If the sight continues to drift after confirming tight mounting, inspect for manufacturing defects or incompatible mounts, which may require technical support or replacement hardware.
Diagnosing Irregular Shot Groups
Scattered or inconsistent groups can often be traced to user error (like improper trigger pull), low-quality ammunition, or sight parallax. Practice dry-firing before each calibration session to build muscle memory and minimize aim errors.
For red dot sight calibration tips, always test with your preferred ammunition type. Inconsistent BBs or pellets in airsoft can also cause erratic results, so use match-grade supplies where possible.
- Dry-fire for trigger control
- Use match-grade ammo/BBs
- Check for parallax error
Maintaining Your Zero Between Range Sessions
Protecting Your Red Dot from Shifts
After zeroing your sight, ensure it’s kept safe from accidental bumps or drops that could change alignment. Always use optic covers during storage and carry and avoid unnecessary adjustment of windage/elevation turrets outside zeroing sessions.
If your firearm travels frequently, periodically verify zero at home to catch shifts early. Check mounting screws at least monthly to maintain reliability.
- Use optic covers
- Store securely
- Re-check zero routinely
For more on this, see our related guide: What is Red Dot Sight? A Complete Guide to Red Dot Optics for Shooters.
Red Dot Sight Calibration Tips for Long-Term Consistency
Log your zero data—write down adjustment values and ammo type or airsoft weight so you can easily reset your sight after maintenance. A quick laser boresight check before each use can catch minor drifts before they cause problems.
Red dot sight calibration tips include inspecting for fogging, wiping lenses clean, and replacing batteries regularly to prevent dimming, ensuring reliability when you need it most.
- Record adjustments
- Laser boresight checks
- Clean and maintain optics
Advanced Tips: Improving At-Home Zeroing Precision
Using Ballistics Apps and Calibration Tools
Modern smartphone apps can simulate trajectory and display holdover at various ranges based on your zero distance. Some offer AR overlays to guide zeroing visually. Combine these with digital calipers for measuring group sizes and fine-tuning your adjustments based on hard data, not guesswork.
Calibration tools like wheeled target stands or laser grids increase repeatability, making your red dot zero even more reliable session to session.
- Ballistics calculators
- Digital calipers
- AR zeroing guides
For a broader look at zeroing optics and their principles, check out this guide on the Basics of Sight-In Procedures. Basics of Sight-In Procedures.
Sighting in for Multiple Loads or Users
Share your firearm with family? Zero your red dot for each primary shooter and specific load, then log each configuration. Quick-detach mounts can enable swapping sights or returning to a previous zero effortlessly.
Label any accessory changes—adding a suppressor or flash hider can shift impact slightly. Adjust your zero and document it every time you make major modifications.
- Log each zero profile
- Quick-detach mounts for versatility
Zeroing Methods for Red Dot Sights: At-Home Options Compared
Here’s a quick comparison of common red dot zeroing methods you can perform at home, highlighting their accuracy, ease of use, and equipment needs.
| Method | Accuracy | Setup Difficulty | Cost | Best For |
|---|---|---|---|---|
| Boresight-Laser | High | Easy | Low-Moderate | First-time or quick zeroing |
| Iron Sight Co-Witness | Medium | Moderate | Free | Backup/secondary calibration |
| Live Fire (Airsoft/BB) | High | Easy | Low (ammo only) | Final precision zero |
| Dry Fire + Laser Target | Medium | Easy | Low | Skill-building and verification |
| Optical Boresighting | Medium | Moderate | Low | Traditional rifles, no batteries |
Frequently Asked Questions
Can I zero a red dot sight without firing live ammo?
Yes, you can zero a red dot sight using a laser boresighter or optical boresight, combined with careful dry-fire practice. This method is ideal for indoor use, airsoft, or beginners seeking basic alignment before live-fire confirmation.
How often should I verify zero after home calibration?
Check your red dot’s zero at least monthly or after any incident where the sight may have been bumped, dropped, or removed. Regular verification ensures your point of impact remains accurate for safety and effectiveness.
What’s the best distance to zero a red dot at in a home setting?
A zero distance of 10 or 15 yards is typically best for most home environments, matching available space and practical self-defense or target shooting scenarios. Choose what fits your actual indoor shooting space.
Does ammunition type affect zeroing results?
Absolutely. Each caliber and even varying brands or loads will have slightly different ballistics. Always zero your red dot sight using the specific ammunition (or airsoft BBs) you plan to use most often.
Why is my red dot shifting zero after storage?
Frequent zero shifts can be due to loose mounting hardware, optic impacts, or temperature fluctuations. Always tighten mounts to spec, store your firearm securely, and periodically verify zero for consistent accuracy.
Key Takeaways
- Zeroing at home is safe, convenient, and effective with the right setup.
- Select your zero distance based on home space and shooting needs.
- Follow step-by-step calibration for consistently accurate results.
- Smart maintenance keeps your red dot zeroed between range sessions.
Conclusion
Zeroing a red dot at home isn’t just about technical adjustments—it’s about building confidence in your equipment and your own shooting skills. By applying methodical, step-by-step processes, prioritizing safety, and using reliable tools and techniques, you can achieve match-ready precision without ever stepping foot outside. The ability to calibrate, maintain, and verify your optic in a comfortable space transforms home practice sessions into valuable opportunities for growth as a shooter.
For most users, starting with the boresight-laser method or live-fire airsoft zeroing is ideal, especially in small rooms or garages. If you need rapid calibration or plan to share equipment, quick-detach mounts and keeping logs for multiple loads or users will save time and improve consistency. For those leading toward competition or advanced training, combine ballistics calculator apps, target measurement tools, and routine maintenance habits for best results. Specifically, beginners should focus on safety and initial laser alignment, while experienced shooters may invest in advanced calibration aids for the finest results.
Whichever approach you choose, regularly check your zero, maintain your sight’s mounting, and record your adjustments after every session. If you’re new to zeroing or want a refresher on zeroing concepts and safety protocols, additional reading and reference guides can make a difference. Take ownership of your gear and your training—even a few minutes of focused zeroing at home can mean tighter groups and greater confidence wherever you shoot.