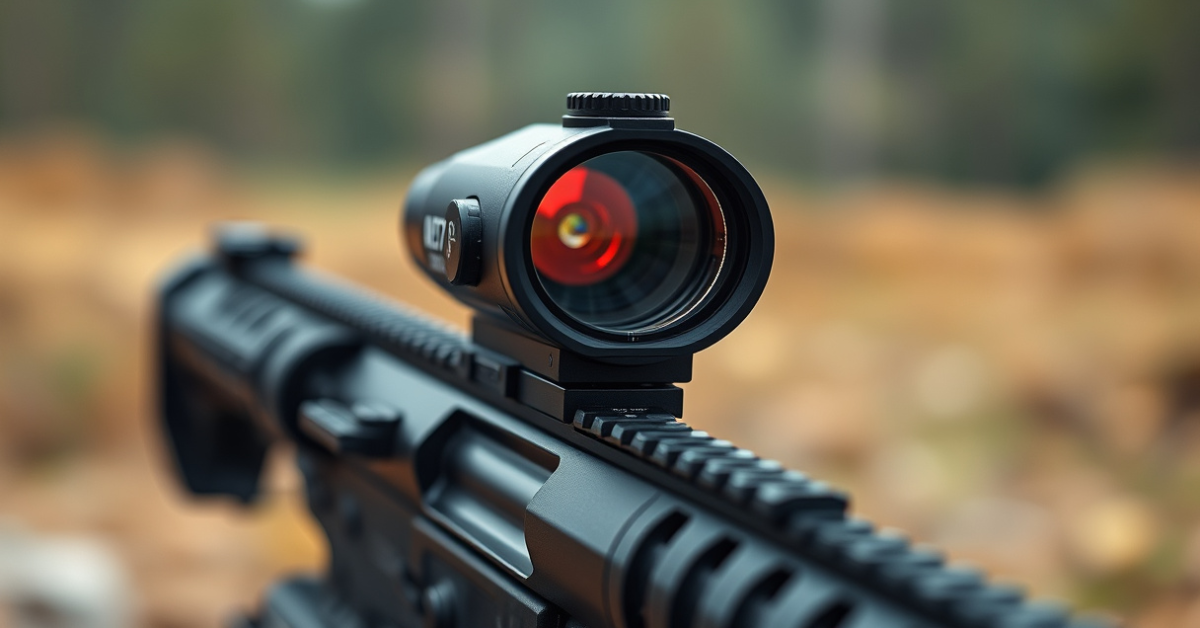
How to Adjust Red Dot Sight for Maximum Accuracy and Ease
Dialing in your red dot sight correctly can be the difference between hitting your target or missing entirely. To adjust a red dot sight, first secure your firearm, set your preferred shooting distance, and use the windage and elevation turrets to align your sight’s dot where your rounds actually impact. Fire a small group, note where the shots hit in relation to the dot, and make incremental adjustments until the point of aim matches the point of impact.
Proper adjustment of your red dot sight matters for every shooter—from competition shooters aiming for tight groups to hunters needing reliable precision in the field. Even a sight that's only a little off can throw your shots wide, especially at longer distances. Understanding and using the mechanical controls lets you feel confident every time you squeeze the trigger.
This article will walk you through every step of how to adjust red dot sight systems, cover the best practices for zeroing, discuss different models and mounting styles, explain how to troubleshoot common problems like parallax or inconsistent grouping, and lay out a comparative guide to major sight categories. You'll also find a handy FAQ section and clear recommendations to help you achieve the crispest, most reliable zero.
Understanding Red Dot Sight Mechanics
Core Components and How They Work
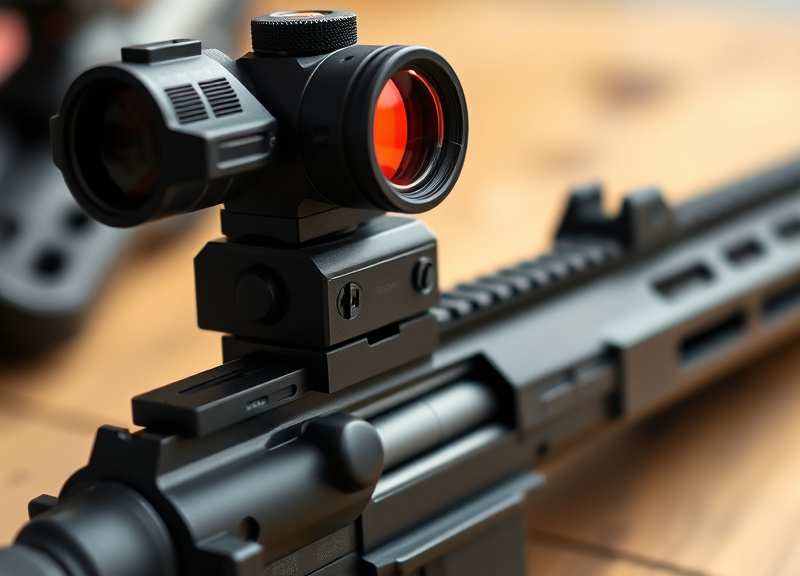
Red dot sights are non-magnifying optics that use a simple red (or green) LED projected onto a lens, providing an illuminated aiming point. The primary components include the lens, emitter, windage and elevation turrets, and, in some designs, brightness controls. Unlike iron sights, they let users quickly acquire targets while keeping both eyes open.
When you peer through the lens, the LED forms a dot that appears superimposed over your target, theoretically aligned with the bore when properly adjusted. The turrets allow incremental adjustments to shift the dot horizontally (windage) and vertically (elevation), translating to real point-of-impact changes downrange.
- Lens with anti-reflective coating
- LED emitter for the dot
- Windage and elevation adjustment turrets
- Brightness control dial or buttons
Types of Red Dot Sights: Tube vs. Open Reflex
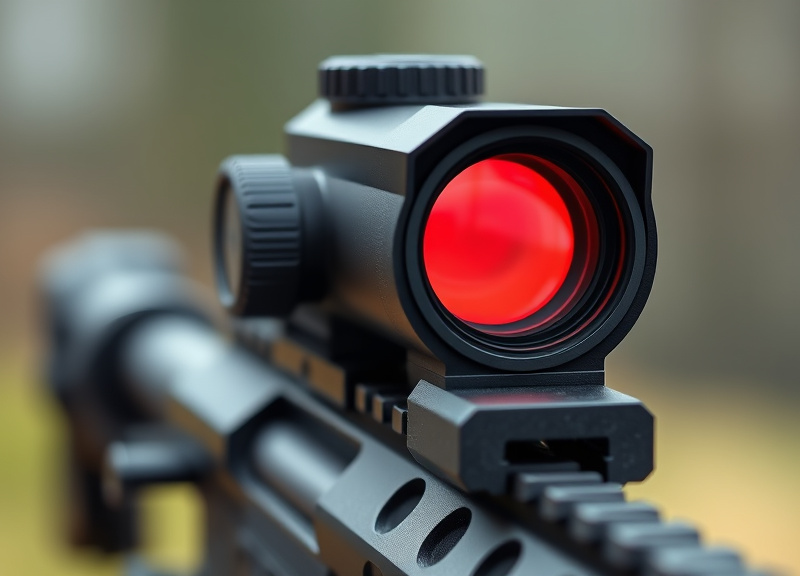
Tube-style sights resemble miniature scopes, offering greater protection to the internal lens and emitter—particularly useful under outdoor conditions. Open reflex sights, however, offer a wider, unobstructed field of view and lighter overall weight, favored for rapid target transitions or compact firearms.
Choosing between these two styles largely depends on your typical environment and whether sight robustness or minimalism is a higher priority. Both styles require similar adjustment procedures, but ergonomics and mounting vary slightly.
How to Adjust Red Dot Sight: Windage and Elevation
Initial Setup and Mounting
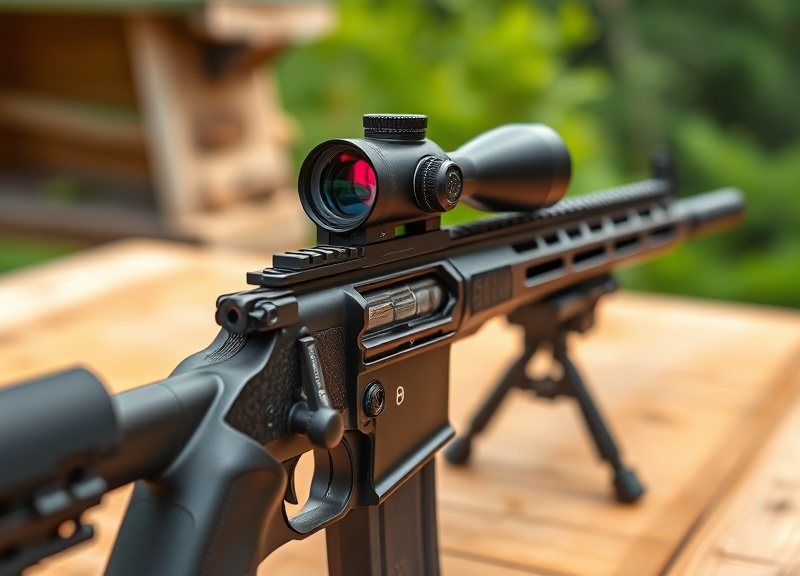
Mount your red dot sight securely using the recommended base or riser for your firearm platform. Confirm all hardware is tightened to manufacturer specifications to prevent movement during recoil, as even slight shifts can undermine accuracy.
Cowitnessing with backup iron sights—aligning both sighting systems—can save time dialing in, acting as a quick visual reference. After mounting, start with a rough alignment by manually positioning the dot atop the front sight or directly above the bore.
- Secure optic to the rail or mount
- Tighten all screws evenly
- Check for optic movement after installation
Zeroing Using Windage and Elevation Turrets
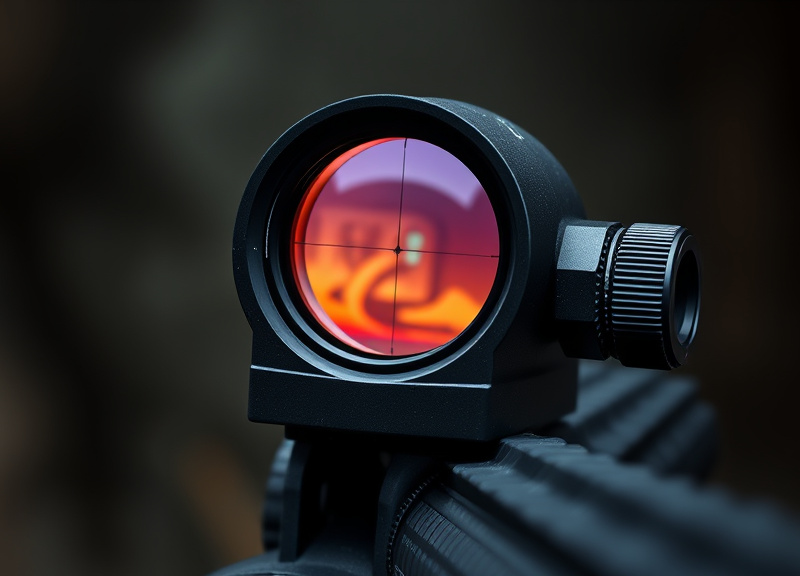
Begin at a close distance (typically 15–25 yards) for safety and easier initial shots-on-paper. With a supported rest, fire a small group, and observe the point of impact relative to your red dot. Adjust windage (left/right) and elevation (up/down) using the labeled turrets, clicking in the direction you want shots to move.
Continue the process, firing groups and making fine adjustments, until your rounds consistently strike at the point you aim. Once dialed in at short range, repeat the red dot sight zeroing steps at your desired final distance—often 50 or 100 yards for rifles, or 25 yards for handguns.
- Adjust windage for left/right shift
- Adjust elevation for up/down shift
- Repeat until point of impact matches the dot
Parallax and Brightness: Fine-Tuning Your Red Dot
Dealing with Parallax Errors
Although quality red dot sights are designed to be 'parallax free,' most are only parallax-minimized at a certain distance (usually 50 yards). Parallax error occurs if the dot shifts position slightly when you move your head, potentially causing off-center impacts at close or extended ranges.
To minimize parallax, ensure your eye is centered behind the sight and practice a stable cheek weld when firing. Test your setup by shifting your head slightly and confirming the dot remains on the target—a sign of optimal setup.
Adjusting Dot Brightness for Different Conditions
Proper dot brightness enhances clarity and sight picture. Too dim, and it’s hard to see, especially in bright sunlight. Too bright, and the dot can "starburst" or obscure your target, reducing precision. Experiment with different settings at varying times of day and light conditions.
Most red dot sights feature multi-level brightness settings. Dial in just enough illumination for clear contrast against your target without excessive flare—each environment and user's eyesight may require subtle tweaks.
- Set brightness to lowest visible setting indoors
- Increase brightness in daylight
- Check reticle clarity for each condition
Red Dot Sight Zeroing Steps for Optimal Grouping
Choosing Distance and Ammunition
Select a zeroing distance that aligns with your primary shooting scenario—home defense, competition, or hunting. For most AR-15s and carbines, a 50/200-yard zero is popular, supporting point-blank range accuracy out to about 200 yards. Handguns usually benefit from a 15–25 yard zero.
Consistency matters: use the same ammunition you plan to shoot regularly, as differing bullet weights or loads will change point of impact. Keep detailed notes of your zeroing session, especially if you switch ammo types.
- Pick a practical zeroing distance
- Use your "duty load" ammo
- Document group size and adjustment clicks
Best Practices for Tight Groups
Use a stable shooting rest or bench to eliminate human error while zeroing. Shoot three- or five-shot groups, rather than single shots, to confirm consistent performance. Make adjustments methodically—don’t chase every individual outlier in your shot pattern.
Let your barrel cool between groups for best accuracy, especially with sport or hunting rifles. Always re-check zero if your sight takes a major bump or after significant temperature swings.
- Stabilize firearm with sandbags or rest
- Fire in groups to gauge consistency
- Allow barrel cooling between strings
Troubleshooting and Maintenance for Red Dot Sights
Resolving Inconsistent Zero Issues
If your point of impact keeps shifting, first confirm the sight and mount are tightly secured—loose hardware is a leading cause of wandering zeros. Check for stripped screws or unevenly tightened rings, and apply threadlocker where appropriate.
Other culprits include battery issues (for electronic sights), an inferior or worn-out optic, or a defective mounting interface. Carefully inspect all parts and, if needed, swap components one at a time to isolate the cause.
- Verify torque on all mount screws
- Replace weak batteries
- Inspect for optic or rail damage
Routine Cleaning and Storage
Regularly wipe lenses using a soft cloth to remove dust, fingerprints, and oil—never use abrasive cleaners or paper towels, as these can scratch lens coatings. Clean around the emitter and turrets with a soft brush as needed.
When storing your firearm, cover the sight or keep it in a case to prevent moisture and impact-related damage. Remove the battery if storing for long periods to avoid leaks and corrosion.
- Use microfiber cloth for lenses
- Cover sight during storage
- Remove battery for extended non-use
Advanced Tips: Adjusting for Different Firearms & Use Cases
Red Dot Sights for Pistols vs. Rifles
Mounting red dot sights on pistols typically uses a lower-profile interface, requiring careful eye relief planning. Zero distances differ—15–25 yards is standard for pistols, while rifles may use 50 or 100 yards depending on their primary use.
Pistol optics demand particular attention to robust mounting because of slide reciprocation. Use purpose-built mounting plates or slide cuts rated for the optic's footprint to minimize shifting during repeated fire.
- Shorter zero distance for handguns
- Use appropriate mounting plates
- Check mounting after every cleaning
If you want to explore even more technical details, this overview of red dot sight basics explained covers their history, types, and construction. red dot sight basics explained.
Adapting Red Dot Zero for Variable Loads and Users
If you share your firearm or use multiple ammunition loads, consider re-confirming the red dot sight zeroing steps with each significant change. Some shooters keep a log with click values for different ammo brands or barrel lengths.
For home defense, prioritize a close-range zero and maximum ease of use. For sport or hunting, optimize for longer range or specific game. Always annotate your settings to return to optimal zero quickly after changes.
- Keep a zeroing logbook
- Zero for your most likely shooting scenario
- Re-check after major changes in gear or ammo
Red Dot Sight Adjustment: Model and Use Case Comparison
Here’s a quick comparison of common red dot sight models and typical use cases, helping you identify which is best suited to your needs.
| Category | Typical Zero Range | Adjustment Mechanism | Best For | Ease of Use |
|---|---|---|---|---|
| Tube-style Reflex | 50–100 yards | Capped turrets | AR-15s, carbines | Moderate |
| Open Reflex (Mini) | 15–25 yards | Exposed clicks | Handguns, PCC | Easy |
| Magnified Prism | 100 yards | Tool-needed turrets | Precision carbine | Moderate |
| Micro Red Dot | 25–50 yards | Micro screws | Shotguns, compact rifles | Easy |
| Holographic | 50 yards | Digital buttons | Tactical rifles | Easy |
Frequently Asked Questions
How often should I re-check zero on my red dot sight?
You should re-check zero after heavy use, cleaning, any significant drop or impact, or whenever you change ammunition type. For best reliability, verify before competitions, hunts, or defensive shifts.
Can I use red dot sights at night or in low light?
Yes, most red dot sights feature adjustable brightness, allowing use in low light or nighttime scenarios. Set brightness just high enough for visibility without excessive glare, and pair with a weapon light if practical.
Do all red dot sights have the same adjustment increments?
No, adjustment increments differ by model and brand. Some clicks move the point of impact 0.5 MOA, others 1 MOA or more. Refer to your optic’s specifications for exact increments to ensure precise adjustments.
Why does my red dot not hold zero?
A red dot sight that won't hold zero is often caused by loose mounts or hardware, worn components, or impact damage. Check and secure all mounting points, swap batteries, and inspect for optic or firearm issues systematically.
Is co-witnessing with iron sights necessary?
Co-witnessing isn't mandatory but can be helpful as a backup or quick reference during initial zeroing. Many shooters prefer absolute or lower-third co-witness for faster transition if the optic fails or batteries die.
Key Takeaways
- Proper zeroing and adjustment ensure red dot sight accuracy.
- Use stable mounting and note settings for your preferred ammo.
- Routine maintenance and secure mounting prevent most sight issues.
- Match your adjustment approach to firearm type and use case.
Conclusion
Ultimately, learning how to adjust red dot sight systems empowers you to extract the very best from both your optic and firearm. Start with proper, stable mounting; confirm your zero using controlled groups; and note every adjustment you make. Consistency—as with much in shooting—yields confidence, and with every successful trip to the range, you’ll better understand how a few precise clicks can mean the difference between a miss and a bullseye. Whether you shoot for sport, hunt, or personal defense, accuracy hinges on recurring attention to both mechanical and practical fundamentals.
For first-time sight users, open reflex sights pair easily with pistols for effortless aiming—just remember to zero at realistic self-defense distances. Tube-style red dots suit tactical or sporting rifles, blending durability with broader adjustment ranges. If your needs are specialized, like precision carbine work or multi-user setups, consider keeping a zeroing journal to track red dot sight zeroing steps for every load and barrel. Regardless of platform, re-check your zero whenever your setup changes or after hard use. The key is pairing the right sighting system with your anticipated usage scenario.
As you continue to refine your skills and equipment, prioritize periodic practice and sight inspection as regular maintenance, not a one-time event. If you’re troubleshooting recurring problems, systematically check your hardware and don’t hesitate to consult your sight’s manual or a trusted gunsmith. Ready to shoot more confidently? Grab your gear, hit the range, and put these principles into practice—you’ll be rewarded with better accuracy and more satisfying results every time.

3 Comments