How to Adjust Rifle Scope Zero for Precise Shots: A Complete Step-by-Step Guide
Begin by firing a shot group at a set distance to see where the bullets land. Then, turn the elevation and windage knobs on your rifle scope to shift the impact point toward the target’s center. Use the scope’s click increments, commonly 0.1 mil or 1/4 MOA, to make accurate changes, moving the reticle in the opposite direction of the shots. This method ensures your scope’s reticle matches where the rifle actually shoots for accurate aiming.
This information is for rifle owners and shooters who want consistent accuracy and confidence on the range or in the field. You’ll learn how to choose the right zero distance, understand elevation and windage adjustments, bore sight effectively, and maintain your zero for various rifles and loads.
Key Takeaways
- Zero your rifle at a stable rest and shoot a 3-5 shot group to assess initial impact.
- Use the scope turret click values, 0.1 mil or 1/4 MOA, to calculate exact adjustments needed per 100 yards.
- Adjust elevation first, then windage; typically turn turrets opposite the bullet impact direction to center your group.
- For example, 0.3 mil windage correction equals about 1.08 inches of movement at 100 yards.
- Bore sight your rifle before live fire to save time and get on paper quickly with a new or remounted scope.
- Choose your zero distance based on rifle caliber, intended use, and typical shooting ranges.
How to Adjust a Rifle Scope Zero Correctly
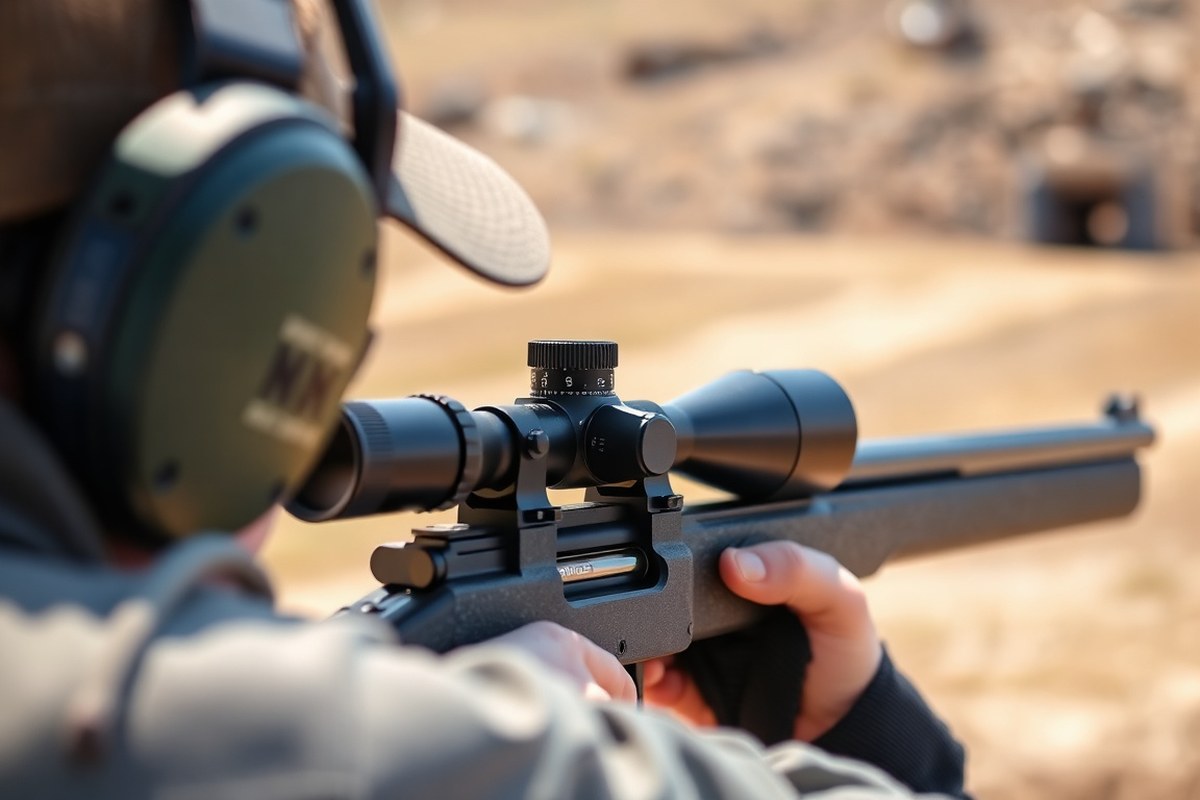
Adjusting a rifle scope to zero means making sure the bullet hits exactly where your crosshairs point at a specific distance, like 100 yards. This process lets you trust your shots to be accurate and repeatable, important for hunting, target shooting, or competition. You start by setting up your rifle and target, shoot a small group of shots, measure how far your bullets land from the target center, then adjust the scope’s turrets for elevation and windage accordingly. With careful measuring and adjustment, your scope zero will match your rifle’s ballistics and shooting conditions. Here’s a step-by-step process to zero your rifle scope correctly:
- Set up your shooting position and target at a known distance. Use a stable rest for your rifle to reduce movement. A 100-yard range is typical in the US for zeroing most hunting or tactical rifles. Make sure your target has a clear center point for aiming.
- Bore sight your rifle scope. Before live firing, use a bore sighting tool or visually align your bore with the target to get your scope roughly on target. This saves ammo and time by ensuring your first shots hit paper.
- Fire an initial group of 3 to 5 shots aiming at the target center. Keep your rifle steady and maintain consistent shooting form. This group represents your average point of impact (POI).
- Measure the group’s center relative to the target’s bullseye. Use a ruler or caliper to find horizontal (windage) and vertical (elevation) offsets, usually measured in inches at 100 yards. For example, a group hitting 1 inch right and 0.5 inch low needs windage turned left and elevation turned up.
- Adjust the scope turrets according to your measurements. Most scopes adjust in increments like 0.1 mil (0.36 inches at 100 yards) per click or ¼ MOA (minute of angle, about 0.26 inches at 100 yards). Turn the windage turret the opposite direction of the horizontal error and the elevation turret opposite the vertical error.
- Fire another group to verify the adjustments. Repeat the measuring and adjusting cycle until your group is centered on the bullseye within your accuracy tolerance.
- Reset or zero your turret dials if possible. Many scopes have resettable turrets. After final adjustments, loosen the dial, rotate it so “0” aligns with the index mark, then tighten, this preserves your zero reference for later.
- Record your rifle, ammo, environment, and zero settings. Keeping a shooter’s log helps maintain your zero and troubleshoot any future accuracy issues.
Knowing when your scope is zeroed means your shots consistently hit where the crosshairs point at your chosen zero distance, usually shown by tight, centered groups on the target. Common mistakes include improper bore sighting causing a long adjustment process, adjusting in the wrong direction, or not shooting groups (shooting single shots makes measuring POI less reliable). Use calm weather to avoid wind drift errors, and ensure your scope mounts are secure to prevent losing zero after adjustments.
Choosing the Right Distance to Zero Your Rifle Scope
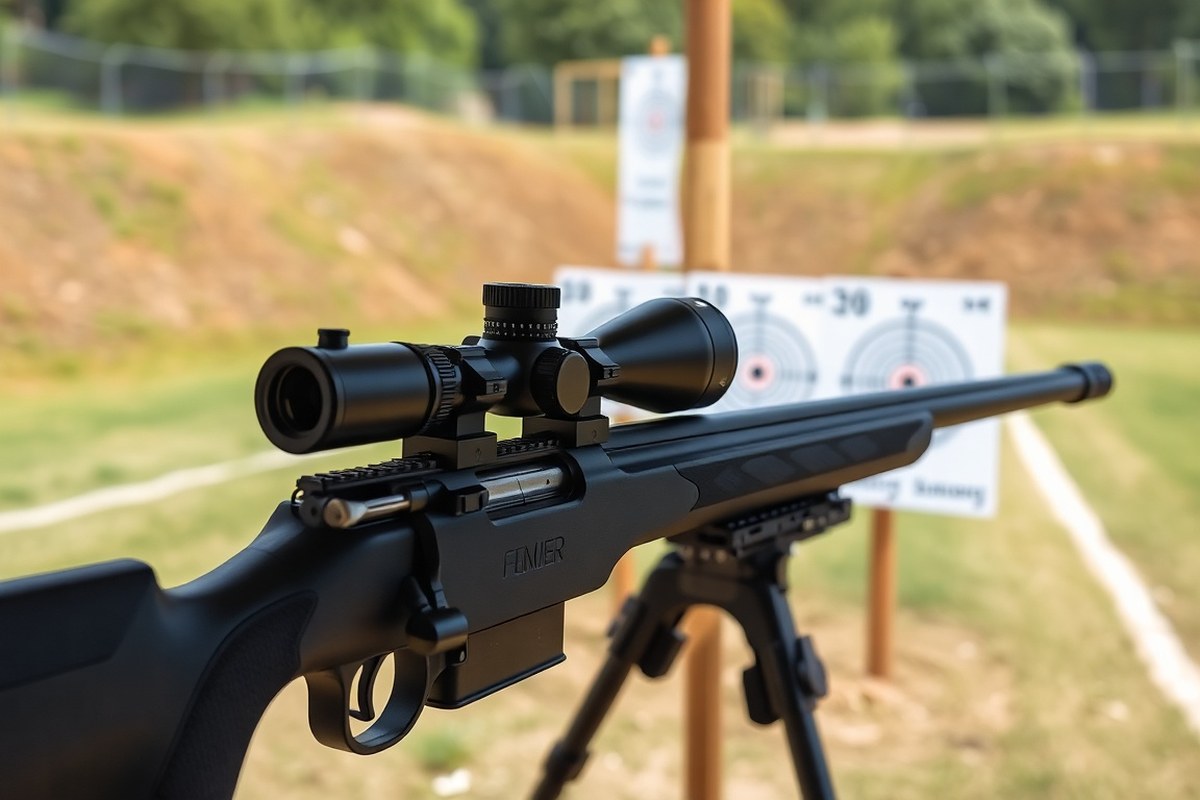
Choosing the right distance to zero your rifle scope depends mainly on your rifle type, cartridge, and typical shooting scenarios. For most centerfire rifles used in hunting or target shooting, zeroing at 100 yards is standard. This distance balances trajectory and practical accuracy since many varmints and game are engaged around this range. Shooting consistently beyond or under 100 yards calls for setting a zero distance that matches your typical range.
For smaller calibers like a .22 rimfire, zeroing at shorter distances such as 25 or 50 yards is common. This matches the shorter effective range of these rifles and makes it easier to spot bullet impacts through the optic. However, starting with a 25-yard zero then confirming and adjusting at 100 yards can save time and ammunition while setting an initial sight picture.
Zeroing at 25 yards and 100 yards will not produce the same point of impact on the target due to bullet drop and the scope’s adjustment increments. For example, at 100 yards, each click on most scopes moves the point of impact about ¼ inch. At 25 yards, one click shifts impact roughly 1/16 inch. Because of this, a close-range zero won’t perfectly replicate where the shot lands at longer distances without further adjustments.
Consider your typical shooting distance as the deciding factor. Hunting in wooded areas or shooting mostly within 100 yards means you should zero your rifle at 100 yards. For open terrain or long-range hunting, use manufacturer ballistic data to pick a zero distance that matches your cartridge’s trajectory and expected shot range. Tactical or precision shooters might zero at 200 yards or beyond, relying on ballistic charts for hold-over or dial adjustments at closer ranges.
Use a stable rest like sandbags to minimize movement while zeroing; this helps ensure your adjustments are precise and repeatable.
To choose your zero, place a target at the intended distance, then shoot three rounds from a rested position. Adjust your windage and elevation dials according to where your shots land relative to the bullseye, using the scope’s click values. For example, if your bullet hits 2 inches right at 100 yards, and your scope adjusts ¼ MOA per click, turn the windage knob 8 clicks left. Remember, the direction of adjustments depends on the design of your scope knobs, so consult your manual.
Zeroing at a longer distance means each click shifts the point of impact more significantly than at a closer range. This requires more precise initial alignment but reduces the need for holdover on typical shots. Shorter-range zeros offer faster sight-in times but may need adjustment or holdover as distance increases. Your choice affects how you compensate for bullet trajectory when shooting beyond the zero distance, so weigh your shooting needs carefully.
How Elevation and Windage Affect Point of Impact
Elevation and windage turrets on your rifle scope let you adjust the bullet’s point of impact vertically and horizontally. Turning the elevation turret moves the impact up or down, while the windage turret moves it left or right. Each click on these turrets shifts your point of impact by a small, precise amount based on your scope’s calibration.
What Elevation Adjustments Do
The elevation turret, usually located on the top of your scope, changes the vertical placement of your bullet impact. Adjusting it moves the reticle and effectively moves your bullet’s landing spot either higher or lower on the target.
Suppose your shots land 1.5 inches below the target at 100 yards and your scope uses 1/4 MOA clicks. Adjust the elevation turret upward by six clicks. Each click changes the bullet’s impact point by about 0.26 inch at this range, so six clicks will move the impact nearly 1.56 inches higher to align with your aim.
Understanding Windage Adjustments
The windage turret is typically found on the right side of your scope. It controls the left-to-right movement of your bullet’s impact. Like the elevation turret, each click moves the point of impact a fixed distance depending on your scope’s calibration.
Your shot group is two inches to the right of the target center at 100 yards using 1/4 MOA clicks. Rotate the windage turret eight clicks to the left to shift the bullet impact about two inches left. This corrects your aim to align the bullet path precisely with your point of aim.
Click Values: MOA vs MRAD Systems
Scopes use two common measurement systems for their clicks: Minute of Angle (MOA) and milliradians (MRAD). Knowing which system your scope uses helps you calculate how many clicks to dial for a specific adjustment. The table below compares typical click sizes and their corresponding impact movement at 100 yards for each system:
| System | Click Value | Distance Shift per Click at 100 Yards |
|---|---|---|
| MOA | 1/4 MOA (0.25 MOA) | 0.26 inch |
| MOA | 1/2 MOA | 0.52 inch |
| MRAD | 0.1 MRAD | 0.36 inch |
| MRAD | 0.2 MRAD | 0.72 inch |
Keep in mind these numbers scale linearly with distance. For example, a 1/4 MOA click moves impact about 0.52 inch at 200 yards and just over one inch at 400 yards. Knowing your click value ensures precise adjustments during zeroing.
Bore Sighting: How to Save Time Before Live Fire
Bore sighting is a method to roughly align your rifle scope with the barrel before firing any live rounds. It saves time and ammunition by starting your zeroing process close to the target. Bore sighting should not replace live fire but prepares you so fewer rounds are needed on the range.
Tools Needed for Bore Sighting
Before you start, gather a few simple tools. A rifle rest or sandbags will stabilize your rifle. You’ll need a target set at a short distance, usually around 25 yards, to see your initial alignment. A high-power spotting scope (20x, 40x) helps you clearly see the target and the crosshairs for precise adjustments. Consider a visual bore sighter or a laser bore sighter if available; these speed up the process but are not necessary. Basic gear checklist:
- Rifle with mounted scope
- Stable rifle rest or sandbags
- Target at 25 yards or less
- High-power spotting scope (optional but recommended)
- Laser bore sighter (optional)
Aligning the Scope with the Rifle Bore
Bore sighting involves looking directly through the barrel and adjusting the scope until both point at the same spot. This step reduces the scope’s mechanical adjustment needed later when firing live rounds. Follow these steps for visual bore sighting:
- Place your rifle securely on a rest or sandbags to reduce movement.
- Remove the bolt if possible or open the action to see straight through the barrel towards your target.
- Set a target 25 yards away, ideally with a clear, defined aiming point.
- Look through the bore to center the target in the barrel’s view.
- Without moving the rifle, look through the scope and see where the crosshairs are resting relative to the target.
- Adjust the windage and elevation turrets on your scope to bring the crosshairs to the same point you see through the bore.
- Repeat this process until the scope’s crosshairs align closely with the bore’s view of the target.
Using a laser bore sighter simplifies this by projecting a laser beam from the chamber or muzzle, showing you the approximate point of impact through the scope. Adjust your reticle to that laser dot instead of looking through the barrel.
Limitations and When to Fire Live Rounds
Bore sighting only provides an initial rough alignment. The barrel and scope may shift slightly when the rifle is fired due to recoil, barrel harmonics, or mounting variances. Factors like bullet drop, wind, and ammunition type impact the final zero.
After bore sighting, fire small groups at the range to fine-tune your zero based on actual bullet impact. Many shooters zero at 50 yards first because it is easier to see the group and make precise adjustments. Once zeroed at 50 yards, extending to 200 yards or more allows better understanding of bullet trajectory for applications like hunting or tactical shooting.
Skipping bore sighting can cause you to waste ammo and time with big initial adjustments on the range. A proper bore sight gets you on paper quickly, often requiring fewer than three live rounds to achieve a reliable zero. Accuracy, confidence in your scope, and efficiency at the range improve when bore sighting is part of your routine.
How Many Shots to Take and Reading Your Group
The ideal number of shots per group when zeroing your rifle scope is between three and five. Firing this many shots at the center of your target gives you a reliable average point of impact without wearing out your barrel or wasting too much ammunition. Three to five shots balance accuracy and efficiency during the zeroing process. For ultimate precision, shooting 30 rounds is better, and 50 rounds provides the most accurate representation of your rifle’s true zero, but this is more time-consuming and costly.
To read your group, measure the distance between the two furthest bullet holes on the target. Use calipers or a ruler to determine the group size, typically expressed in inches. Then, find the group’s center, which is the midpoint between those two furthest holes, and note its position relative to the target’s bullseye. Your adjustments should move the reticle to bring this group center onto your point of aim. Tracking both group size and center helps differentiate between random scatter and consistent rifle performance.
Shot groups can vary due to factors like barrel heating, environmental conditions, or shooter consistency. Your groups may become inconsistent, with varying size or position from shot to shot, if you shoot too fast. Try slowing down and sticking to a steady shooting routine to prevent barrel heating and improve consistency. Remember, the very first shot from a cold barrel often impacts differently, so record it separately if you want a detailed picture of your rifle’s behavior.
- Shoot 3 to 5 shots per group at the center of the target.
- Measure group size as the distance between the farthest bullet holes.
- Find the group center by locating the midpoint between the two most distant shots.
- Adjust your scope based on how far the group center is from the bullseye.
- Fire slowly and deliberately to avoid barrel heating and inconsistent shot placement.
- Consider shooting a cold bore shot separately from your groups.
- Increase shot count to 20-30 for a truer zero if time and ammo allow.
Taking your time with each shot helps keep your impacts consistent, which is key to getting an accurate zero on your rifle scope. Rushing often leads to scattered hits and difficulty in dialing in your sight.
To confirm your zero after adjustments, fire another three-shot group and verify that the group center aligns with your point of aim. Using tools or apps that calculate mean radius or group size can help you understand your shot pattern better, especially when deciding whether to make further adjustments. Keep in mind that smaller groups indicate tighter rifle accuracy, while the group center’s offset shows how much your scope needs tweaking.
Common Problems When Zeroing and How to Fix Them
When adjustments on your rifle scope don’t move the point of impact as expected, the first step is to check that the scope is firmly mounted. Loose mounts or improperly torqued rings can cause the scope to shift or fail to track correctly. Make sure you tighten the mounts to the manufacturer’s recommended torque. Also, confirm that the adjustment knobs turn smoothly and actually move the internal reticle. A tracking test can help: record the initial position, click the elevation or windage turret a set number of clicks, then see if the point of impact moves as predicted. Your scope or mount might be damaged or defective.
Running out of elevation adjustment is common, particularly when zeroing at long distances. Most modern scopes have a limited range of internal travel to move the reticle. For example, a scope might offer around 60 to 100 minutes of angle (MOA) total elevation travel. Starting zeroing at a close distance and then switching to a very long-range zero could cause the adjustment knob to reach its limit before you dial in the needed correction. One way to fix this is to use a base with built-in elevation, often called a canted or angled base, which adds mechanical elevation before your scope adjustments start. This hardware change costs between $30 and $100 and is common for precision rifle shooters needing extended elevation range. Do not rely on extreme windage adjustments to compensate for elevation limits, since windage and elevation turrets control different planes.
Inconsistent or wandering shot groups that fail to tighten at a given zero distance can stem from several factors. Environmental conditions such as wind or temperature changes dramatically affect bullet trajectory and point of impact. Make sure you zero on calm days and control variables like shooter position and rest. Also, verify ammunition consistency and barrel cleanliness, as irregular bullets or fouling can cause erratic impacts. Another common cause is parallax error: if your scope’s parallax setting doesn’t match the target distance, the reticle seems to move relative to the target as you shift your eye position, leading to errors. Adjust the parallax knob to the range you are zeroing at. Lastly, check that your scope rings and base are properly aligned; a tilted or crooked setup can cause inconsistent strikes.
This step-by-step troubleshooting checklist helps fix zeroing issues: first, confirm the scope mount and rings are tight and aligned; second, verify the adjustment knobs are operational through a tracking test; third, consider using a scope base that provides elevation if you run out of turret travel; fourth, ensure environmental and ammunition factors are stable; and fifth, adjust parallax to the proper range. Good results look like consistent shot groups that move precisely with turret clicks. When your point of impact doesn’t shift after several clicks, or shot groups stay erratic despite steady conditions, a mechanical problem might need professional inspection or replacement.
How to Maintain Your Zero and Protect Scope Settings
Maintaining your rifle scope zero after adjustment ensures consistent accuracy and reliability. Proper turret resetting, using protective gear, and routine cleaning are key to preventing scope settings from shifting during handling or in the field.
Resetting Turrets to Zero
Resetting your turrets after zeroing aligns the scope’s adjustments with your confirmed zero point. This lets you track future changes relative to the established zero without guesswork. Follow this step-by-step process to reset your turrets accurately:
- Secure your rifle firmly in a vice or stable rest to prevent movement while adjusting turrets.
- Remove the turret caps carefully using the appropriate tool, keeping them safe for reinstallation.
- Locate the turret’s zero stop or mechanical detent system, this feature limits turret rotation to protect zero settings.
- Use the scope’s provided tool or manufacturer guidelines to rotate the turret dial until the zero mark aligns with the indicator line on the scope body.
- Reinstall the turret caps snugly to protect internal mechanisms.
- Confirm your zero at the range by firing a group and checking that the point of impact matches your zero setting.
- If necessary, repeat the process to fine-tune the zero alignment before relying on your turret markings in the field.
This method requires patience and care because improper resetting can lead to inconsistent adjustment readings or damage to the turret’s internal mechanism. Resetting turrets usually takes 10 to 15 minutes once familiar.
Using Scope Caps and Protectors
Scope caps and turret protectors guard your settings against physical bumps and environmental exposure. Using these accessories minimizes accidental turret turns during transport or handling. Consider the following gear recommendations to protect your scope zero:
- Threaded turret caps: Screw tightly onto the turret, preventing unintended rotation and providing dust and moisture resistance.
- Scope covers with turret protection: Neoprene or silicone covers that encase the entire scope and turrets, offering shock absorption and weatherproofing.
- Turret locking mechanisms: On some scopes, these can be engaged after zeroing to physically block turret movement.
- Hard rifle cases with padding: Using a case designed to immobilize your rifle reduces jarring during transit, preserving scope alignment.
Skipping protective gear can lead to shifted or damaged settings, requiring re-zeroing. Good covers typically range from $15 to $50 depending on material and features.
Post-Session Cleaning and Inspection
Cleaning your scope and inspecting it immediately after shooting sessions help maintain zero and extend the scope’s service life. Here’s how to care for your scope post-range:
- Gently wipe lenses with a microfiber cloth or lens cleaning pad. Avoid harsh chemicals; use a lens-specific cleaner if needed.
- Check turrets and adjustment knobs for dirt, moisture, or dirt accumulation, cleaning with a dry brush or compressed air.
- Inspect scope mounts and rings for tightness to ensure no loosening has occurred during shooting.
- Look for any physical damage such as dents or cracks in the scope body that could affect performance.
- Store the rifle in a dry, temperature-stable environment to prevent corrosion or damage to internal scope components.
Proper maintenance after each use protects your zero and keeps your scope operating smoothly. Neglecting this can lead to fogging, corrosion, and compromised accuracy.
Adjusting Zero for Different Rifles, Loads, and Distances
Zeroing different rifles and loads requires adjusting your approach to match each platform’s ballistics and typical shooting distances. Rimfire rifles like the popular .22 LR work well with shorter zero distances, often 25 to 50 yards, because the bullet’s trajectory rises more sharply after leaving the barrel. This shorter zero lets you keep effective accuracy at typical small-game or pest control ranges while minimizing elevation corrections at close targets. Centerfire rifles, especially those chambered for hunting or tactical use, usually benefit from a 100-yard zero. That distance aligns well with most bullet trajectories, allowing simpler windage and elevation adjustments at longer ranges and making ballistic calculations cleaner for scopes with MOA or MIL reticles.
Pellet rifles and air guns behave differently from firearms burning powder cartridges. Their projectiles are much slower, so the trajectory drop is more pronounced and begins sooner. Zeroing at shorter ranges such as 10 or 25 yards and confirming at 50 yards is common. Those distances reflect typical shooting conditions for target practice or hunting with air guns. Unlike rimfire or centerfire firearms, air rifles rarely reach out beyond 50 yards with precision, so dialing in for those distances won’t add practical benefit. Adjust elevation based on the pellets’ unique drop rather than assuming firearm ballistics.
The type of ammunition plays a role in your zero distance choice as well. Lighter, slower loads will drop faster, making a closer zero more suitable to keep holdover manageable. Heavier or faster rounds extend usable range and often pair well with a 100-yard zero, providing a flatter trajectory that reduces elevation adjustments for mid-range shots. Higher-powered big-game or magnum calibers shooting at long distances may require 200-yard zeros or mounting scopes on adjustable bases with built-in elevation offsets, sometimes 30 to 40 MOA, to keep the reticle within the scope’s adjustment range.
Choosing the right zero distance boils down to your shooting purpose and typical engagement range. For example, a .22 LR rimfire used for backyard plinking or small-game hunting at under 50 yards should be zeroed at 25 or 50 yards. That zero reduces the amount your bullet rises above or falls below your line of sight within your common shooting window. A centerfire deer rifle zeroed at 100 yards serves as a baseline for most hunting conditions, providing clean math for scope dials and sights. If you plan to shoot targets beyond 200 yards, confirm or adjust your zero at those extended distances to match your exact load’s ballistics. Always verify the holdover or drop data from your ammo manufacturer, which is often printed on the box or available online, to tailor your zero precisely. This prevents surprises caused by differences in velocity, bullet weight, or environmental factors.
Always confirm your zero at multiple distances after sight-in, especially if you switch ammo types or rifles, to ensure reliable accuracy in the field.
Step-by-Step Action Plan to Zero Your Rifle Scope
Follow these steps to zero your rifle scope accurately and efficiently at your chosen distance.
- Before you start: Secure your rifle in a stable rest or sandbags to minimize movement and improve shot consistency.
- Bore sighting phase: Align your scope’s reticle with the barrel bore using a bore sighter or by removing the bolt and looking down the barrel. Confirm the reticle is close to your target at the zeroing distance.
- Initial live fire: Fire a 3- to 5-shot group at your predetermined zero distance, typically 100 yards for many rifles, and observe the group’s point of impact.
- Adjustment phase: Use your scope’s elevation and windage turrets to move the point of impact toward the bullseye based on your shot group’s average location. Adjust in clicks as specified by your scope, usually 1/4 MOA per click.
- Verification shooting: Fire another 3- to 5-shot group and confirm your shots are centered on the target. Repeat adjustments if necessary until the group is consistently on target.
- Final confirmation: Fire a final group to ensure zero holds. Maintain consistent shooting posture and environmental conditions during all shots.
- Protection step: Lock or mark your scope turret settings to prevent unintentional movement and document your zero settings for future reference.
- Periodic check: Before shooting sessions, confirm your zero using a couple of shots at the zero distance to account for any scope shifts or load differences.
Frequently Asked Questions
How Do You Adjust a Rifle Scope to Zero?
Begin by shooting a group at your target, then use the elevation and windage adjustments on your scope to shift the bullet impact toward the center. After firing five rounds, check how far off the shots landed and rotate the dials to correct the aim until it’s properly zeroed.
What Distance Should I Zero My Rifle Scope?
Zero your rifle scope at the distance where you expect to shoot most, commonly 100 yards for centerfire rifles, as it matches typical hunting and target conditions. Starting closer, like 25 or 50 yards, helps new shooters get on target before moving to longer ranges.
Is a 25 Yard Zero the Same As 100?
No, a 25-yard zero doesn’t equal a 100-yard zero because bullet trajectory changes over distance. Zeroing at 25 yards is a short-range sight-in but doesn’t guarantee accuracy at 100 yards. You must adjust your scope again at the distance you plan to shoot.
At What Distance Should You Zero a .22 LR Rifle?
Zero a .22 LR rifle typically at 50 yards, balancing bullet drop and point of impact for most common shooting scenarios. This distance works well for plinking and small-game hunting where short to mid-range accuracy matters.
How to Ensure My Rifle Scope Zero Stays Consistent?
Keep your scope caps tight, avoid rough handling, and check zero periodically after shooting. Consistent mounting torque and stable shooting positions help maintain zero across sessions without frequent readjustments.
Can Temperature Affect My Rifle Scope Zero?
Yes, temperature changes can slightly shift your rifle’s point of impact because of different bullet velocities and metal expansion. It’s best to zero your scope in conditions similar to your shooting environment for the most consistent accuracy.
Final Thoughts
Zeroing your rifle scope is essential for reliable accuracy and confidence in your shooting. Regularly follow these steps and protect your settings to maintain consistent performance. Next time you plan a range visit, take time to verify or adjust your zero to match your current conditions and ammunition choice.