How to Brew a Night Vision Potion in Minecraft: Step-by-Step Guide
Brewing a night vision potion in Minecraft requires a few specific ingredients and access to a brewing stand. You start by collecting nether wart, which creates an awkward potion base, then add a golden carrot to grant night vision effects. This potion allows you to see clearly in dark areas or underwater for a limited time.
The night vision potion is especially useful for exploring caves, underwater temples, and nighttime environments without needing constant light sources. Understanding the brewing process expands your capability to customize gameplay and survive more challenging conditions in Minecraft.
This article breaks down the brewing process into clear steps, covers necessary ingredients and equipment, explains duration extensions with redstone, and suggests practical uses for your night vision potion. You'll also find comparisons with similar potions and answers to common questions.
Gathering Ingredients and Tools for Brewing

Essential Ingredients for Night Vision Potion
To brew a night vision potion, gather nether wart and a golden carrot. Nether wart grows in Nether fortresses and is the main ingredient in creating an awkward potion base. Golden carrots provide the night vision effect when added to this base.
You’ll also need water bottles as the brewing base. Craft golden carrots by surrounding a carrot with gold nuggets in a crafting table. These ingredients are vital before starting the brewing process.
- Nether wart
- Golden carrot
- Water bottles
- Optional: Redstone dust for extended duration
Brewing Stand and Blaze Powder Fuel
A brewing stand is necessary to brew all potions, including night vision. You can craft one using a blaze rod and three cobblestones. Blaze rods come from blazes found in Nether fortresses, so exploration there is required.
Blaze powder fuels the brewing stand. You'll get blaze powder by placing blaze rods in your crafting grid. Make sure to keep enough fuel to brew the potion efficiently without interruptions.
- Craft brewing stand: 1 blaze rod + 3 cobblestones
- Harvest blaze rods from Nether fortress blazes
- Use blaze powder as fuel
Step-by-Step Brewing Process for Night Vision Potion
Creating the Awkward Potion Base
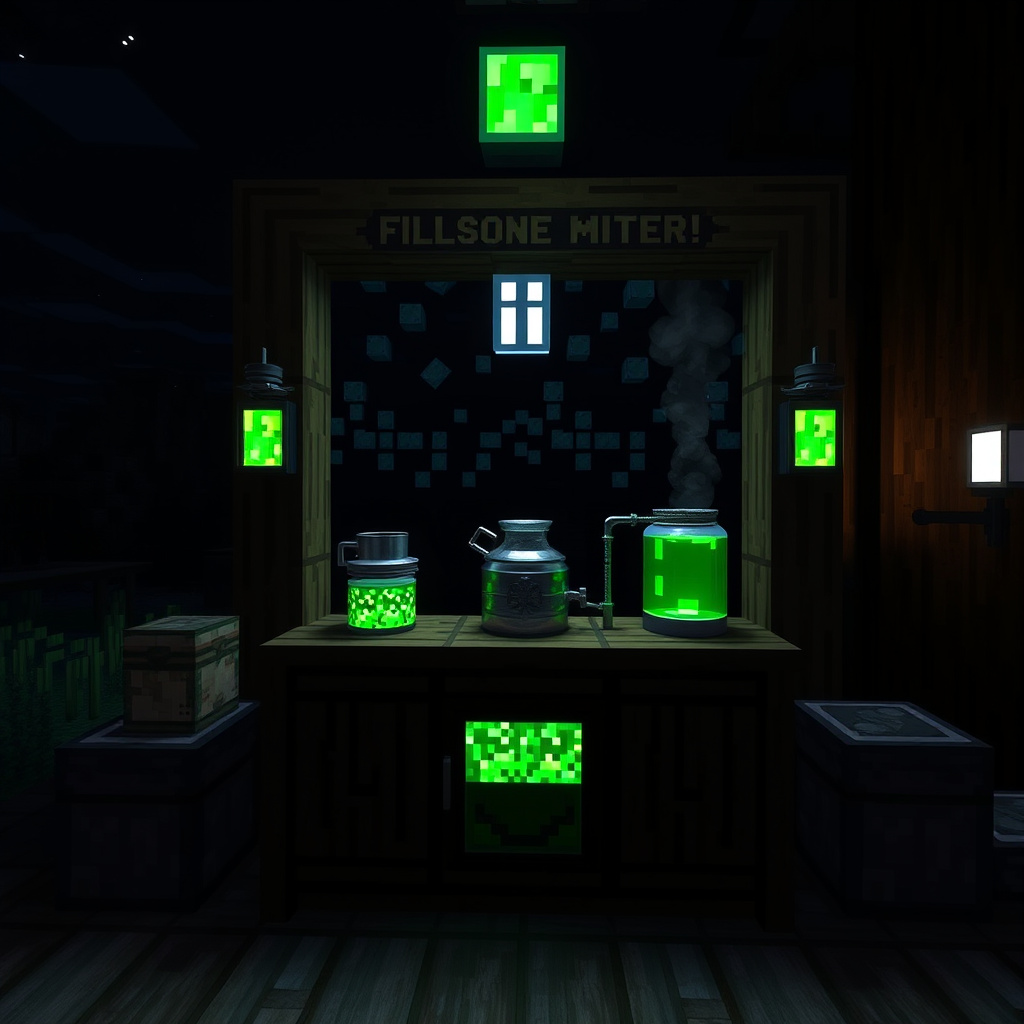
First, place water bottles in the brewing stand's bottom slots. Add nether wart to the top slot and start the brewing process. This creates an awkward potion, which serves as the foundation for all special effect potions.
The awkward potion has no effects on its own but prepares the potion to accept modifiers like golden carrots that grant night vision.
Adding Golden Carrot for Night Vision Effect
Once the awkward potion is ready, replace nether wart with a golden carrot in the top slot to brew the night vision potion. This process takes about 20 seconds in the game and results in a potion that grants the night vision effect for 3 minutes.
If you want a longer-lasting potion, proceed to add redstone dust afterward to extend the duration to 8 minutes.
Enhancing Your Night Vision Potion
Extending Duration with Redstone
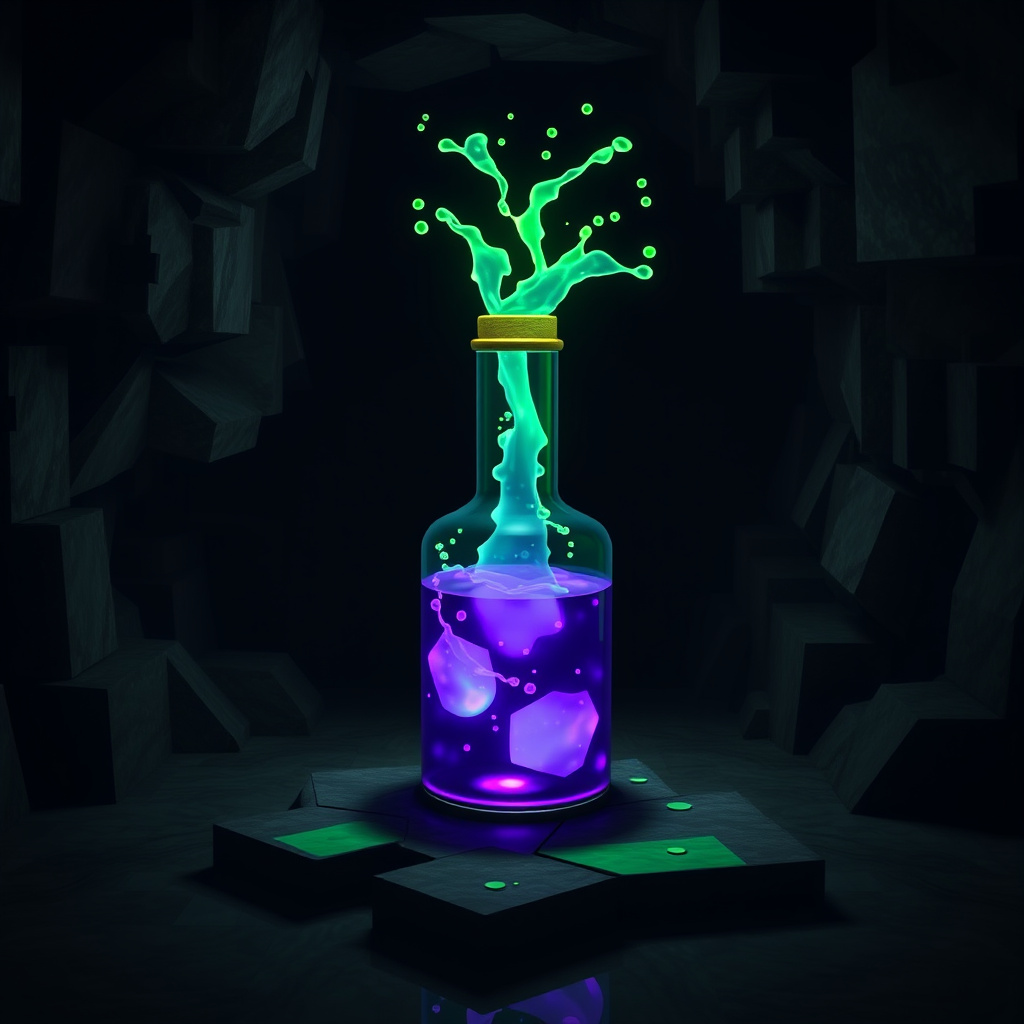
After brewing the basic night vision potion, you can place redstone dust in the brewing stand’s top slot with the potion below. This extends the potion’s effect from 3 minutes to 8 minutes, which is especially useful for prolonged exploration.
Adding redstone doesn’t modify the potion’s effect strength but maximizes how long the night vision will last.
- Place night vision potion in brewing stand
- Add redstone dust
- Brew to extend potion duration
For more on this, see our related guide: How to Brew Night Vision in Minecraft: The Complete Potion Guide.
Creating Splash Night Vision Potions
For multiplayer or mob effects, convert your night vision potion into a splash potion by brewing it with gunpowder. This allows you to throw the potion, applying effects in an area instead of drinking it directly.
Splash potions are useful in combat or cooperative gameplay where sharing potion effects quickly is beneficial.
Practical Uses of Night Vision Potions in Minecraft
Exploring Dark Caves and Mines
Night vision potions eliminate the need for placing torches while mining or cave exploring by letting you see clearly in complete darkness. This saves resources and speeds up exploration.
Combining night vision with other potions like water breathing aids in environments with hazards like lava or deep water.
Underwater Exploration and Combat
Night vision greatly improves visibility underwater, making it easier to find ocean monuments and lost treasures. When combined with potions that grant water breathing, it becomes possible to spend extended time underwater with full vision.
It’s also valuable in underwater combat situations by helping players spot hostile mobs more quickly.
Troubleshooting Common Brewing Issues

Why Isn’t My Potion Brewing?
If the brewing stand doesn’t start brewing, check if you have blaze powder in the fuel slot and the correct ingredients in the right places. Water bottles must be placed in bottom slots; ingredients go on the top slot.
Using wrong ingredients or forgetting to add blaze powder fuel are common mistakes that stop brewing.
For more on this, see our related guide: How to Get Night Vision in Minecraft: Guide to Crafting and Using Night Vision Potions.
Potion Effects Not Working Correctly
Sometimes potions don’t show the expected effects due to ingested incorrect ingredients or glitches. Rebrewing the potion from scratch usually resolves the problem.
Make sure the game version supports the potion effects as noted, as some potion recipes or durations can vary between versions.
Comparing Night Vision Potion to Other Visibility Enhancers

Night Vision Potion vs Torches
Torches provide localized light but consume inventory space and resources. Night vision potion, however, delivers full visibility without placing any blocks, preserving your environment and inventory.
Pendants last limited time but free up both hands and don’t leave light sources behind as torches do.
For detailed information on night vision potion mechanics and variations, visit the Night Vision Potion page on the Minecraft Wiki. Night Vision Potion on Minecraft Wiki.
Night Vision Potion vs Conduit Power
Conduits grant underwater vision and breathing but require building structures near water. Night vision potions can be consumed anywhere, providing temporary flexibility without setup.
If you plan long-term underwater activity, conduits offer constant benefits, but potions are ideal for short-term needs.
Comparison of Night Vision Potion Categories
Here is a comparison of different night vision potion types and related visibility tools in Minecraft highlighting their benefits and limitations.
| Category | Duration | Effect Type | Usage Scenario |
|---|---|---|---|
| Basic Night Vision Potion | 3 minutes | Drinkable | Individual exploration |
| Extended Night Vision Potion | 8 minutes | Drinkable | Longer adventures |
| Splash Night Vision Potion | 3 minutes | Throwable area effect | Multiplayer or combat |
| Torch | Indefinite until breaks | Placed light source | Static lighting |
| Conduit Power | Permanent when near conduit | Passive effect | Underwater base defense |
Frequently Asked Questions
Can I brew a night vision potion without a brewing stand?
No, a brewing stand is required to brew night vision potions as it provides the interface and fuel to combine ingredients properly.
How do I get golden carrots for the potion?
Golden carrots are crafted by surrounding a carrot with eight gold nuggets in a crafting table.
Does the night vision potion affect underwater visibility?
Yes, it enhances underwater visibility significantly, allowing players to see clearly even in deep or dark water.
Can I extend the duration of a night vision potion?
Yes, adding redstone dust to the brewing process extends the potion’s duration from 3 minutes to 8 minutes.
Are splash night vision potions useful in single-player mode?
Splash potions can still be combined with other effects or dropped to apply area effects, but they’re most practical in multiplayer.
Key Takeaways
- Night vision potions require nether wart and golden carrots as key ingredients.
- A brewing stand fueled by blaze powder is essential for all potion crafting.
- Redstone dust extends night vision potion duration from 3 to 8 minutes.
- Night vision enhances both cave and underwater exploration significantly.
Conclusion
Understanding how to brew a night vision potion in Minecraft opens many new possibilities for exploration and gameplay strategy. The step-by-step brewing method ensures players can reliably create this useful potion. By gathering nether wart and golden carrots, and using a properly fueled brewing stand, players gain night vision effects that ease navigating dark or underwater environments. Using redstone dust to extend potion duration and gunpowder to create splash variants further broadens their utility.
For those focused on caving or underwater discovery, the extended night vision potion is ideal, providing ample time to explore without interruptions. Particle effects from splash potions add tactical multiplayer advantages by enhancing visibility across a group. Compared to traditional light sources like torches, night vision potions offer a clean and mobile solution for illumination without altering terrain. Meanwhile, conduits provide permanent underwater vision but require significant setup, making night vision potions better for short-term tasks.
If you haven’t yet experimented with brewing night vision potions, now is a great time to try. Acquiring ingredients from the Nether and crafting golden carrots will soon become a rewarding part of your Minecraft gameplay. Start brewing, test your new vision-enhancing potion in dark caves or ocean ruins, and enjoy the richer experience it brings. Exploring the full range of Minecraft potion recipes enhances your adventure and survival skills in the game.